


您的购物车目前是空的!
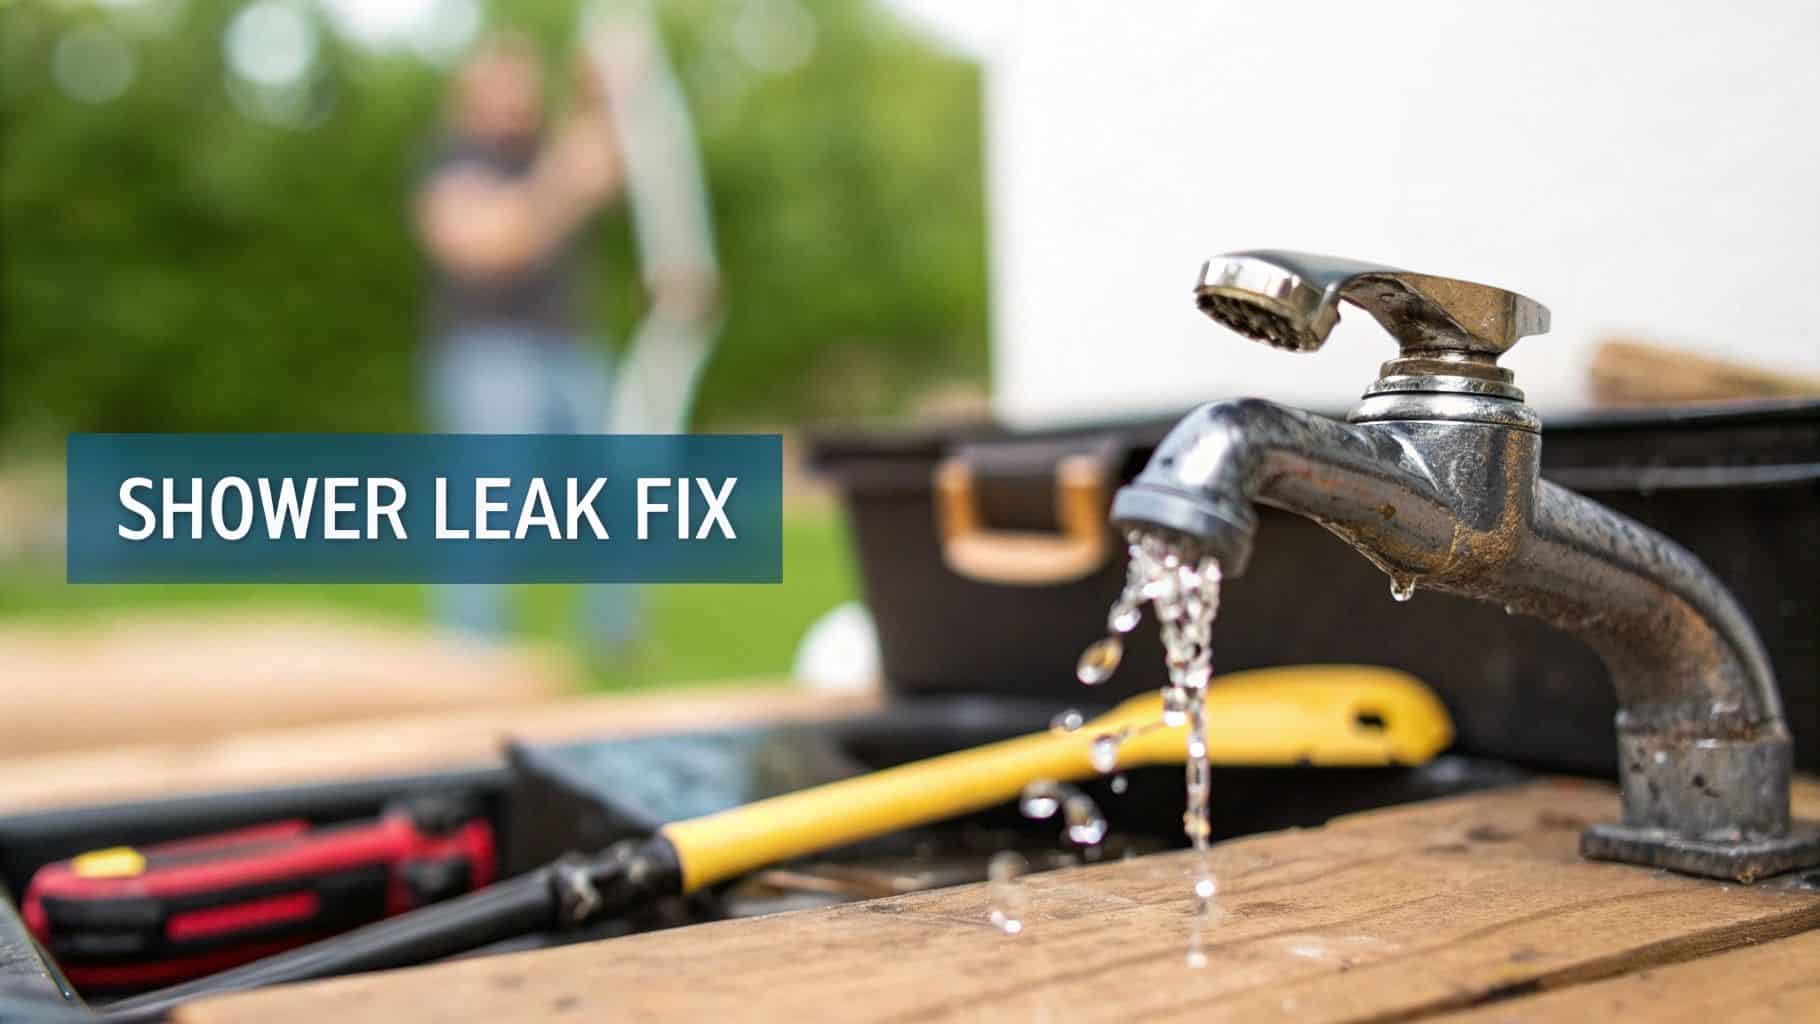
How to Fix a Leaky Single Handle Shower Faucet Fast & Easy
That non-stop drip, drip, drip is more than just a background noise designed to drive you crazy. It's a clear signal from your single-handle shower faucet that something inside needs attention. The good news? The fix is almost always the same, and it’s a project most homeowners can tackle themselves: replacing the internal cartridge. It’s a classic wear-and-tear part, and swapping it out is a surprisingly straightforward job.
Your Guide to Silencing a Dripping Shower
A dripping faucet is one of those small problems that quickly grows, wasting water and adding unnecessary costs to your utility bills. Before you grab a wrench and start taking things apart, it’s helpful to get the lay of the land. This guide will walk you through the entire process, from figuring out what's wrong to putting the final piece back in place, so you know exactly what you’re getting into.
Here’s a quick look at what we'll cover:
- Shutting off the water supply (the most important first step!).
- Gathering the right tools for the job.
- Getting the faucet handle and faceplate off.
- Swapping the old, faulty cartridge for a new one.
- Putting it all back together for a perfectly silent, drip-free shower.
Before we dive into the step-by-step, it helps to be certain about what you're dealing with. Different symptoms can point to slightly different problems, though most roads lead back to that pesky cartridge.
This table breaks down the common signs of a leak, what’s likely causing it, and the best way to solve it.
Diagnosing Your Leaky Shower Faucet
| Symptom | Likely Cause | Primary Solution |
|---|---|---|
| Constant Drip from Spout | Worn-out or failed cartridge seals. | Replace the entire faucet cartridge. |
| Leak from Around the Handle | Damaged O-rings on the cartridge or valve body. | Replace the cartridge (most kits include new O-rings). |
| Trouble Turning Water On/Off | Mineral buildup or physical damage inside the cartridge. | Replace the cartridge. |
| Water Temperature Issues | The cartridge's mixing valve has failed. | Replace the cartridge. |
As you can see, the cartridge is the usual suspect. Now, let's look at why fixing it matters so much.
The Real Impact of a Small Drip
It might seem like a tiny issue, but that minor drip adds up fast. According to the U.S. Environmental Protection Agency's WaterSense program, "the average household's leaks can account for nearly 10,000 gallons of water wasted every year." That number alone shows why knowing how to fix a leaky single handle shower faucet is such a valuable skill for any homeowner.
This isn't just a household problem; it’s a major factor in the plumbing world. The global faucet market was valued at USD 23.28 billion in 2024 and is expected to keep growing, driven partly by the ongoing need for repairs and more water-efficient fixtures.
By taking on this repair yourself, you’re doing more than just saving a few bucks on a plumber. You're conserving a critical resource and stopping your water bill from creeping up for no good reason.
Think Beyond the Drip: Other Maintenance Tips
While you’ve got the faucet on your mind (and the water turned off), it’s the perfect time to give your whole shower system a little attention. The same mineral buildup that wears out a cartridge can also clog your showerhead, leading to weak water pressure.
Why not tackle both at once? If you've noticed the flow isn't what it used to be, take a look at our guide on how to clean your shower head for a quick performance boost. A clean showerhead paired with a leak-free faucet is the foundation of a perfect shower system. A great setup, like the CRANACH shower system, brings together smart function and modern style for a truly elevated experience.
Assembling Your Faucet Repair Toolkit
Before you even think about shutting off the water, let's talk about getting prepared. I can't tell you how many times I've seen a simple DIY repair spiral into a frustrating mess because of an unplanned, mid-project trip to the hardware store. Getting your tools lined up first is the secret to a smooth, headache-free fix.
Having the right gear isn't just about saving time, either. It’s about protecting your faucet's finish and its delicate internal parts from damage. While you probably have most of what you need lying around the house, a couple of specific items can be the difference between a 15-minute job and a whole afternoon of struggling with a stubborn part.
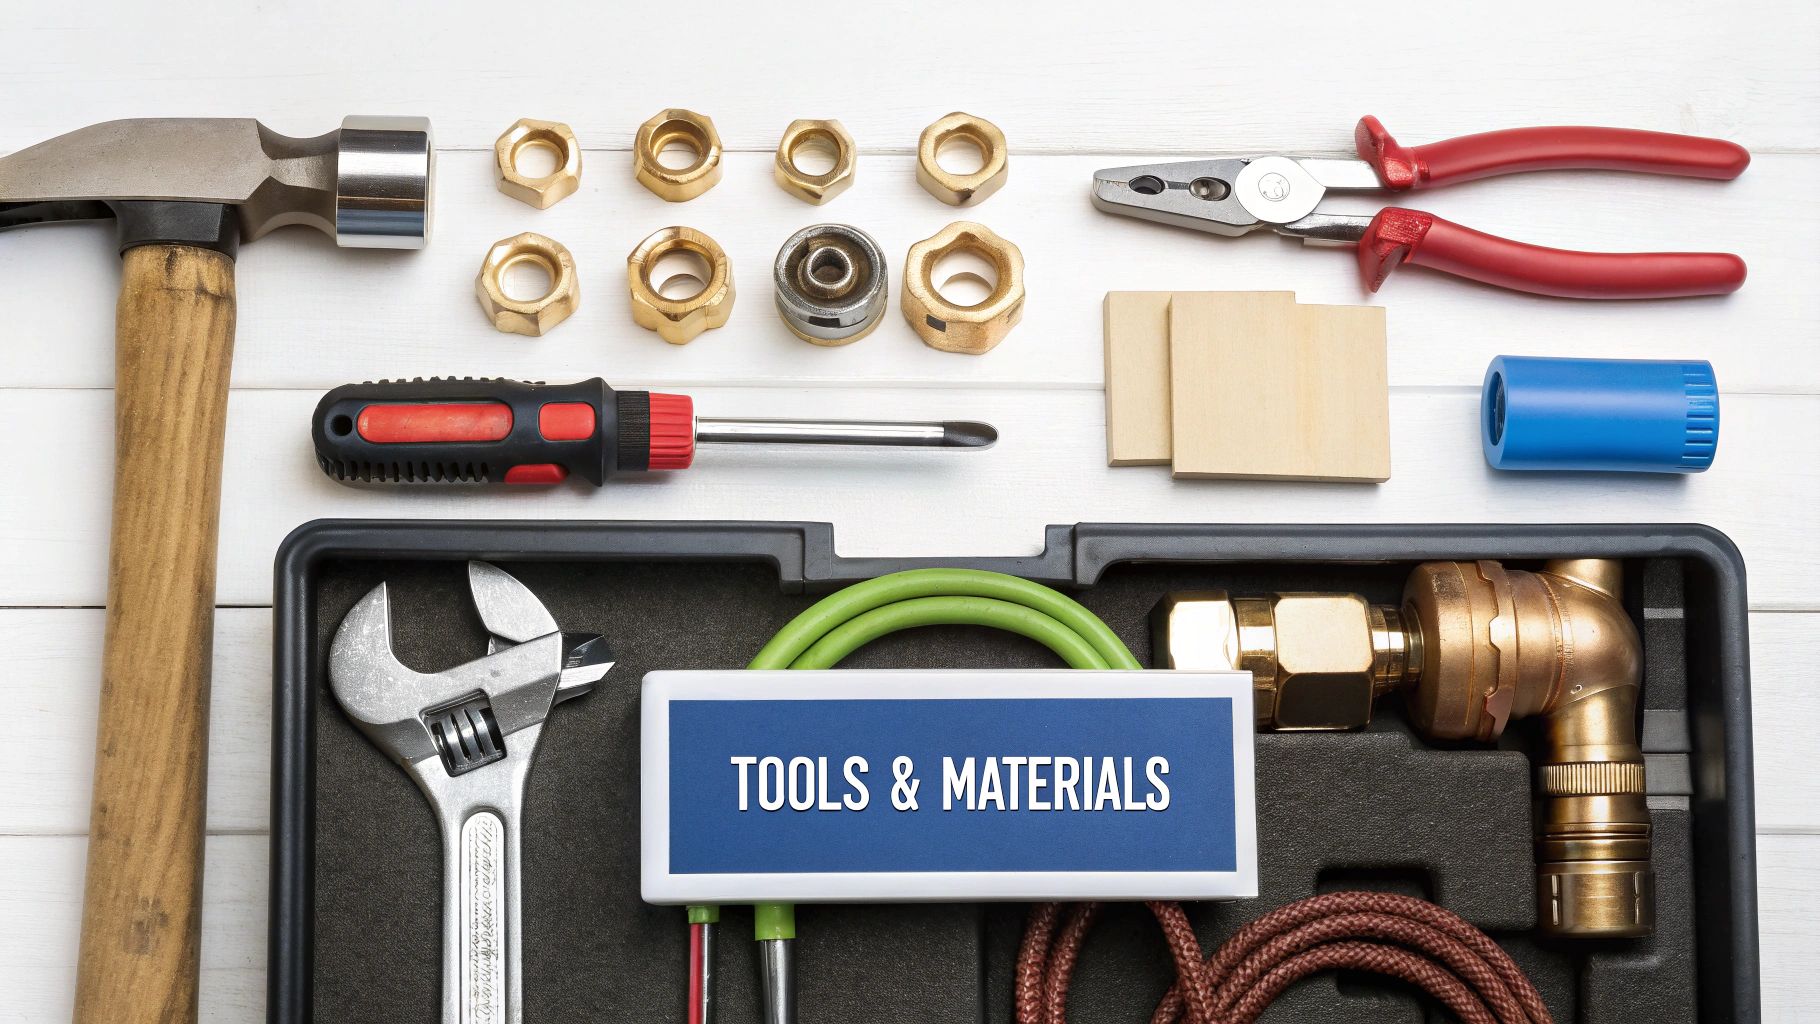
The Essential Tools for the Job
For most single-handle faucet repairs, a basic set of tools will get you through. It’s a good idea to gather them all in one spot before you start taking things apart.
- Screwdrivers: You’ll want both a Phillips head and a flathead. These are your go-to for the handle screw, which is usually tucked away under a little decorative cap.
- Allen Wrench Set: A lot of modern faucets use a tiny set screw to hold the handle on. These come in all sorts of sizes, so having a full metric and standard set on hand is your best bet.
- Pliers: A pair of needle-nose pliers is perfect for fishing out small retaining clips. You'll also want adjustable pliers (often called channel locks) to get a good grip on the packing nut if it's on there tight. Just remember to wrap the faucet parts with a rag first—you don't want to scratch up that nice chrome finish.
- Utility Knife: Great for carefully prying off the decorative index cap covering the handle screw without leaving a mark.
- Rags or Towels: Keep a few clean ones nearby. You’ll use one to plug the drain (trust me, you don’t want to lose a tiny screw down there) and the others to mop up any leftover water.
Specialized Tools That Make Life Easier
These next items aren't always must-haves, but for older fixtures or seriously stuck parts, they are absolute lifesavers. Think of them as the pro tools that turn a tricky job into a simple one.
A faucet cartridge puller is a true game-changer. Over the years, mineral deposits can basically glue an old cartridge inside the valve body, making it nearly impossible to yank out with just pliers. This tool is designed to give you the perfect leverage to pull the cartridge straight out, cleanly and without damaging the plumbing around it.
Finding the Correct Replacement Cartridge
Okay, this is probably the most critical part of your prep work. There are literally hundreds of different faucet cartridges out there, and guessing is not an option. The wrong part just won't fit, and your leak will still be there.
The most foolproof method? Take the old cartridge with you to a good hardware or plumbing supply store. The experts behind the counter can match it up for you just by looking at it. If you can't do that, taking several clear photos of the old part from every angle is the next best thing.
Often, you'll find a part number stamped right on the side of the cartridge itself. This is your golden ticket to finding an exact replacement. Nailing this step is the key to successfully learning how to fix a leaky single handle shower faucet and making sure your repair actually lasts.
Alright, you've got your tools lined up, and you're ready to get to the heart of this repair. This is the part where we’ll actively fix what’s causing that annoying drip. I’ll walk you through each step, breaking it down into simple, clear actions so you can feel confident as you go.
First things first, and I can't stress this enough: shut off the water supply to the shower. This is the most critical move to prevent turning a small drip into a major flood.
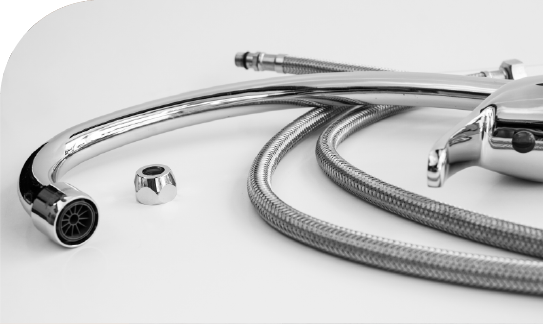
With the water off, the next stage is a careful disassembly of the faucet to get to the bad cartridge. This usually involves removing the handle, which often has a tiny set screw hidden away, and then taking off the decorative faceplate. Once they're out of the way, you'll see the retaining clip that's holding the old cartridge in place.
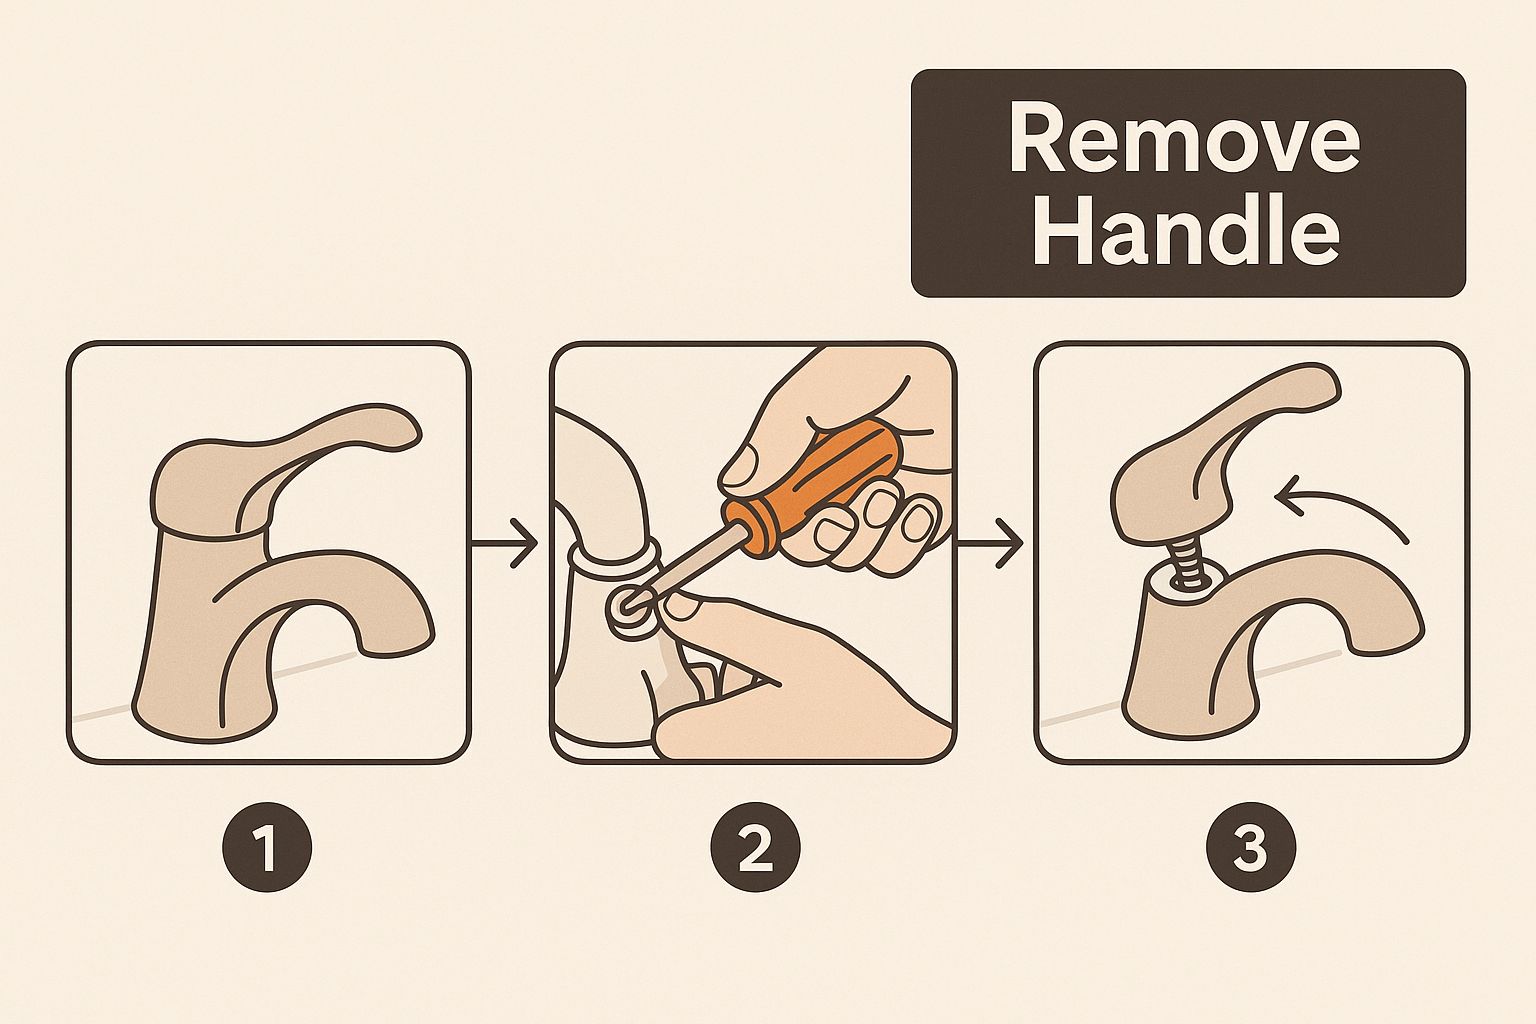
Accessing the Old Cartridge
Let’s get our hands dirty. Start by turning off the water, either to the whole house or just the bathroom if you’re lucky enough to have isolated shutoff valves. A good practice is to open the faucet afterward to let any trapped water drain out.
Now, look for the decorative cap on the handle—it often has a hot/cold logo. Gently pry it off with a utility knife or a small flathead screwdriver. This will expose the set screw that secures the handle to the valve stem. Use the right Allen wrench or screwdriver to loosen it, and then pull the handle straight off.
Pro Tip: If the handle is stuck solid from mineral buildup, don't just yank on it. You can try gently tapping it with the handle of your screwdriver. Another trick is to wrap it in a rag and use pliers to carefully wiggle it loose. A little patience here will save you from scratching or damaging the finish.
Once the handle is off, you'll see the escutcheon, or faceplate. These are usually held in place by two or more long screws. Unscrew them and put the plate somewhere safe. You should now have a clear view of the valve body and the top of the cartridge.
Removing and Replacing the Cartridge
You're in. You should now see a small, often U-shaped, retaining clip that holds the cartridge in place. Grab your needle-nose pliers or a flathead screwdriver and carefully pull this clip straight up and out. Don't lose this little guy!
The old cartridge is now free, but getting it out can be the trickiest part of the whole job. If it’s really stubborn, a cartridge puller tool is worth its weight in gold. If not, you can often use adjustable pliers to get a good grip on the cartridge stem and pull it straight out with a bit of wiggling.
With the old cartridge out, take a second to clean the inside of the valve body with a clean rag. You want to check for any leftover bits of rubber or debris from the old seals.
Now, slide the new cartridge into the valve body. Pay close attention to its orientation. Most cartridges have "hot" and "cold" markings or little notches that must line up correctly with the valve. Push it in firmly until it’s fully seated.
Finally, pop that retaining clip back in to lock the new cartridge down.
Putting It All Back Together
You're on the home stretch. Reassembly is just doing everything you just did, but in reverse.
- Reattach the faceplate with its screws.
- Slide the handle back onto the valve stem and tighten the set screw.
- Pop the decorative cap back on.
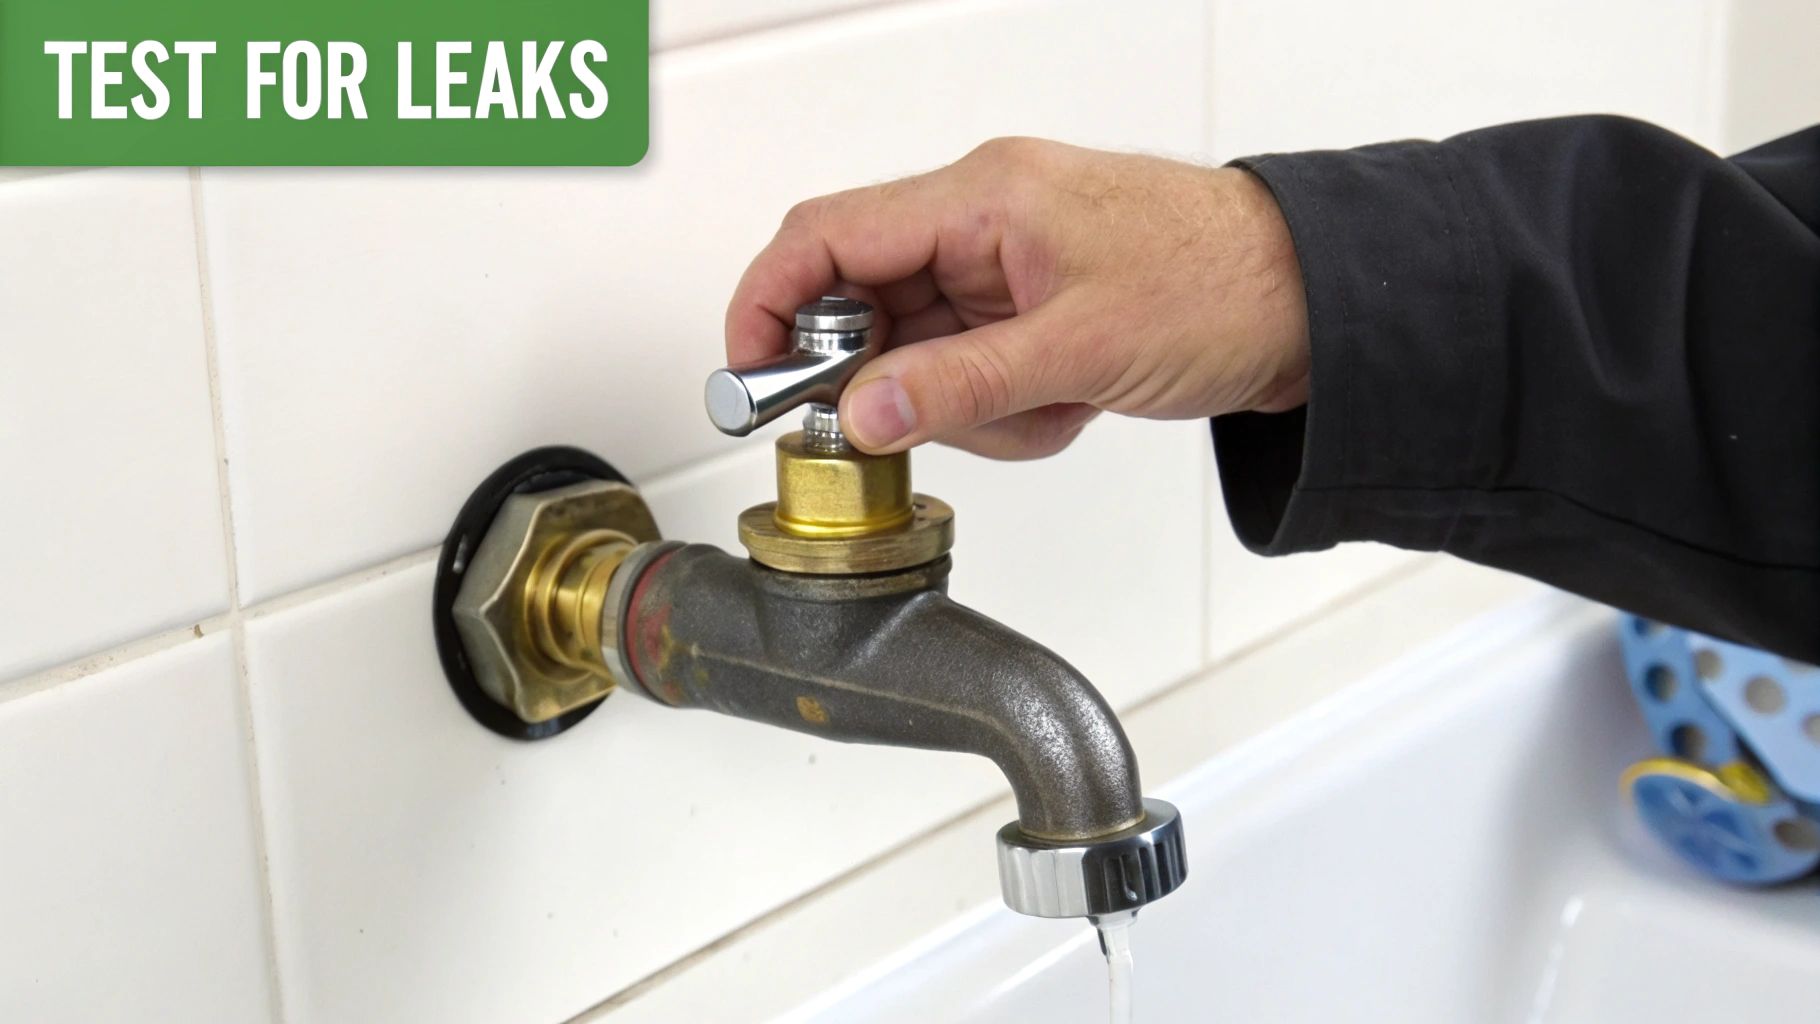
Now for the moment of truth. Turn the water supply back on slowly and check for any leaks around the handle or from the spout. If everything is dry, you’ve successfully learned how to fix a leaky single handle shower faucet.
For trickier situations or different faucet types, our comprehensive guide on how to fix a leaky shower faucet offers even more detail. Knowing this skill is incredibly useful. Single-handle faucets make up over 55% of global sales, and with the replacement market accounting for 65% of demand, it’s clear this is a common homeowner task. A reliable faucet is the cornerstone of a great shower system, and keeping it in top shape is key.
What to Do When the Repair Doesn't Go as Planned
Even the most straightforward DIY project can throw you a curveball. When you're tackling a leaky single-handle shower faucet, knowing how to pivot when things get tricky is just as crucial as following the steps perfectly. Think of this as your guide for those "Oh, now what?" moments.
Sometimes, the real challenge isn't the fix itself but a stubborn part that refuses to cooperate. A handle that's been on for years can feel like it’s been welded into place, thanks to a lovely combination of corrosion and mineral gunk from hard water.
Dealing with a Stuck Faucet Handle
If that faucet handle just won't budge, your first instinct might be to yank on it. Don't. Brute force is a great way to damage the handle's finish or, even worse, snap the valve stem it's attached to. Patience and the right technique are your best friends here.
Try a few gentle taps with the plastic end of a screwdriver right around the handle. This can sometimes be just enough to shock the connection loose. If it’s still stuck fast, grab a penetrating oil designed to eat through rust and lime scale. Apply it sparingly around the base of the handle and let it soak in for 15-20 minutes before you try wiggling it again.
One of the most common hangups I see is a stripped set screw. Your Allen wrench just spins and spins, right? It's infuriating. Before you give up, try tapping in a slightly larger Torx (star-shaped) bit. The sharp edges can often bite into the stripped hex screw and give you enough grip to turn it. If that fails, a dedicated screw extractor kit is a lifesaver and a worthy addition to any DIYer's toolbox.
When the Old Cartridge Breaks During Removal
Here's another classic headache: the old, brittle plastic cartridge cracks or completely falls apart as you're pulling it out. This is incredibly common with older faucets where the plastic has become fragile over the years. If the main body of the cartridge snaps, leaving the base wedged inside the valve, take a deep breath. It's salvageable.
You'll need a good pair of needle-nose pliers to start carefully picking out the broken plastic pieces. Work methodically. You need to get every last shard of plastic and every bit of the old rubber O-rings out of there. For really stubborn remnants, you might need to invest in a specialized cartridge puller tool. These are designed specifically to latch onto what's left of the cartridge and give you the leverage to pull it out cleanly.
If you find yourself in this situation, our detailed guide on how to remove a shower cartridge offers a more in-depth walkthrough to get you through it.
What If It Still Leaks After the Repair?
You did it. You put in the new cartridge, reassembled the handle, turned the water back on… and you still see that maddening drip… drip… drip. It’s frustrating, but the fix is usually simple.
- Is it seated correctly? The most likely culprit is that the new cartridge isn't pushed all the way in. You'll have to turn the water off and take the handle off again, but give the cartridge a firm, even push to make sure it's fully seated inside the valve body.
- Did you clean the valve body? I mean really clean it? A tiny fleck of old rubber or a small mineral deposit is all it takes to break the seal on your new cartridge. Take a clean rag and wipe out the inside of the valve body until it's spotless.
- Are you sure it's the right part? It happens. You might have grabbed a replacement cartridge that looks almost identical but has a subtle difference. Double-check it against the old one you removed.
Learning how to navigate these little repair hiccups is what separates a frustrating afternoon from a successful project. And these principles of careful disassembly and part replacement aren't just for faucets. When you run into other issues around the house, checking out proven leak repair methods can give you a broader understanding of how these same strategies apply to all sorts of home repairs.
When to Upgrade to a Modern Shower System
Knowing how to fix a leaky single-handle shower faucet is a great skill to have. But sometimes, a repair is just a temporary patch on a bigger problem. Think of a recurring leak, even after you’ve replaced the cartridge, as your plumbing’s way of saying it’s time for an upgrade. A persistent drip is often a dead giveaway that the internal valve body is worn out, corroded, or just plain old.
If you find yourself fixing that same drip every six months, it's time to weigh the costs. Is it worth the repeated effort and expense, or would a new installation be a better long-term solution? Constant leaks, visible corrosion on the fixture, or a handle that’s stiff and hard to turn are all red flags that your faucet is on its last legs. This is the point where you stop thinking about a small fix and start considering a complete, modern shower system.
Signs It’s Time for a Change
Upgrading is about more than just stopping a leak; it's a chance to seriously improve your daily routine. If you're seeing these telltale signs, you’re probably ready for more than just another repair job:
- Frequent Repairs: You're becoming a pro at replacing the cartridge. That's a strong hint that the faucet's core components, not just the small parts, are the real issue.
- Visible Corrosion or Flaking: Once the finish starts peeling or you see rust, the fixture’s integrity is shot. It’s not just an eyesore; it’s a sign of deeper wear.
- Poor Water Pressure: You’ve cleaned the showerhead, but the flow is still pathetic. This often points to blockages or wear deep inside the old valve. If weak flow is your problem, our guide on how to increase water pressure in your shower can offer some more ideas.
- Desire for Better Features: Let’s face it, older models are basic. Modern systems offer awesome features like thermostatic controls for a perfect temperature every time, multiple spray functions, and water-saving tech.
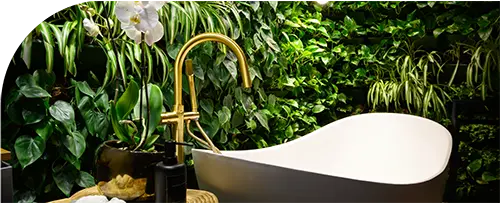
Choosing a new shower system from a brand like CRANACH isn't just about a new look; it's an investment in performance and reliability you can count on day after day.
A modern shower system provides a cohesive and luxurious experience because all the components are designed to work together perfectly. This eliminates the weak points you often find in older, pieced-together setups.
If that leaky faucet is just one symptom of a bigger problem, or if you’re just ready for a fresh start, consider a professional bathroom remodel to boost your home's value and feel. A new CRANACH shower system can be the star of that transformation, turning a simple shower into your own personal retreat.
Got Questions? We've Got Answers
Even after you've tightened that last screw and turned the water back on, a few questions might still be rattling around in your head. It happens to everyone. Let's tackle some of the most common things people ask after fixing a leaky single-handle shower faucet.
How Do I Find the Right Replacement Cartridge?
This is probably the most critical step, and getting it wrong is a recipe for frustration. The absolute best way to get a match is to take the old cartridge with you to a real hardware or plumbing supply store. An experienced pro behind the counter can often identify it in a second.
If you can't make the trip, your phone is your best friend. Snap several clear, well-lit photos of the cartridge from every angle—top, bottom, and all sides. Knowing the faucet's brand name is a huge help, too. And before you give up, look closely at the cartridge itself; many have a part number stamped right on the plastic. That’s your golden ticket to finding an exact match. Don't even think about guessing. There are hundreds of variations, and "close enough" will never work.
I Replaced the Cartridge, So Why Is It Still Leaking?
That drip-drip-drip sound after you've just "fixed" it is enough to drive anyone crazy. But don't panic—the cause is usually pretty straightforward.
- Did it seat correctly? The new cartridge has to sit perfectly flush inside the valve body. If it’s even slightly crooked, water will find a way past the seals. It's worth pulling it out and carefully re-inserting it just to be sure.
- Is the valve body clean? Remember when you pulled the old one out? Any little speck of rubber from the old O-ring or a tiny bit of mineral scale left behind can ruin the seal on the new part. Take a clean rag and wipe out the inside of the valve body thoroughly.
- Could the valve body be damaged? This is rare, but it happens. Over time, the brass valve body can develop a tiny hairline crack or get so corroded that it can't create a perfect seal. If you've tried everything else, this might be the culprit, and it usually means it’s time to call in a pro for a full valve replacement.
Can I Just Use a Generic Cartridge to Save a Few Bucks?
You’ll definitely see "universal" or "will-fit" cartridges on the shelf, and the lower price is tempting. But from my experience, it’s always better to stick with the OEM (Original Equipment Manufacturer) part.
A brand-name cartridge is specifically engineered for your faucet. The fit, the materials, the seals—everything is designed to work together perfectly for a lasting, drip-free repair. A generic part might stop the leak for a little while, but they often fail prematurely, leaving you to do the whole job over again.
Think of it this way: spending a little more now on the right part saves you the headache and cost of a second repair down the road.
Sometimes a simple repair is a sign that it’s time for an upgrade that will completely change your daily routine. For a truly reliable and luxurious experience, consider the integrated performance and modern design of a CRANACH shower system.
Leave a Reply