

您的购物车目前是空的!
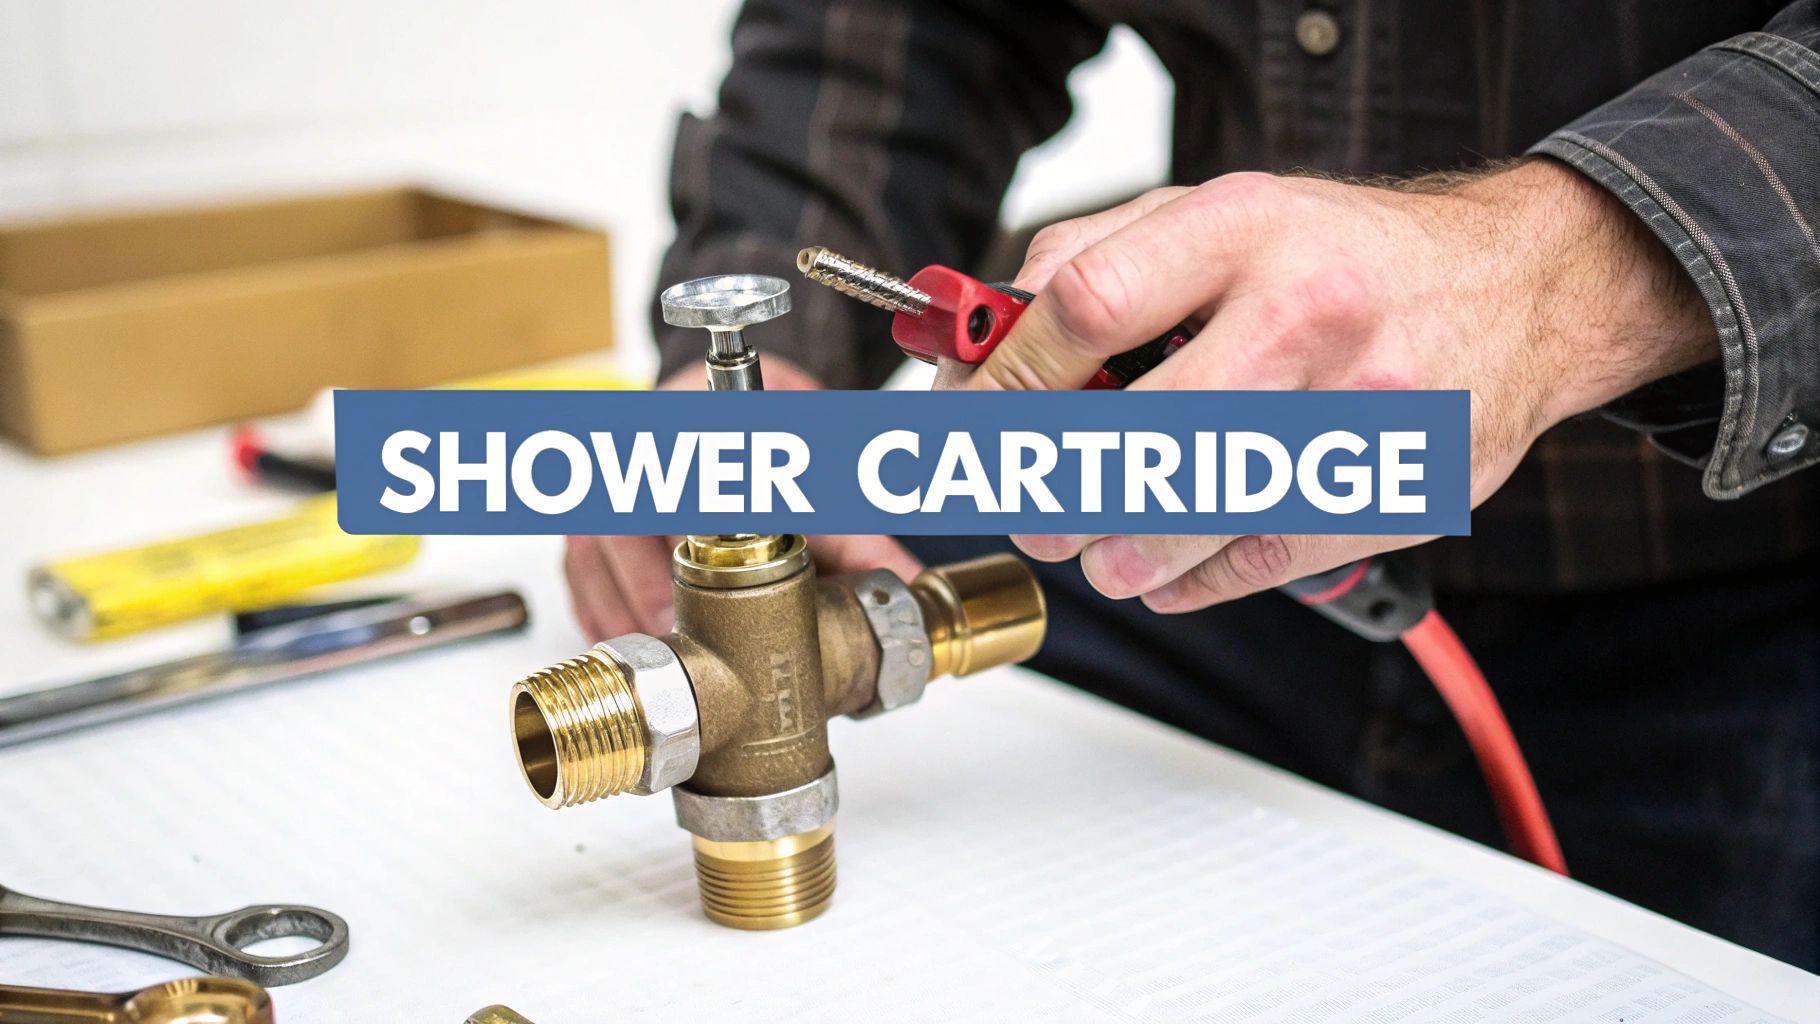
How to Remove a Shower Cartridge Like a Pro
That maddening drip…drip…drip. The sudden shock of lukewarm water when you're expecting a hot shower. A handle that fights you every time you turn it. These aren't just little quirks your shower has developed; they're the classic tell-tale signs that your shower cartridge is on its last legs.
This is your cue to act. Learning how to pull that old cartridge out before a minor frustration turns into a major leak is a skill every homeowner should have. Putting it off just means wasted water and, eventually, a much bigger, wetter problem.
Knowing When to Replace Your Shower Cartridge
When you know what to look for, you can diagnose a bad cartridge with confidence. It’s honestly one of the most frequent plumbing fixes homeowners run into, and nailing the diagnosis is half the battle.
Common Signs of a Bad Cartridge
A constant drip from the shower head or tub spout is the most in-your-face symptom, but other clues can be a bit more sneaky.
- Can't Get the Temperature Right? If your water refuses to get hot or swings wildly between scalding and freezing all on its own, the cartridge is likely the culprit. It's just not mixing the hot and cold water properly anymore.
- A Stubborn or Wobbly Handle: Does the handle feel incredibly stiff, or maybe it's gone completely loose and floppy? This usually means the internal parts of the cartridge are worn down or gummed up with mineral gunk.
- Weak Water Flow: If your once-powerful shower now feels more like a weak drizzle, there's a good chance mineral buildup inside the cartridge is blocking the flow.
How Water Quality Wrecks Your Cartridge
Hard water is public enemy number one for your shower's guts. It’s loaded with minerals like calcium and magnesium that, over time, create a crusty buildup. This scale can cause the cartridge to seize up completely or chew through its delicate rubber seals.
This isn't just a minor issue. It's a key reason for household repairs and a big driver in the plumbing world. The global market for shower faucets was valued at over USD 33 billion in 2023, with a huge chunk of that coming from homeowners doing routine upkeep just like this. This highlights just how common and necessary this particular repair is.
Pro Tip: Being proactive is always the best approach. Just like you'd follow a kitchen equipment maintenance checklist to avoid bigger headaches, recognizing a failing shower cartridge early saves you from a full-blown plumbing emergency.
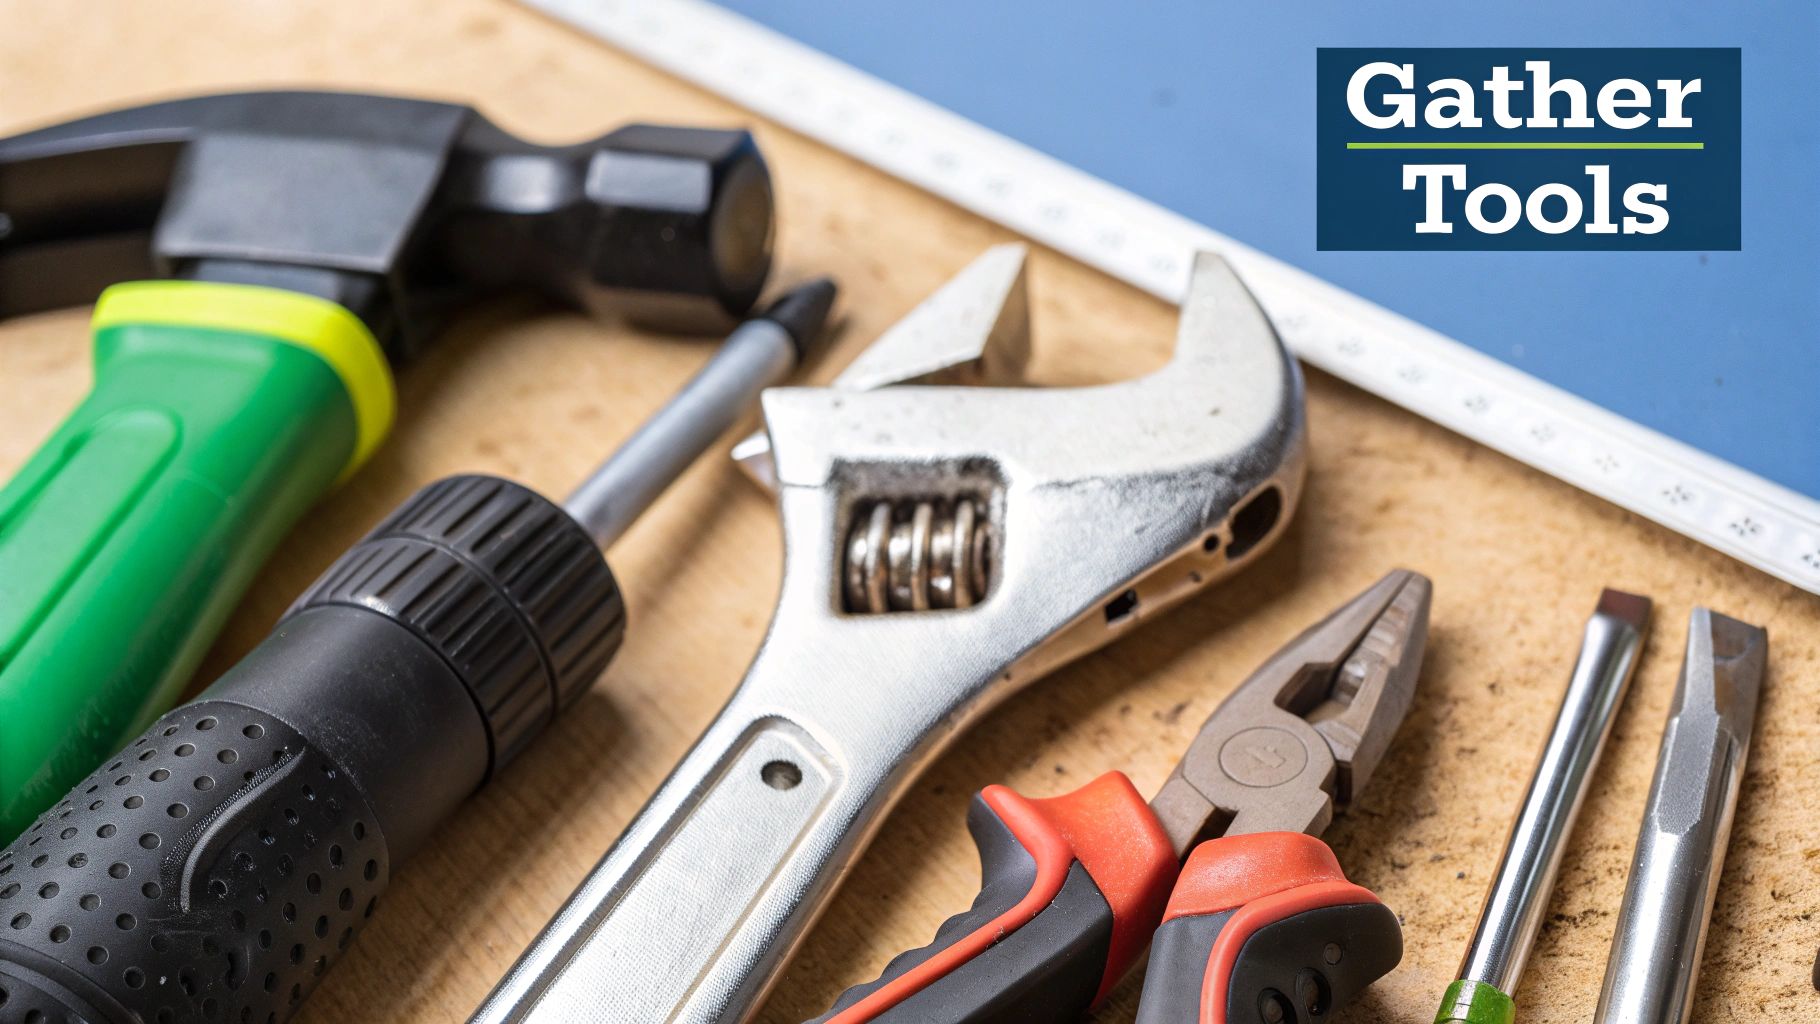
Getting Your Tools in Order for a Smooth Repair
Ask any seasoned plumber, and they’ll tell you that a successful repair starts long before you even touch the shower handle. The real secret to a frustration-free project is preparation. Taking just 10 minutes to gather the right tools is what separates a quick, clean fix from a day-long headache.
Having everything you need within arm's reach means no mid-project sprints to the hardware store with water dripping behind you. Let's walk through exactly what you'll need to pull this off like a pro.
Essential Toolkit for Shower Cartridge Removal
Before you dive in, taking a moment to gather the right tools is non-negotiable. This simple checklist covers the must-haves for a typical cartridge replacement, turning a potentially messy job into a controlled, manageable task.
| Tool/Material | Primary Use | Pro Tip |
|---|---|---|
| Screwdrivers | Removing handle and faceplate screws. | Have both a Phillips and a flathead. Some older fixtures use flathead screws in unexpected places. |
| Pliers | Pulling the retaining clip and gripping parts. | Needle-nose pliers are perfect for the small clip. Keep channel-lock pliers handy for stubborn parts. |
| Allen Wrench Set | Loosening the set screw on the handle. | This screw is often hidden underneath the handle. Test a few sizes to get a snug fit and avoid stripping. |
| Utility Knife | Cutting through old caulk or mineral buildup. | Use a fresh, sharp blade to score carefully around the faceplate. This prevents scratching the finish. |
| Cartridge Puller | Safely extracting a stuck cartridge. | This is a must-have for older fixtures or homes with hard water. Don't risk it. |
| Rags or Towels | Protecting surfaces and plugging the drain. | An old towel in the tub prevents scratches from dropped tools and soaks up residual water. |
| Plumber's Grease | Lubricating the new cartridge's O-rings. | A small dab ensures the new cartridge slides in easily and creates a better seal. |
| Replacement Cartridge | The new part to be installed. | Make sure you have the exact model for your faucet. Take a photo of the old one to the store. |
With these items laid out and ready, you're setting yourself up for a much smoother experience.
The One Tool You Can't Afford to Skip: The Cartridge Puller
Let's be blunt about the cartridge puller. If your shower is more than a few years old or you live in an area with hard water, this tool is your best friend. Over time, mineral deposits can essentially weld the cartridge to the valve body inside the wall.
Trying to yank out a stuck cartridge with just pliers is a surefire way to break something. You could damage the valve itself, turning a $30 repair into a $500+ plumbing emergency that involves opening up your wall.
A cartridge puller is designed for one job: to apply slow, even pressure that safely coaxes the cartridge out. Trust me, it's the best $20 you'll spend on this project.
Smart Prep for a Mess-Free Job
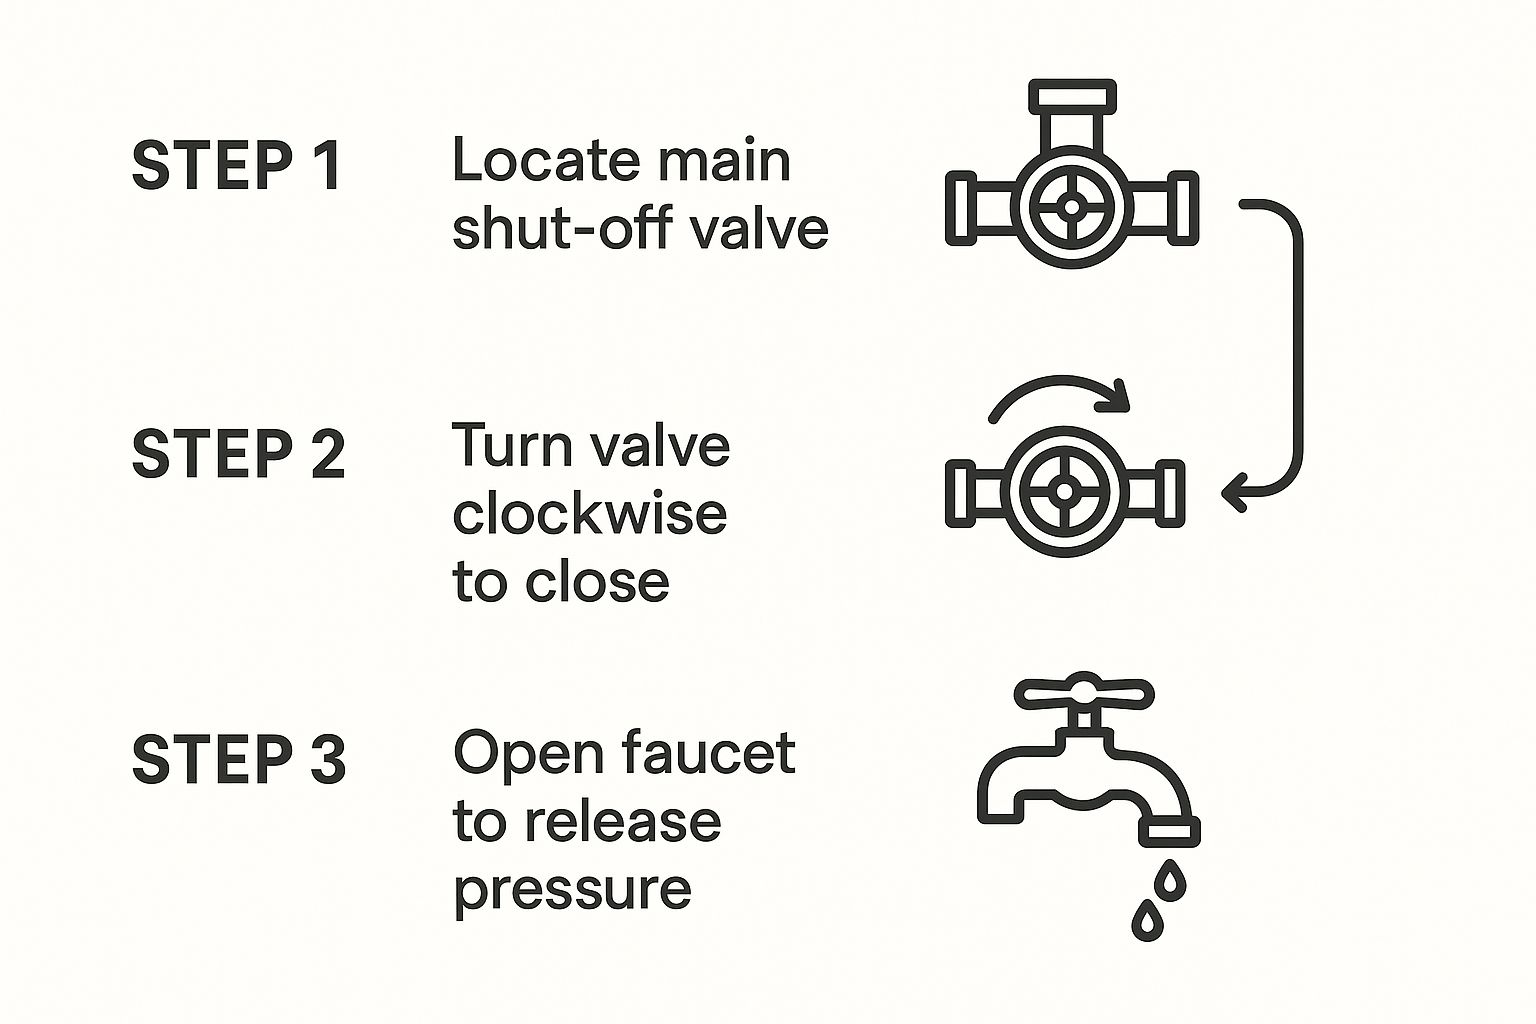
A few simple prep steps will save you a world of hurt. First, and most importantly, shut off the water to the shower. This might be a local valve just for the bathroom, but more often than not, you'll need to turn off the main water supply to the entire house.
Next, plug the drain. I can't tell you how many times I've heard stories of a tiny screw or that critical retaining clip vanishing down the drain forever. A simple rag or a drain stopper prevents this catastrophe. Lay down another towel on the shower floor to catch any drips and protect the surface from dropped tools.
Getting your gear ready is half the battle. If you're tackling other plumbing jobs, you can find a more complete rundown of essential faucet installation tools to build out your kit. A little preparation makes any plumbing task, including a full upgrade to a new CRANACH shower system, feel much less intimidating.
Removing the Old Shower Cartridge
Alright, you've got your tools laid out and the water is definitely off. This is where the real fun begins, but don't worry. We'll walk through this just like a pro would, taking it one step at a time. The main goal here is simple: get that old, leaky cartridge out without any headaches.
Starting this way keeps you dry and makes the whole job much cleaner. Now, let's get that fixture opened up.
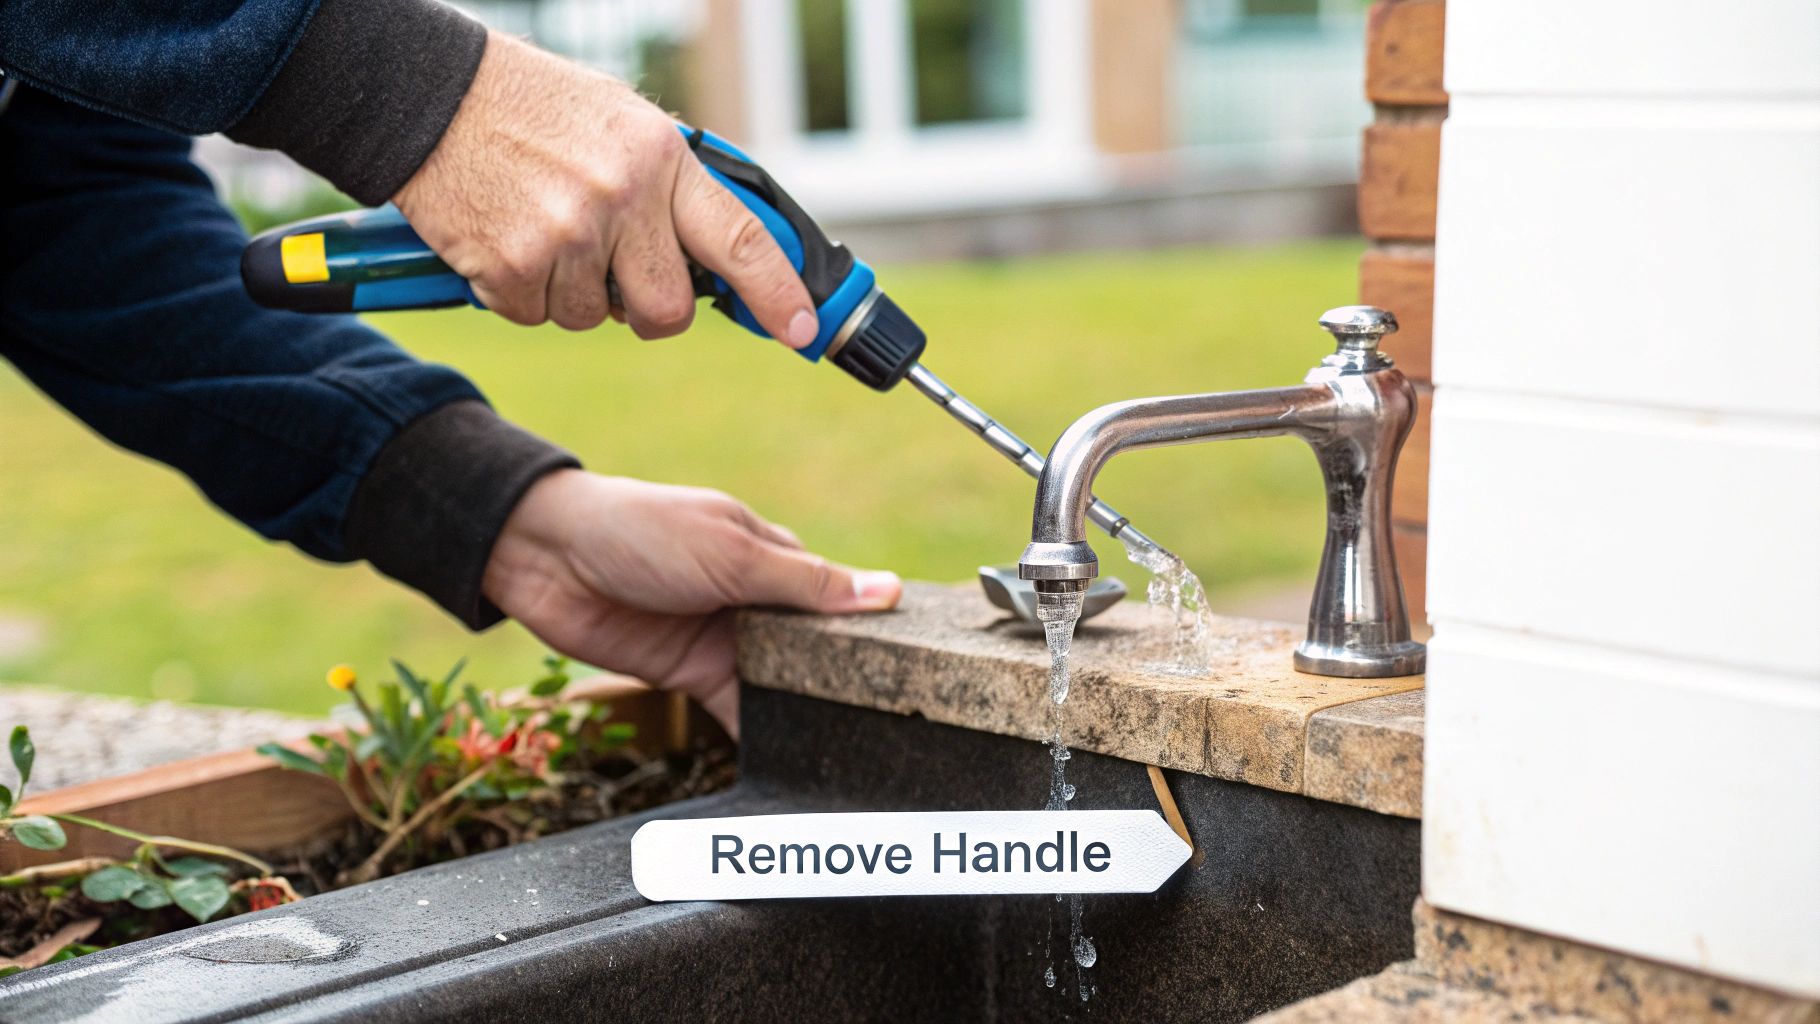
Get to the Valve Body
First things first, we need to get that shower handle out of the way. Most handles have a tiny set screw holding them in place, usually hidden on the underside or behind a little plastic cap right on the front.
Once you spot it, grab the right Allen wrench or screwdriver and loosen it. You don't need to take it all the way out; just back it off enough so the handle slides free. If you're running into trouble or the handle just won't budge, you can find some great tips on how to safely unscrew a faucet handle without scratching anything.
With the handle off, you'll see the decorative faceplate, also called an escutcheon. It's typically held on with a couple of screws. Be aware, if it's been on there for years, it’s probably sealed to the wall with caulk or mineral deposits. Take a utility knife and carefully score around the edge before you try to pry it off. This little step can save you from chipping your tile.
Find and Free the Retaining Clip
Okay, the faceplate is off, and you should be looking right at the front of the valve and the tip of the cartridge. Now, it's time to find a tiny but crucial part: the retaining clip.
This little U-shaped piece of metal is what locks the cartridge into the valve body. Look for it sitting in a slot, almost always at the 12 o'clock position.
My #1 Tip: Before you even think about touching that clip, cover your drain. I can't tell you how many times I've seen these little guys spring loose and vanish forever down the drain. It's a classic rookie mistake.
Take your needle-nose pliers or a small flathead screwdriver and carefully pull the clip straight up and out. Put it somewhere safe immediately—you'll need it to install the new cartridge.
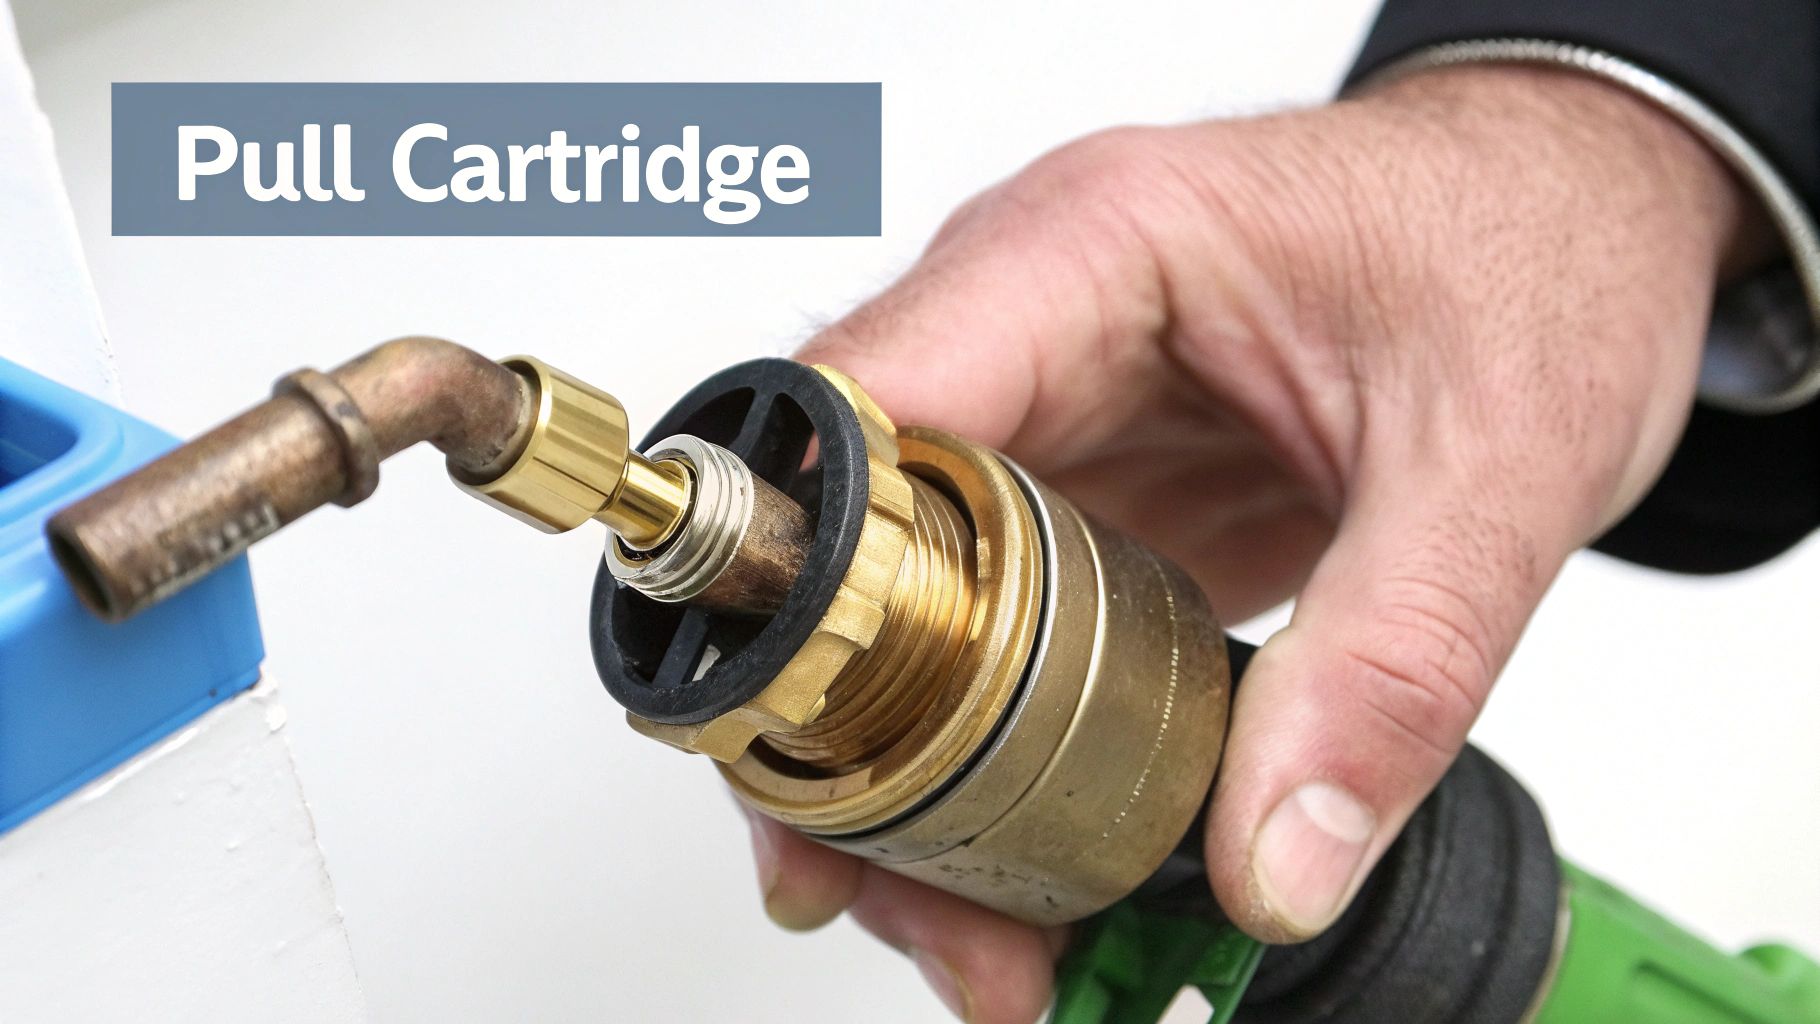
Pulling the Old Cartridge
This is the moment of truth. Sometimes, you get lucky. You can grab the cartridge stem with your pliers, give it a little back-and-forth wiggle, and it slides right out.
But more often than not, especially in areas with hard water, that cartridge is stuck solid. If it won't move, do not try to yank it out with sheer force. You could damage the valve body inside the wall, turning a simple fix into a major plumbing project.
This is exactly why you have a cartridge puller tool. It's designed to attach to the cartridge and use leverage to ease it out straight and clean, without putting any stress on your pipes. A little patience here goes a long way. Getting the old part out correctly is the key to making sure the new one seals perfectly and gets your shower working like new again.
What to Do When the Cartridge Just Won't Budge
We’ve all been there. It's the moment that separates a quick DIY win from a full-blown plumbing nightmare. You've got the handle off, the retaining clip is out, but the cartridge itself is completely seized. It won't move an inch.
Before you reach for a bigger pair of pliers and try to muscle it out—stop. Seriously. Brute force is the number one way to crack the valve body hiding in your wall. That turns a $30 fix into a few hundred dollars (or more) of professional plumbing work.
The real problem here isn't a lack of strength; it's almost always mineral buildup. Over the years, hard water deposits create a concrete-like bond, effectively gluing the cartridge to the inside of the valve. The solution isn't more power, but smarter techniques to break that seal without breaking your plumbing.
First, Try a Little Finesse
Before you bring out the heavy-duty tools, a few simple tricks can often do the job. The goal is just to crack the mineral seal.
- The Wiggle-and-Pull: Grab the cartridge stem again with your pliers. Instead of pulling straight out, add a gentle back-and-forth and up-and-down wiggling motion as you pull. Often, this tiny bit of movement is all it takes to break the mineral crust.
- The Tap Trick: While holding the stem with your pliers, take the handle of your screwdriver and give the main valve body a few firm taps. Be firm, but don't go wild. The vibrations can sometimes be enough to jolt the cartridge loose.
If you’ve tried this for a few minutes with no success, don’t lose your cool. It’s just time to step up your game.
Let Vinegar Do the Dirty Work
For a really stubborn cartridge, one of the best tools in your arsenal might be sitting in your kitchen pantry: plain white vinegar. Its natural acidity is fantastic at dissolving the calcium and limescale that are causing the problem.
Simply pour some white vinegar directly into the valve opening, making sure it gets all around the stuck cartridge. Now comes the hard part: walk away. Let it sit for at least an hour, but overnight is even better if you can swing it. The vinegar needs time to work its magic and soften up all that gunk.
Pro Tip: You'll know it's working when you come back and the cartridge finally has a little give when you wiggle it. Patience here can save you a ton of frustration and prevent you from accidentally damaging the valve.
Know When to Bring in the Professionals' Secret Weapon
If wiggling and vinegar still haven't freed the cartridge, it's time to call in the cavalry: the cartridge puller. This is the one tool that’s non-negotiable for a deeply seized cartridge. Don't even think about skipping it. A puller is designed specifically to grip the cartridge and pull it out perfectly straight, applying even pressure so you don't torque and crack the valve.
Water quality really is the biggest factor here. I've seen firsthand how challenging cartridge replacements can be in areas with very hard water—it can make the job up to 50% more difficult because the mineral scale is so intense. This problem has pushed manufacturers to improve their designs, especially for complete shower system packages where reliability is key. But even the best components can fall victim to years of mineral buildup.
Think of a cartridge puller as your insurance policy. Even a premium CRANACH fixture might get stuck after a decade of service in a home with hard water. Spending a few bucks on the right tool is infinitely better than paying a plumber to open up your wall.
Installing the New Cartridge for a Leak-Free Finish
Alright, you've wrestled the old cartridge out. The hard part is over, but don't get ahead of yourself. This next part—the installation—is where you ensure all that work pays off with a shower that doesn't drip. A little patience here goes a long way.
First things first, look inside the valve body in the wall. You'll likely see some gunk—mineral deposits, tiny bits of old rubber seals, you name it. Grab a clean rag or a small nylon brush and meticulously clean it out. Seriously, get it spotless. Any little piece of grit left behind can compromise the seal on your new cartridge and you'll be dealing with a fresh leak right away.
Ensuring a Perfect Seal
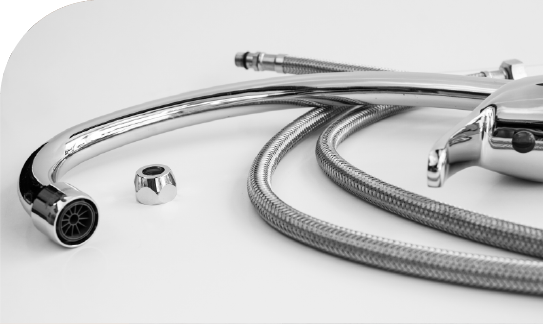
With the valve housing clean, grab your new cartridge. See those black rubber O-rings? They're your best friends for a watertight seal. Put a small dab of plumber’s grease on your finger and apply a very thin layer to each one. This isn't just for show; it lubricates the O-rings so they don't get torn or pinched as you push the cartridge in. It makes the whole process a lot smoother.
Proper installation requires understanding how all the little parts work together. The internal components like seals and diaphragms are what truly create that leak-proof barrier.
Now, it's time to actually insert the cartridge. Look closely at it—you should see markings, often an "H" for hot and a "C" for cold, or maybe some alignment tabs. These need to match up perfectly with the corresponding slots inside the valve body. If you get this backward, your hot and cold water will be reversed. Double-check the orientation, then slide it in firmly until it sits flush.
Crucial Alignment Tip: Pay close attention to any "hot side" indicators on the cartridge. Misalignment is the most common reason for reversed temperature controls after a replacement. Take a picture with your phone before you start if you need a reference.
Finishing the Job
Once the cartridge is snug in its new home, slide the retaining clip back in to lock it down. It should click or snap firmly into place. Now you can put the escutcheon plate (the decorative trim) and the handle back on.
This is the moment of truth. Head back to your main water shut-off valve and turn the water back on, but do it slowly. Cranking it on full-blast can cause a "water hammer"—a loud thud that can stress your pipes. You'll probably hear some sputtering from the shower as air works its way out of the lines; that's totally normal.
By the way, if you’ve noticed your shower's flow has been weak for a while, and this fix doesn't change it, you might have a different issue on your hands. It’s worth looking into other ways for how to increase water pressure in your shower.
Finally, check your work. Look carefully around the handle and trim plate for any signs of dripping. Turn the water on, test the hot and cold, and make sure the handle operates smoothly. If it's dry and the temperature is right, you've done it. Pat yourself on the back—you just fixed your shower.
Answering Your Shower Cartridge Questions
Even with the best guide, you're bound to have a few questions when you're elbow-deep in a plumbing project. That's perfectly normal. Getting answers to the common "what ifs" beforehand can make the whole process smoother and help you handle any surprises with confidence. Let's walk through some of the things people often ask when tackling a shower cartridge replacement.
How Often Should I Replace My Shower Cartridge?
Honestly, there's no magic number or strict expiration date. Your shower will tell you when it's time. If you're dealing with a constant drip, struggling to get the water temperature just right, or the handle feels stiff and hard to turn, those are all classic signs that the cartridge is on its way out.
Water quality plays a huge role here. If you live in an area with hard water, mineral buildup can wreak havoc on the internal seals, sometimes meaning you'll need to swap it out every few years. While premium cartridges, like the ones in a CRANACH shower system, are built to last, the best rule of thumb is to listen to your shower. Its performance is your most reliable indicator.
Is There a Risk of Damaging My Plumbing?
Yes, there's a small risk, but it's almost entirely avoidable with a little patience. The single biggest danger is cracking the main valve body—the brass fitting inside the wall—by using brute force on a stuck cartridge. This is a costly mistake. It’s exactly why specialized tools like a cartridge puller and simple descaling tricks with vinegar are your best friends for this job.
The key is to work slowly and deliberately. Resist the urge to grab a giant wrench and crank on it; that’s how most people end up with a cracked valve. By following the steps we've covered, you dramatically reduce the risk and keep your plumbing intact.
Knowing how to approach this specific task is great, but having a broader understanding of handling common plumbing emergencies is a smart move for any homeowner.
What If the New Cartridge Leaks?
Seeing a drip from your brand-new cartridge is incredibly frustrating, but don't panic. The cause is usually one of a few simple, fixable things.
- It Isn't Seated Correctly: The cartridge might not be pushed all the way into the valve body. It needs to be snug and fully seated to create a proper seal.
- The O-Rings Are Damaged: Those little rubber rings are delicate. It’s easy to tear or nick one during installation, especially if you forgot to apply a bit of plumber's grease first.
- Debris is in the Way: A tiny speck of rust, calcium deposit, or a piece of the old O-ring left inside the valve can be just enough to prevent a watertight seal.
The fix? You'll have to shut the water off again, pull the new cartridge back out, and take a close look. Check the O-rings for any damage and carefully wipe out the inside of the valve body before trying again.
If you’ve fixed the leak but your shower’s performance still isn't what you hoped for, other issues might be at play. You might want to learn more about how to increase the pressure of water in your shower to see what other improvements you can make.
A bathroom upgrade is one of the smartest investments for boosting your home's comfort and value. Whether you’re a seasoned contractor, a designer, or a homeowner ready for a weekend project, CRANACH provides the premium fixtures to make your vision a reality.
Take a look at our collection of high-quality shower system products today and find the perfect centerpiece for your renovation.
Leave a Reply