


您的购物车目前是空的!
How to Remove Shower Valve Cartridge – Easy DIY Guide
That constant drip… drip… drip… or a shower that just won't give you hot water usually points to a single culprit: a worn-out shower valve cartridge. Honestly, learning how to remove a shower valve cartridge is a fantastic DIY skill to have in your back pocket. It turns what feels like a major plumbing headache into a totally manageable home repair.
This small but crucial part is the real heart of your shower system, controlling every drop of water and every degree of temperature.
Your Guide to Replacing a Faulty Shower Cartridge
A failing cartridge isn't subtle. It makes its presence known with a few tell-tale signs. You might notice that persistent drip long after you've shut the water off, or maybe you find yourself fighting to get the temperature just right. A handle that's suddenly stiff and hard to turn is another dead giveaway. These aren't just minor quirks; they’re clear signs the internal seals and O-rings inside the cartridge have had enough.
From my experience, these symptoms are almost always linked back to this one component. In fact, something like 60-70% of common shower valve problems, like leaks and wild temperature swings, can be traced directly to a bad cartridge. It's worth checking out some common plumbing issues and their costs before you dive in.
The good news? Replacing it is a project that's well within reach for most homeowners. Armed with the right tools and a solid plan, you can get your shower back to perfect working order in just an afternoon. This guide will walk you through the entire process, from getting your supplies ready to that final, satisfying leak check.
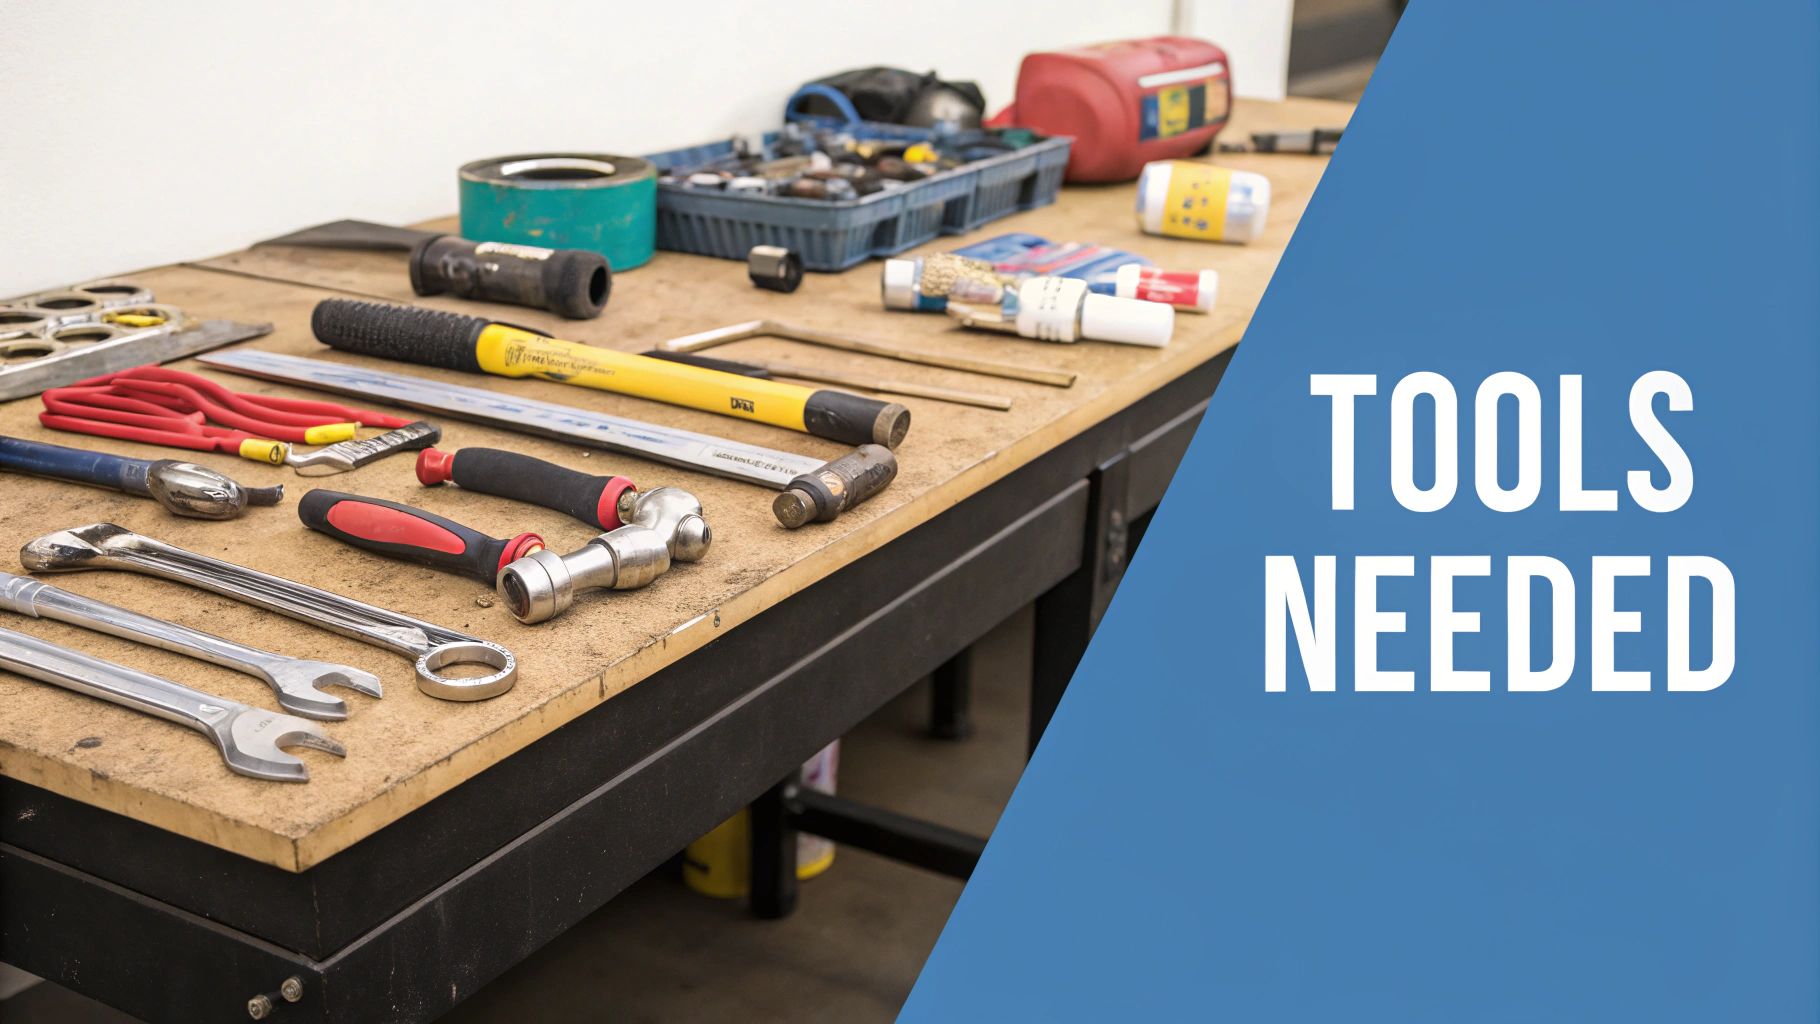
Your Project Checklist Tools and Supplies
Before you even think about turning off the water, get all your ducks in a row. Having everything you need laid out and ready to go is the secret to a smooth, stress-free repair. Trust me, you don’t want to be making a frantic trip to the hardware store halfway through the job.
| Item | What It's For | Insider Tip |
|---|---|---|
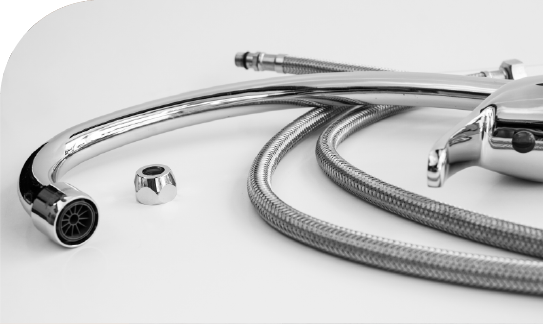
| New Shower Cartridge | The replacement part. | Take a photo of your faucet handle and trim to the store to ensure you get the exact match. Brand and model are key! |
| Screwdriver Set | Removing the handle and faceplate screws. | A multi-bit screwdriver is your best friend here. You'll likely need both Phillips and flathead bits. |
| Pliers (Channel-Lock) | Gripping and turning stubborn parts. | Wrap the jaws in electrical tape to avoid scratching chrome finishes on the trim or handle. |
| Allen Wrench Set | Removing the handle's set screw. | Many modern handles use a small Allen screw hidden underneath. Keep the set handy so you're not guessing sizes. |
| Cartridge Puller Tool | Removing a stuck or seized cartridge. | This tool is a lifesaver. It’s often brand-specific, so get one that matches your valve. |
| Utility Knife | Cutting through old caulk or sealant. | Go slow and be careful not to scratch the tile or shower surround. A fresh blade makes all the difference. |
| Plumber's Grease | Lubricating the new cartridge's O-rings. | This tiny step makes installation a breeze and helps ensure a watertight seal for years to come. Don't skip it. |
| Old Rags or Towels | Soaking up residual water. | Place a thick towel over the drain to catch any dropped screws or small parts. It’s a classic move for a reason! |
Once you have these items gathered, you’re not just prepared—you’re setting yourself up for success.
Project Overview and Timeline
So, what are you getting yourself into? Let's break it down.
- Skill Level: I'd call this a beginner-to-intermediate DIY job. If you can use a screwdriver, you can do this.
- Estimated Time: Plan for 1-3 hours. The biggest variable is whether the old cartridge puts up a fight coming out.
- Biggest Challenge: Without a doubt, it’s wrestling with a cartridge that’s fused in place by years of mineral deposits.
The real secret here is preparation. Seriously. Having all your tools ready and knowing the steps before you start can easily cut your project time in half and save you from that dreaded mid-job run to the store.
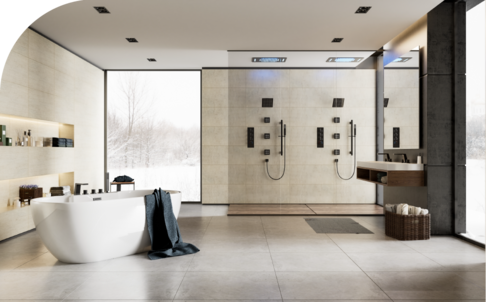
If you’re tackling drips elsewhere in the house, a good guide on leaky faucet repair can give you some extra tips. And hey, while you're in plumbing mode, why not learn how to clean your shower head with vinegar to get that water flow back to its best? Getting ready for this task means your entire CRANACH shower system will work like new.
Setting Up for a Safe and Clean Workspace
Before you even think about picking up a screwdriver, the secret to a smooth, stress-free repair is all in the prep work. Taking a few minutes to set up a safe and organized workspace is the most important thing you can do. Trust me, it’s the difference between a quick fix and a frustrating mess.
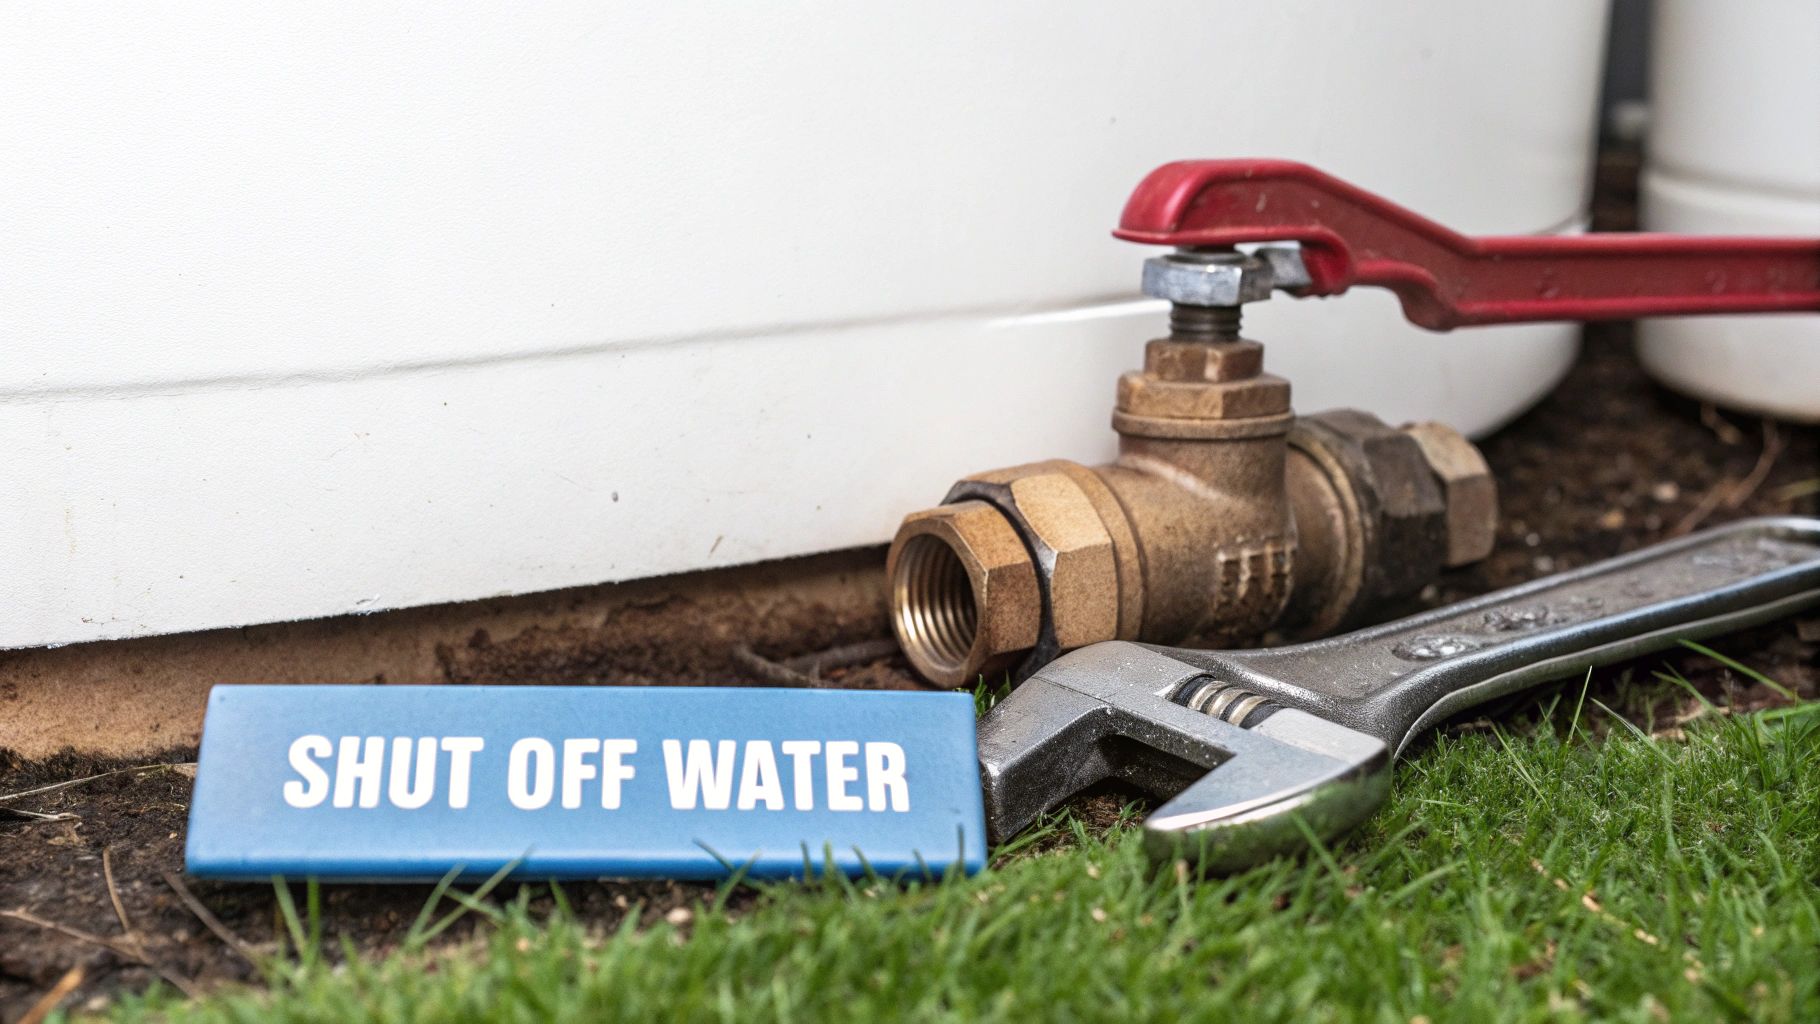
First things first, and this is non-negotiable: shut off the water supply to the shower. Your house might have an isolation valve right there by the shower, or you may need to head to the main water shutoff.
Once the valve is turned, don't just assume it's off. Always double-check by turning the shower handle to both hot and cold. This simple test ensures you won’t get a high-pressure, very wet surprise the second you start taking things apart.
Protecting Your Space
Now, let's protect your tub or shower stall. Lay down an old, thick towel or a painter's drop cloth. This does two things: it stops your tools from scratching the finish and gives you a soft spot for any little parts you take off.
Just as crucial is plugging the drain. This is a classic plumber’s trick for a good reason—it’s the only thing that will save a tiny, irreplaceable screw or retaining clip from vanishing down the pipes for good.
A simple rag or drain stopper is your best insurance policy against losing small parts. I’ve seen a lost clip turn a one-hour job into a multi-day ordeal just trying to find a replacement.
With the water off and your surfaces protected, you’re ready to start. This methodical setup doesn’t just keep your bathroom clean; it keeps your project on track. When you're ready to get the handle off, our guide on how to unscrew a faucet handle has some great techniques. Getting this groundwork right is key before you learn how to remove a shower valve cartridge from your CRANACH shower system.
Getting to the Valve by Removing the Faucet Trim
Now that you’ve prepped your workspace and everything is safe, it’s time to get hands-on and expose the shower valve cartridge. This part of the job involves carefully taking off the faucet handle and that decorative trim plate flush against your shower wall.

Most shower handles are held on by a tiny, often hidden, set screw. Before you start pulling or prying, take a good look at the handle from all angles. You'll typically find the screw in one of two places:
- Under the Handle: This is the most common spot. You might need to get down low to see the little hole.
- Behind a Decorative Cap: Check for a small plastic or metal cap on the front or side of the handle. You can usually pop it off gently with a flathead screwdriver to find the screw hiding underneath.
Once you spot it, grab the right tool—usually an Allen key or a small Phillips screwdriver—and loosen the screw. Just turn it counter-clockwise a few times until you can feel the handle wiggle free from the valve stem. There's no need to take the screw all the way out; you just risk it falling down the drain.
Taking Off the Escutcheon Plate
With the handle off, your next step is to remove the escutcheon plate. That’s the big decorative cover that hides all the plumbing and gives your CRANACH shower system its clean, finished look. How it comes off really depends on the style.
Some plates are held on by two visible screws. If you see them, it's your lucky day—just unscrew them, and the plate will come right off.
Many modern designs, however, don't have any visible screws. If that’s what you’re looking at, the plate is probably held in place by friction or sealed with a thin line of caulk around the edge.
Pro Tip: If there's caulk, run a utility knife carefully around the edge of the plate to break the seal. Go easy so you don't scratch your tile or shower surround. After cutting the seal, you can usually work the plate away from the wall with your fingers or a plastic putty knife.
Once the plate is gone, you’ll have a clear view of the valve body, the top of the old cartridge, and whatever is holding it in—usually a retaining clip or a bonnet nut. You're almost there.
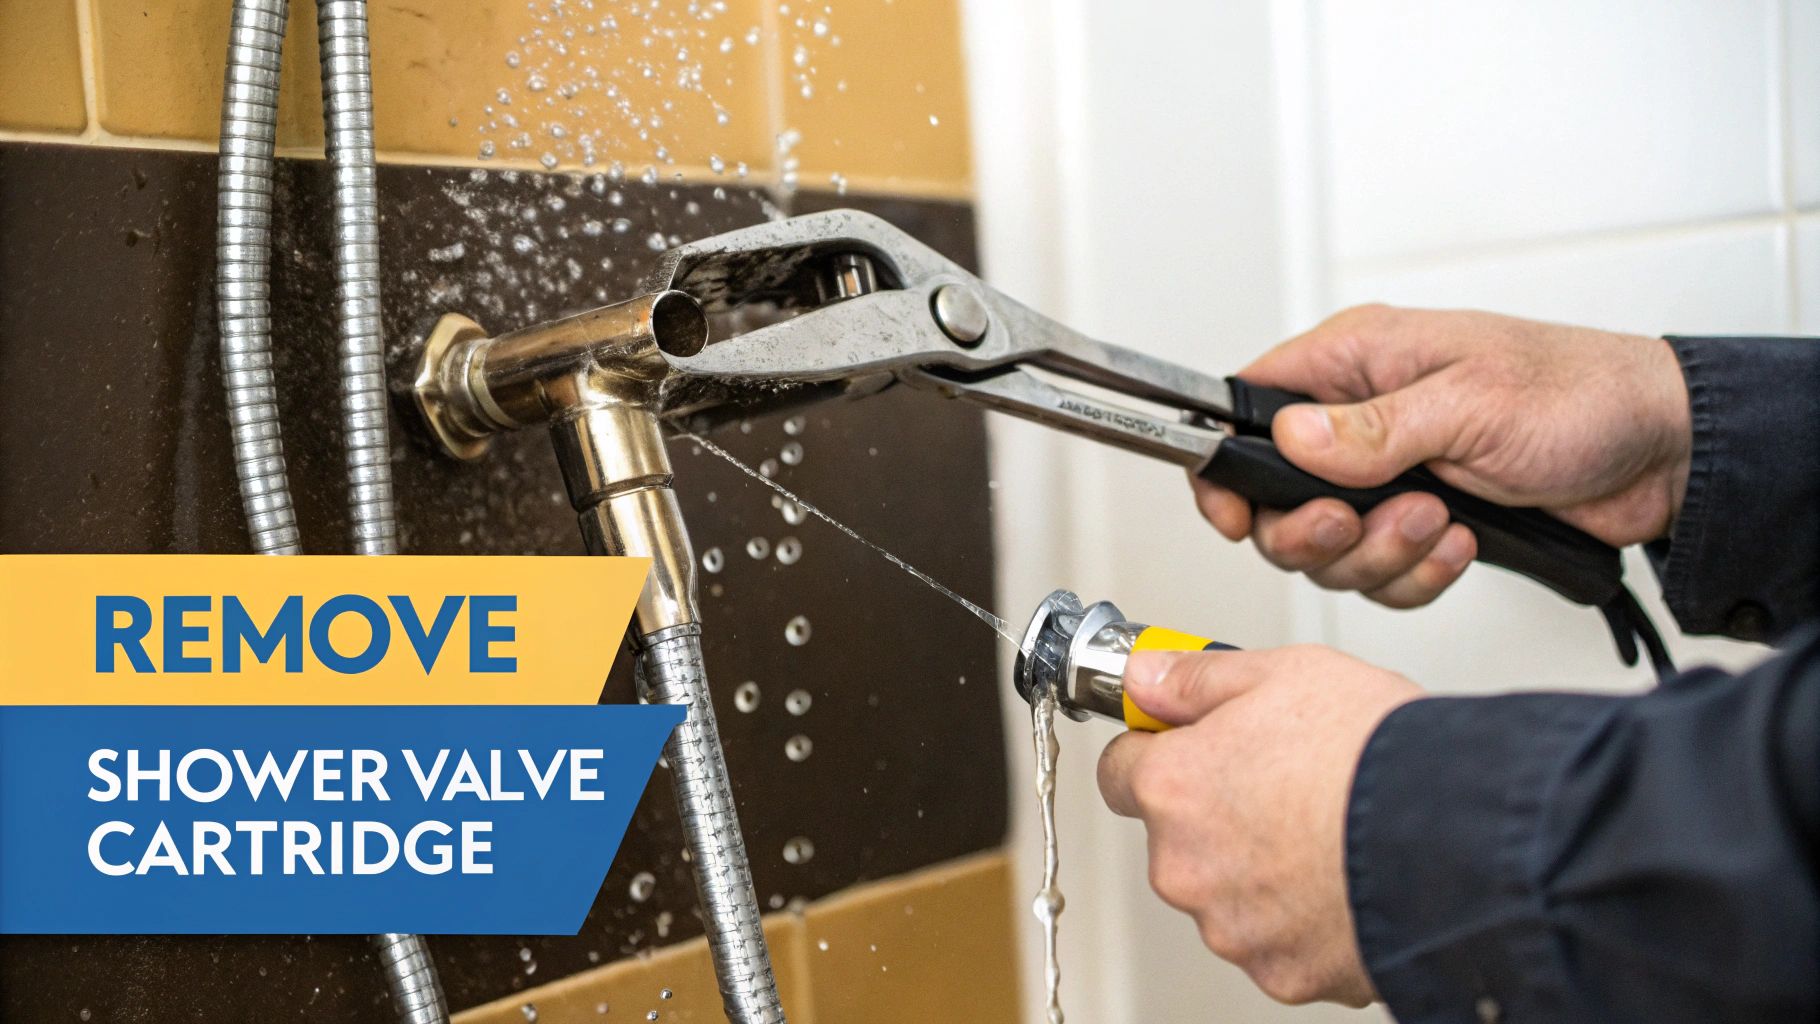
How to Extract the Old Shower Cartridge
Alright, this is the heart of the operation. With the valve body now in plain sight, you can get down to the main event: pulling that old, leaky cartridge.
First things first, you need to figure out what’s holding it in place. Take a close look at the valve. You’ll almost always find one of two things: either a small, U-shaped retaining clip or a much larger, threaded bonnet nut.
A retaining clip is a simple piece of metal that slots into the valve body to lock the cartridge down. To get it out, just grab a flathead screwdriver or some needle-nose pliers and gently pry it straight up. If you're dealing with a bonnet nut, you'll need your channel-lock pliers or an adjustable wrench to turn it counter-clockwise and unscrew it completely.
Once the fastener is out of the way, the process is pretty straightforward. This image breaks it down nicely.
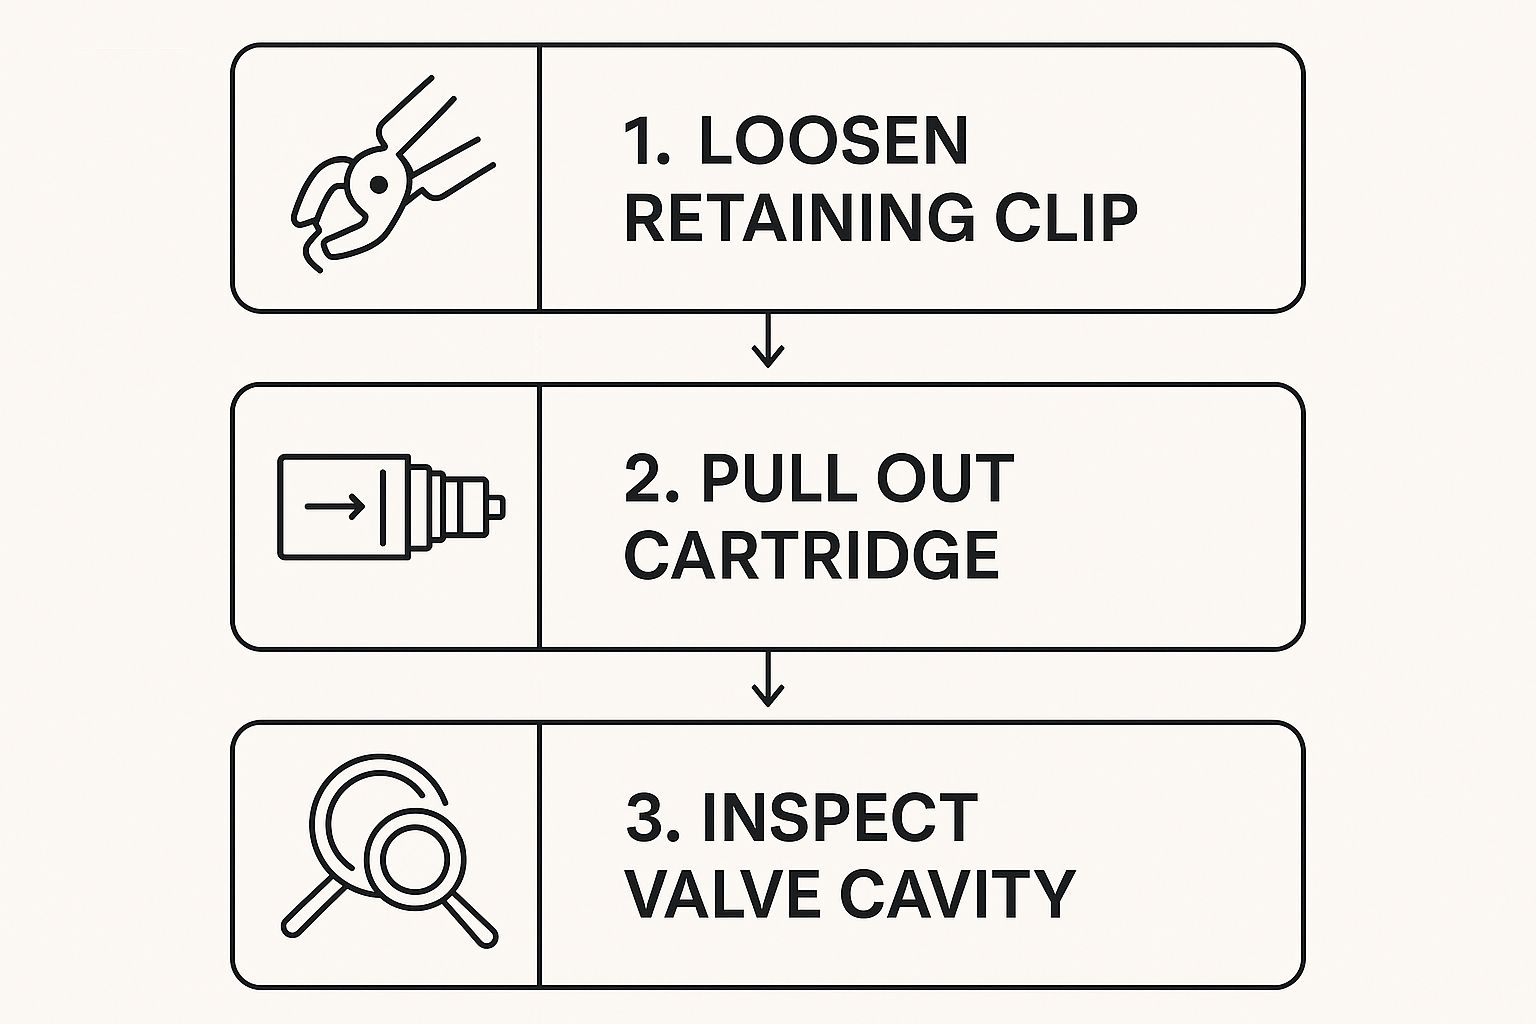
As you can see, it’s a simple sequence: loosen what’s holding it, pull the cartridge out, and then check the housing. Thinking of it this way makes the job feel a lot less intimidating.
Wiggling the Cartridge Free
With the clip or nut removed, it’s time to get that cartridge out. Grab onto the plastic stem with your pliers and give it a good wiggle from side to side while pulling straight toward you. If you’re lucky, it’ll pop right out without much of a fight.
Critical Tip: Before you pull the cartridge completely free, stop and snap a quick photo with your phone. Pay close attention to its orientation—which side is hot and which is cold. Installing the new one upside down is a classic DIY mistake, and you’ll know it immediately when your hot and cold controls are reversed.
More often than not, though, the cartridge will be stuck solid, practically welded in place by years of mineral buildup. If it won’t budge with a bit of force, stop pulling. This is where you can do real damage. Instead, this is the moment a cartridge puller tool becomes your best friend.
A cartridge puller is designed to apply steady, even pressure, safely extracting the cartridge without cracking the valve body hidden in your wall. You can find more detailed advice for these really stubborn situations in our guide on how to remove a stuck shower cartridge. Trust me, it’s worth the read if you hit a wall.
You're in the final stretch now. Once that old, faulty cartridge is out of the way, you're just a few simple steps from having a shower that works perfectly and, most importantly, doesn't leak. It's all about careful installation from here on out.
Before you even think about sliding the new cartridge in, take a second to clean out the inside of the valve body. A clean rag or a small nylon brush works wonders here. Just give it a gentle wipe to clear out any mineral gunk or leftover bits of rubber from the old part. You need a clean surface to get a perfect seal.
A Pro Tip for a Smooth Fit
Here’s a little trick I’ve picked up over the years that makes a world of difference: apply a very thin coat of plumber's grease to the O-rings on your new cartridge. This stuff is silicone-based and helps the cartridge slide into place without any force. It also protects those delicate rubber seals from getting pinched or torn, which is a common cause of new leaks.
Now, gently guide the new cartridge into place. Remember that picture you took earlier? Pull it up. Double-check that the "H" (hot) and "C" (cold) markings are oriented correctly. Trust me, putting it in upside-down happens more often than you'd think, and it'll completely reverse your hot and cold water.
With the cartridge seated, you can put the retaining clip back in or screw the bonnet nut back on. Reattach the escutcheon plate and the handle, and then it's time for the moment of truth.
The Final Check: Turn the main water supply back on, but do it slowly. It's a good idea to open another faucet in the house first to let any trapped air escape the pipes. Then, test out the shower. Keep a close eye on the valve for any sign of drips before you seal up the trim plate with caulk.
A properly installed cartridge is what makes a high-performance CRANACH shower system work so well. This demand for quality and better water efficiency is a huge reason the global shower faucet market is booming, with experts projecting it will hit USD 65.34 billion by 2032.
If your water pressure feels a bit weak after the repair, you might want to check out our guide on how to increase water pressure in your shower.
Dealing With Common Cartridge Removal Headaches
Even with the best instructions, you can still hit a snag. I've been there. Learning how to remove a shower valve cartridge sometimes involves a bit of on-the-fly problem-solving. Let's walk through the most common issues people run into during this kind of DIY repair.
A frequent problem is a cartridge that feels completely seized up. If yours is stuck fast from years of mineral buildup, whatever you do, don't just grab a bigger wrench and use brute force. You'll likely damage the valve body itself. The best solution is a cartridge puller tool, which is designed to apply even pressure and safely pop it out.
Another question I get all the time is how to find the right replacement part. The most reliable method, hands down, is to take the old cartridge with you to a plumbing supply store for a visual match. There are dozens of types out there, and getting the exact one is critical.
Hot and Cold Water Reversed
So, you’ve put everything back together, turned the water on, and now your hot is cold and your cold is hot. Don't panic! This is an incredibly common mistake and, thankfully, a simple fix. It just means the new cartridge was installed 180 degrees from its correct orientation.
This is precisely why it’s so important to note the original cartridge’s position before you pull it out. A quick photo with your phone can save you from having to do this part of the job twice.
You'll just need to shut the water off again, take off the trim, pull the cartridge out, give it a half-turn, and reinstall it correctly.
While you have things apart, if you've been having water pressure issues, now is a great time to learn more about how to increase water pressure in a shower. And if you find yourself tackling other plumbing challenges around the house, this external guide on troubleshooting and fixing a leaking kitchen faucet can be a fantastic resource.
With these troubleshooting tips, you should be able to confidently finish your repair and get back to enjoying a perfectly functioning shower. For a truly premium upgrade, explore the exceptional design and performance of a CRANACH shower system.
Leave a Reply