


您的购物车目前是空的!
Why Is My Rain Shower Head Leaking? Top Causes & Fixes
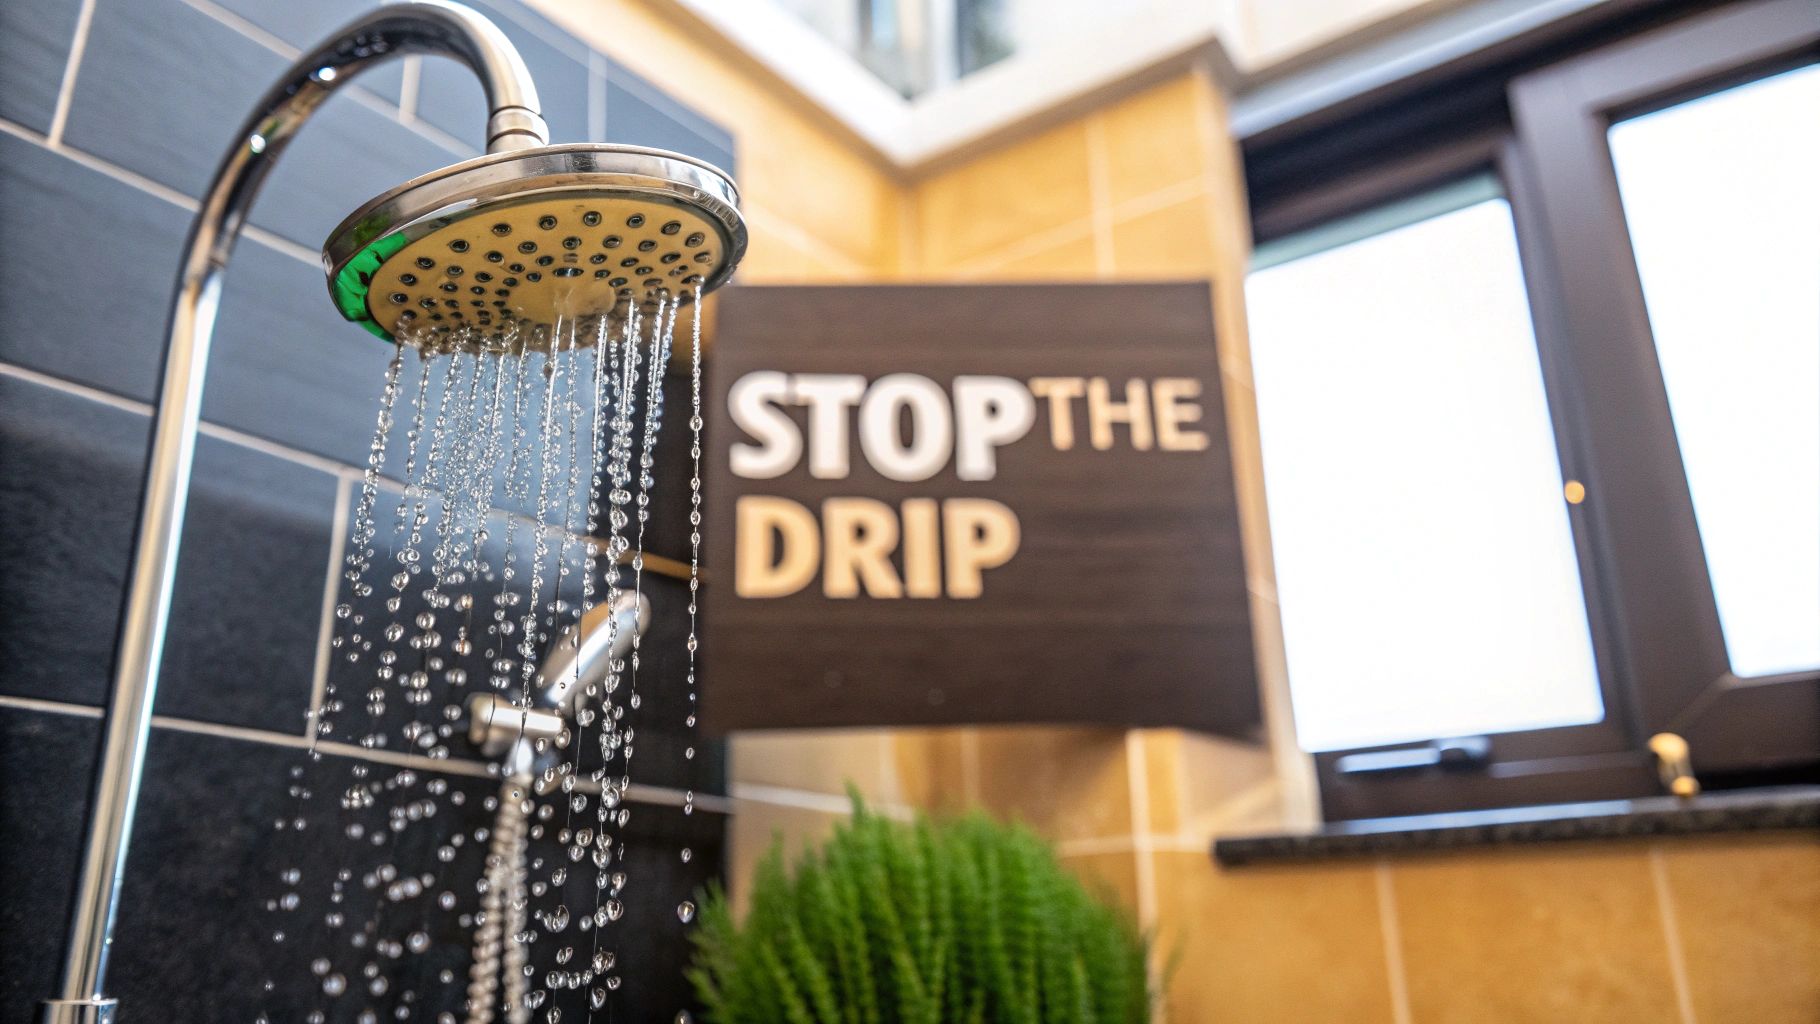
That drip…drip…drip echoing from your bathroom isn't just an annoying sound. It’s your rain shower head telling you something isn't right. More often than not, the culprit behind a leaking rain shower head is surprisingly simple: a worn-out rubber washer that’s lost its seal or mineral buildup from hard water that’s clogging things up and forcing water out where it shouldn’t.
Diagnosing That Annoying Drip From Your Shower Head
A leaking shower head is one of those classic household problems, but figuring out the why can sometimes feel like a guessing game. The good news? You almost never need to call a plumber for this. That steady drip is usually pointing to one of a few common issues, and each one has its own tell-tale signs.
Forget about complicated plumbing diagrams. This is all about giving you the confidence to see what’s wrong. Once you know what to look for, you can diagnose the issue in minutes and decide on the right fix—which could be as simple as swapping out a tiny, inexpensive part or just giving your fixture a good deep clean.
Finding the Source of the Leak
First things first, you need to play detective. Take a close look at where the water is actually coming from. Is it dripping straight from the nozzles long after you've turned the water off? Or is the leak coming from the connection point, right where the shower head screws onto the shower arm?
Just answering that one question cuts the list of potential problems in half. A high-quality shower system, like the ones we've designed at CRANACH, is built to last. But even the best fixtures experience normal wear and tear over the years.
A single leaking shower head can waste thousands of gallons of water per year. Fixing it doesn't just silence the drip—it saves you money on your water bill and helps prevent nasty mold from growing.
To make things even easier, I've put together a quick diagnosis table. It lines up the potential causes with the symptoms you're likely seeing and gives you a feel for how difficult the repair will be. This way, you know exactly what you’re up against from the get-go.
Quick Diagnosis for a Leaking Rain Shower Head
Use this table to quickly match what you're seeing with the most likely cause and get a sense of the repair difficulty.
| Potential Cause | Common Symptoms | DIY Repair Difficulty |
|---|---|---|
| Worn-Out Seal or Washer | Water drips from the connection between the shower head and the shower arm. | Easy |
| Mineral & Limescale Buildup | Water sprays unevenly, or drips from the nozzles long after the shower is off. | Easy to Moderate |
| Damaged Shower Head | A visible crack or damage on the shower head casing itself; leak persists after cleaning. | Moderate (Requires Replacement) |
| Loose Connection | The shower head feels wobbly; water leaks from the connection point. | Easy |
Most of the time, a quick look at this table is all you'll need to identify the problem. As you can see, the majority of these fixes are well within reach for a weekend DIY project.
The Tiny Part Causing Big Leaks: Worn Washers and Seals
You’d be surprised how often a major-looking leak from your rain shower head comes down to a tiny, inexpensive rubber part. It’s not some plumbing catastrophe. Tucked inside the connection where your shower head screws onto the shower arm is a small but mighty component—a washer or an O-ring. Its entire job is to create a perfect, watertight seal.
Over time, that little seal gets put through the wringer. Constant pressure and swings in water temperature cause the rubber to harden, get brittle, and eventually crack or compress. Once that happens, the seal is shot. Water will always find the path of least resistance, and that path leads right out of the connection, creating that frustrating drip, drip, drip.
Worn-out seals are one of the most common culprits behind a leaky shower. Knowing where these weak points are is the first step to a quick, easy fix.
Locating and Replacing the Worn Seal
Honestly, fixing this is one of the most satisfying DIY repairs you can do.
First things first, you’ll need to gently unscrew the shower head from the arm. A great tip is to wrap a cloth or towel around the fixture before you put a wrench on it—this will save you from scratching up that nice finish. Once it’s off, take a look inside the threaded end of the shower head.
You should spot a small rubber washer or O-ring sitting in there. If it looks flattened, cracked, or feels hard instead of flexible, you've found your problem. Just use a small flathead screwdriver or even a toothpick to carefully pry the old one out.
Here’s a pro tip that’ll save you a headache: take that old washer with you to the hardware store. It guarantees you get an exact match in size and thickness, which is absolutely critical for creating that new, perfect seal.
Got the new washer? The hard part is over. Just pop the new one into place, making sure it sits flat and snug. For some extra leak insurance, I like to wrap the threads of the shower arm with a few layers of plumber's tape before putting the head back on. It just adds another layer of security against future drips.
One of the main reasons these washers fail is just simple wear and tear. Depending on your water quality, the rubber parts in your bathroom fixtures usually last about 5 to 10 years. And that seemingly small drip? It can waste up to 7 liters of water every single day. That’s more than 2,500 liters a year from just one leak.
The Difference a Fresh Seal Makes
Once you’ve screwed the shower head back on (hand-tight is usually plenty), turn the water on and admire your handiwork. In most cases, the leak will be completely gone. It’s a simple, five-minute fix that not only stops the annoying sound but also saves water and helps prevent mildew from forming.
Now, this solves leaks at the shower head itself. If you're seeing drips coming from the faucet handles, that’s a different beast. For that particular job, you might want to check out our guide on how to fix a leaky shower faucet.
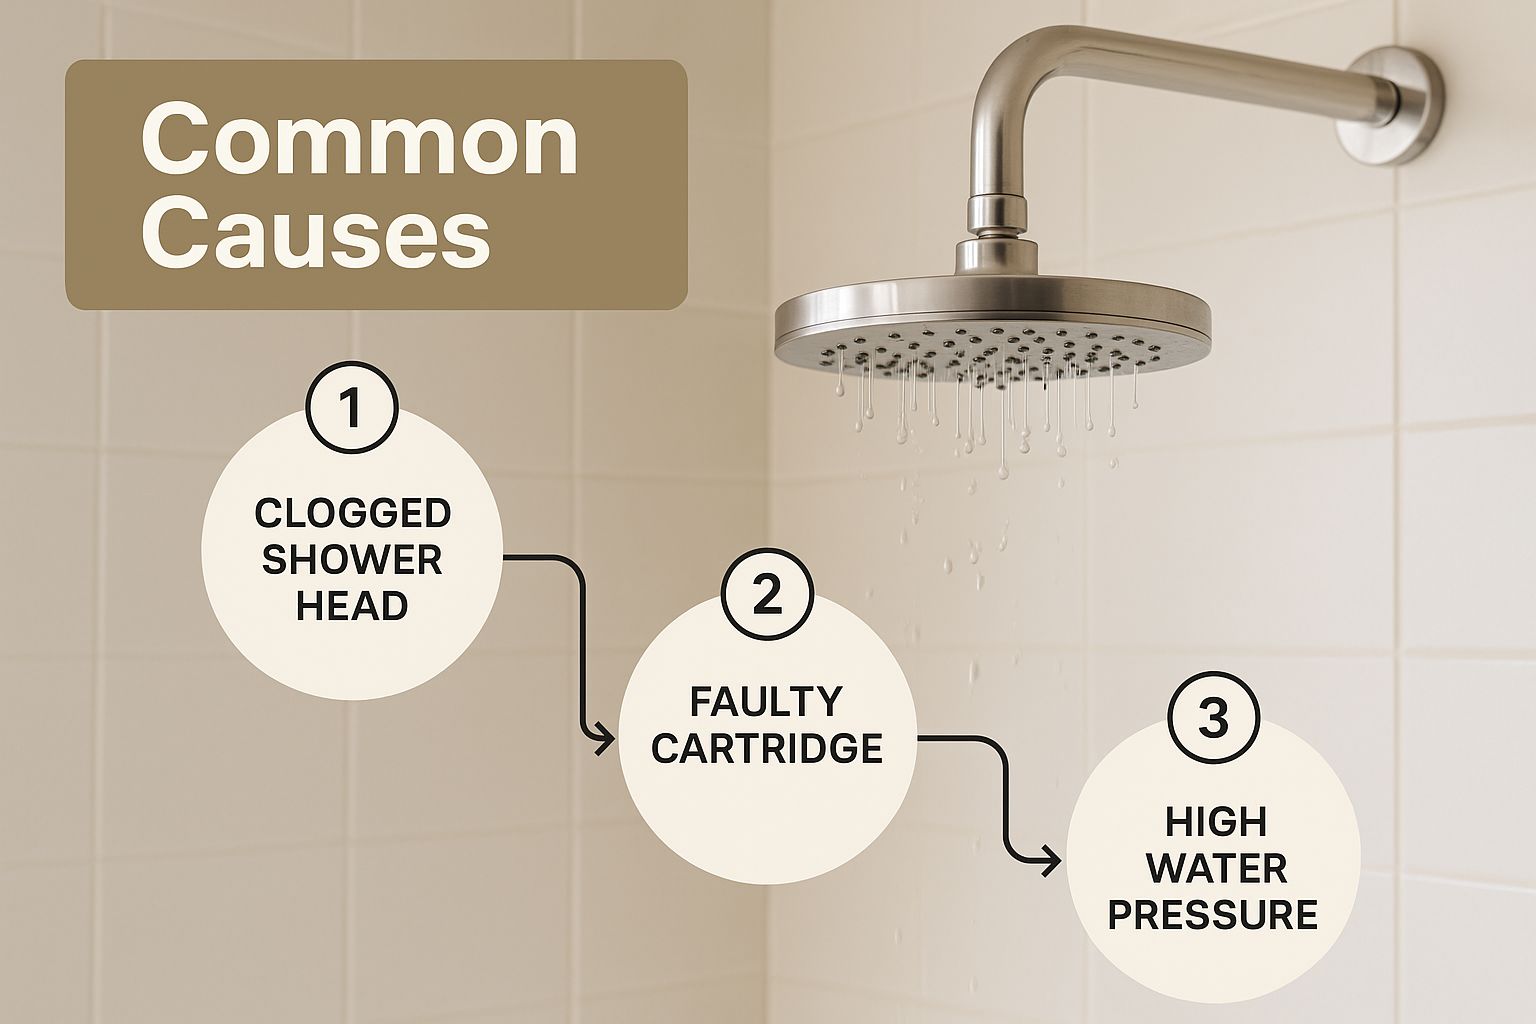
How Mineral Buildup Clogs and Cracks Your Shower Head
If you’ve already checked the washers and seals and everything looks good, the next likely culprit for your leaky rain shower head is hidden inside the fixture itself. Hard water is the unseen enemy of our home’s plumbing, and your shower head is right there on the front lines. This is especially true for those beautiful, luxurious rain-style heads with their hundreds of tiny, individual nozzles.
Hard water is packed with dissolved minerals like calcium and magnesium. While they’re harmless to you, these minerals love to cling to surfaces as water evaporates. Over time, they create that crusty, chalk-like gunk we call limescale or mineral buildup. For a rain shower head, this accumulation is a major headache.
This buildup is one of the top reasons for leaks, especially in areas with hard water. And that’s a lot of us—studies show that roughly 85% of U.S. households and countless homes worldwide deal with hard water. The mineral deposits gradually clog the small nozzles and can even mess with internal seals, leading to weird spray patterns, blockages, and eventually, leaks from the seams.
The Pressure Cooker Effect
Think of your rain shower head like a colander. When all the holes are clear, water flows through easily and evenly. But as mineral buildup starts to plug those tiny nozzles one by one, the water has fewer and fewer places to escape.
The pressure inside the shower head starts to build, desperately looking for a way out. This intense internal pressure can force water through weaker points, like the seams of the casing or around the main connection—even if the washer there is brand new.
A tell-tale sign of mineral buildup is an erratic spray pattern. If some nozzles are spraying sideways while others are completely blocked, you're almost certainly dealing with limescale.
This internal pressure doesn't just cause annoying drips; it can lead to permanent damage. Over time, that constant stress can create hairline cracks in the body of the shower head itself. What started as a simple cleaning job can quickly turn into a mandatory replacement.
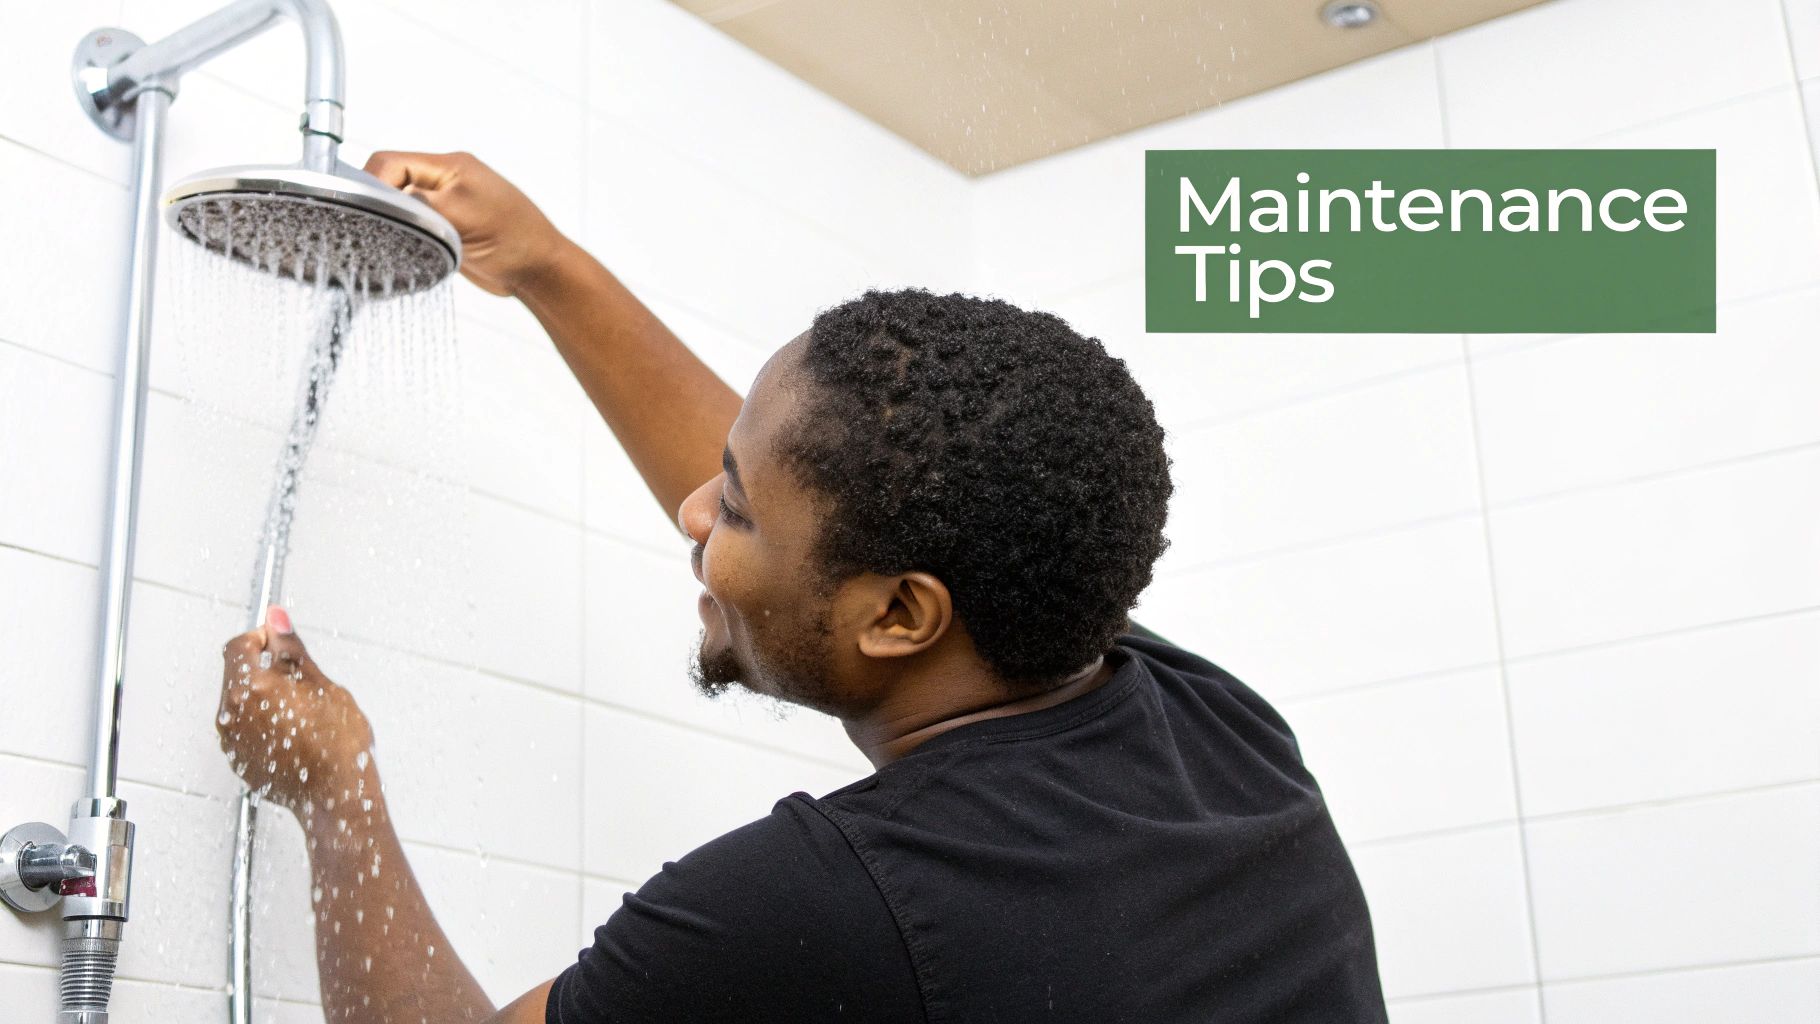
Your Deep Cleaning Game Plan
The good news? You can absolutely tackle mineral buildup yourself. You don’t need any harsh chemicals that could ruin the finish on your fixture. All it really takes is a good soak in some plain white vinegar.
Here's how I approach it:
- Take It Apart: First, gently unscrew the shower head from the arm. If you can, remove the faceplate. This lets the vinegar get deep inside where the real problems are.
- Give It a Vinegar Bath: Submerge the shower head completely in a bowl of white vinegar. Let it soak for at least 30 minutes. For really stubborn buildup, I’ve left them overnight.
- Do Some Gentle Scrubbing: After the soak, grab an old toothbrush and give the nozzles a gentle scrub to dislodge any leftover gunk.
- Rinse It All Out: Finally, flush the shower head with warm water to clear out all the loosened debris and any remaining vinegar.
For a more detailed walkthrough, our guide on how to clean your shower head breaks down every step. And to keep your whole bathroom looking its best, it’s worth learning about removing hard water stains for good. A little bit of regular cleaning every few months will stop clogs from ever getting bad enough to cause a leak in the first place.
If the Leak is at the Wall: Resealing the Shower Arm
So, you've cleaned the shower head and even replaced the washer, but you're still chasing that maddening drip-drip-drip. What gives?
If you notice water isn't coming from the shower head nozzles but from where the shower arm disappears into the wall, you're looking at a completely different culprit. That little leak is a tell-tale sign of a problem with the threaded pipe connection, which is tucked away behind that decorative cover plate (called an escutcheon).
This fix is a bit more involved than just swapping out a washer, I'll admit. But it's absolutely something a confident DIYer can handle. Honestly, successfully solving this kind of leak is incredibly satisfying—it saves you a plumber's bill and gives you a much better understanding of how your shower is put together.
Unsealing and Resealing the Shower Arm
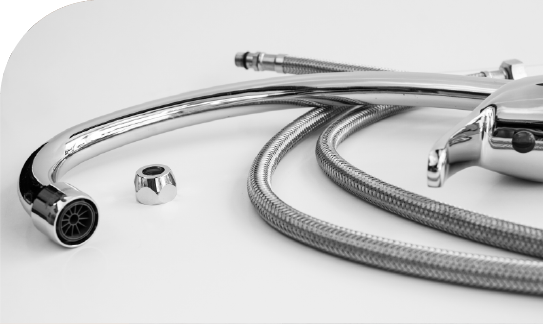
The secret to this repair lies in creating a brand-new, perfect seal on the pipe threads. To do this, you’ll need to remove the whole shower arm, give everything a good cleaning, and reapply some fresh thread sealant tape—you’ve probably seen it called plumber's tape.
First things first, you have to turn off the main water supply to your house. You definitely don’t want any surprise geysers. With the water off, you can carefully start unscrewing the shower arm from the fitting in the wall. You might need to gently slide the escutcheon plate away from the wall to get a good grip on the arm with a wrench. A quick pro tip: wrap a cloth around the arm before you put the wrench on it to avoid scratching up the finish.
A common mistake I see people make is over-tightening the fittings when they put it all back together. This is a huge risk. Too much force can crack the pipe fitting inside the wall, turning a small drip into a massive plumbing emergency.
Once you have the arm off, you'll likely see the old, shredded bits of plumber's tape clinging to the threads. That's the stuff that failed, and that's what we need to replace.
Creating a Rock-Solid Seal
Now for the most critical part of the job: making that fresh, watertight seal. A proper seal won't just stop the leak; it can sometimes help with other annoying issues. If you've been wondering how to increase water pressure in shower, a leaky, poorly sealed arm connection can sometimes be a contributing factor.
Here’s the right way to get it done:
- Clean the Threads: Grab a small wire brush or even an old toothbrush and get to work. You need to scrub off all the old tape, grime, and gunk from the threads on both the shower arm and the fitting inside the wall. The surfaces have to be perfectly clean for the new tape to adhere properly.
- Apply New Plumber's Tape: Take your roll of plumber's tape and wrap it clockwise around the threads of the shower arm. Wrapping it clockwise is key—it ensures the tape tightens down as you screw the arm back in, instead of bunching up or unraveling. Three to four wraps should be plenty.
- Reinstall the Arm: Gently screw the shower arm back into the wall fitting. It should feel snug and secure, but remember the warning—don't force it. Get it hand-tight first, then give it a final quarter-turn with your wrench if it needs a little extra snugging.
All that's left is to slide the escutcheon back against the wall, reattach your rain shower head, and turn the main water supply back on. Test your handiwork and enjoy your peaceful, leak-free shower, knowing you tackled a tricky fix all on your own.
When to Stop Fixing and Start Upgrading Your Shower System
Every DIYer eventually hits a wall. You've swapped out the seals, given the nozzles a deep clean, and even re-taped the shower arm with fresh plumber's tape, but that maddening drip… drip… drip… just won't quit. I've been there, and it's incredibly frustrating.
When a leak just refuses to be fixed, it's often your old shower fixture's way of telling you it's time for retirement. Pouring more time, money, and sanity into a component that's clearly on its last legs isn't just a waste—it's the point where an upgrade becomes the smartest move you can make. It’s the final, definitive answer to the question, "Why is my rain shower head still leaking?"
The Value of Investing in Modern Engineering
Let's be honest, the shower system products being made today are designed with all of our past frustrations in mind. They simply benefit from better engineering, higher-quality materials, and smarter anti-leak designs that older models can't match. Internal parts are built to much tighter tolerances, and the materials used are chosen specifically to fight back against corrosion and mineral gunk.
Think about what a full upgrade really gets you:
- Corrosion-Resistant Guts: Most new systems use high-grade stainless steel or solid brass. When paired with modern finishes, they actively resist the limescale and hard water damage that slowly kill older fixtures.
- Precision-Engineered Parts: Tighter, more robust seals and internal components mean there are far fewer weak points where water can eventually find a way to escape.
- A Genuinely Better Shower: This isn't just about stopping a leak. A new system delivers a vastly better experience—think consistent, powerful water pressure and that immersive coverage you wanted from a rain shower in the first place.
Upgrading isn't just about patching a problem; it's about breaking the endless cycle of repairs. It's an investment in reliability and your own daily comfort that pays dividends every single morning.
Elevate Your Daily Routine with a CRANACH Shower System
Choosing to upgrade is your chance to turn that source of daily annoyance into a spa-like retreat. Installing a new CRANACH shower system, for example, doesn't just put an end to persistent leaks for good—it completely elevates your bathroom. The difference is something you feel instantly, from the solid, satisfying click of the controls to the immersive downpour from the rain head.
This is more than just a replacement part. It’s a proactive investment in your home's value and, frankly, your own well-being. A high-quality system is built to last, saving you from future DIY headaches and the slow drain of buying small repair parts over and over.
If you're still wrestling with drips and want to explore every option, our guide on how to fix a leaky faucet or shower can offer some extra pointers. But when you’re ready to stop fixing and start enjoying, making the switch ensures your shower becomes a reliable, luxurious experience you can count on, day in and day out.
Your Leaking Shower Head Questions Answered
Even after trying all the fixes, it's normal to have a few questions rattling around. When you're staring at the ceiling wondering, "why is my rain shower head still leaking," a little extra clarity goes a long way. Let's tackle some of the most common questions homeowners have when they're in the middle of a dripping shower dilemma.
How Often Should I Clean My Shower Head?
Regular cleaning is your best defense, hands down. It stops leaks before they even have a chance to start.
If you know you have hard water, a deep clean every 3 to 4 months is a good rhythm to get into. This approach keeps mineral buildup from getting so bad that it clogs the nozzles and messes with the water pressure, which is a classic cause of leaks.
Live in an area with softer water? You can probably stretch that out to every 6 to 12 months. The real trick is just being consistent. It’s far easier to stay ahead of limescale than it is to fight a major blockage later.
Can I Use Bleach or Harsh Chemicals for Cleaning?
I’d really steer clear of that. It might seem like a quick, powerful fix, but harsh chemicals like bleach can cause more problems than they solve. They can strip the finish right off your beautiful fixture, and even worse, they can eat away at the delicate rubber seals and O-rings inside.
A much safer—and surprisingly effective—alternative is a simple mix of equal parts white vinegar and water. This gentle acid does a fantastic job of dissolving mineral deposits without putting any of your shower head’s parts at risk.
My Shower Still Leaks After I Replaced the Washer. What Now?
I know how frustrating this one is. You do the work, replace the part, and… drip, drip, drip. Don't throw in the towel just yet. If a brand-new washer didn't solve it, that's a huge clue that the problem is somewhere else.
Your next move is to give the shower head another thorough inspection. Look for any significant mineral buildup that your first cleaning might have missed. Also, get a good look at the threads on both the shower arm and the head itself. Are there any signs of damage or cross-threading?
If the drip is still there after all that, the issue might be a little deeper, likely with the shower valve's cartridge. If you need to tackle that, our guide on how to remove a shower cartridge can walk you through it step-by-step.
Sometimes, a stubborn leak comes down to a tiny, almost invisible hairline crack in the body of the shower head. If you’ve checked everything else, it might just be time for a replacement.
Is a Tiny Drip from the Shower Head Really a Problem?
Absolutely. It’s easy to dismiss, but that slow, steady drip is a silent drain on your resources. A single leaking shower head can waste thousands of gallons of water over a year, and you'll see that reflected on your utility bills. It's also not great for the environment.
Beyond the waste, that constant moisture creates the perfect environment for mold and mildew to grow in your shower. Fixing even a small leak is always the smartest, healthiest, and most cost-effective decision in the long run.
Ultimately, if you feel like you're fighting a losing battle with repairs, the best solution is often an upgrade. Investing in a modern, high-quality CRANACH shower system not only guarantees a leak-free experience but can turn your daily routine into something you truly look forward to.
Leave a Reply