


您的购物车目前是空的!
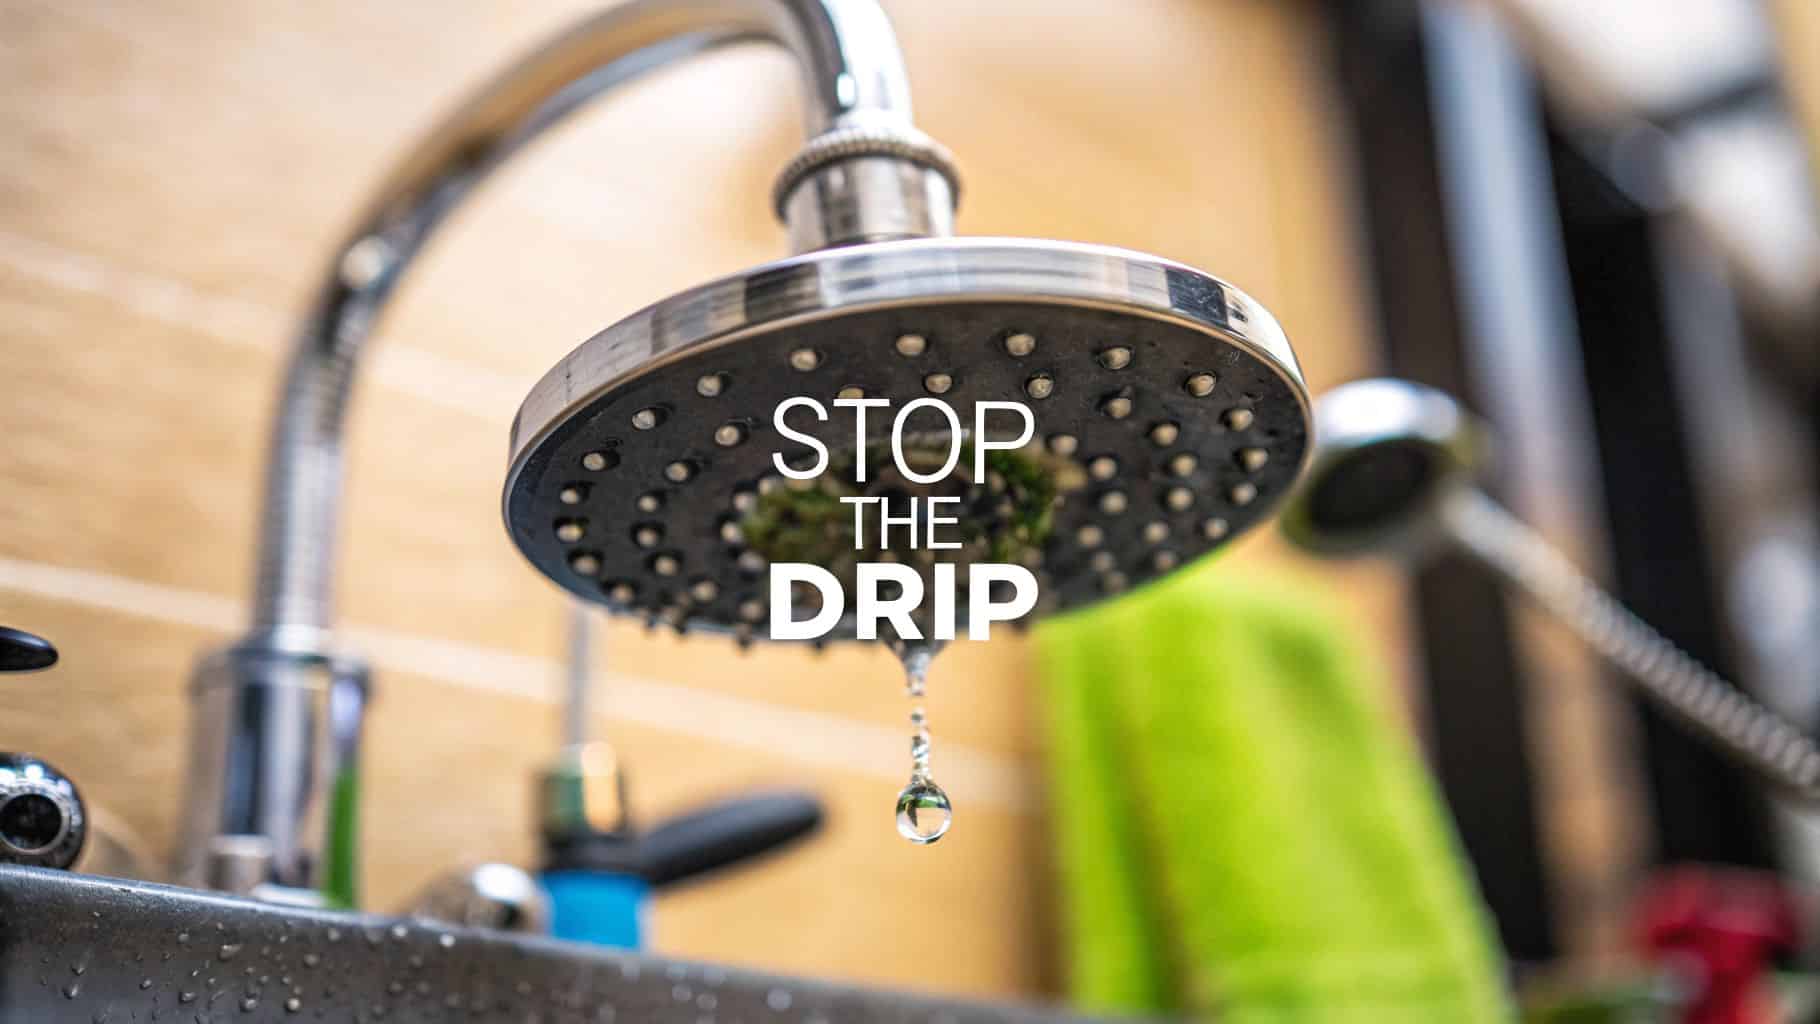
Why Is My Shower Head Leaking When Off? Causes & Fixes
That relentless drip… drip… drip you hear from a shower that’s definitely turned off? It’s not just an annoying sound; it's a tell-tale sign of a problem hiding just behind your wall. The good news is, your shower head is probably innocent. The real culprit is almost always a worn-out valve cartridge, which is the internal part of your faucet that’s in charge of controlling the water flow.
Why Your Shower Drips Even When It's Off
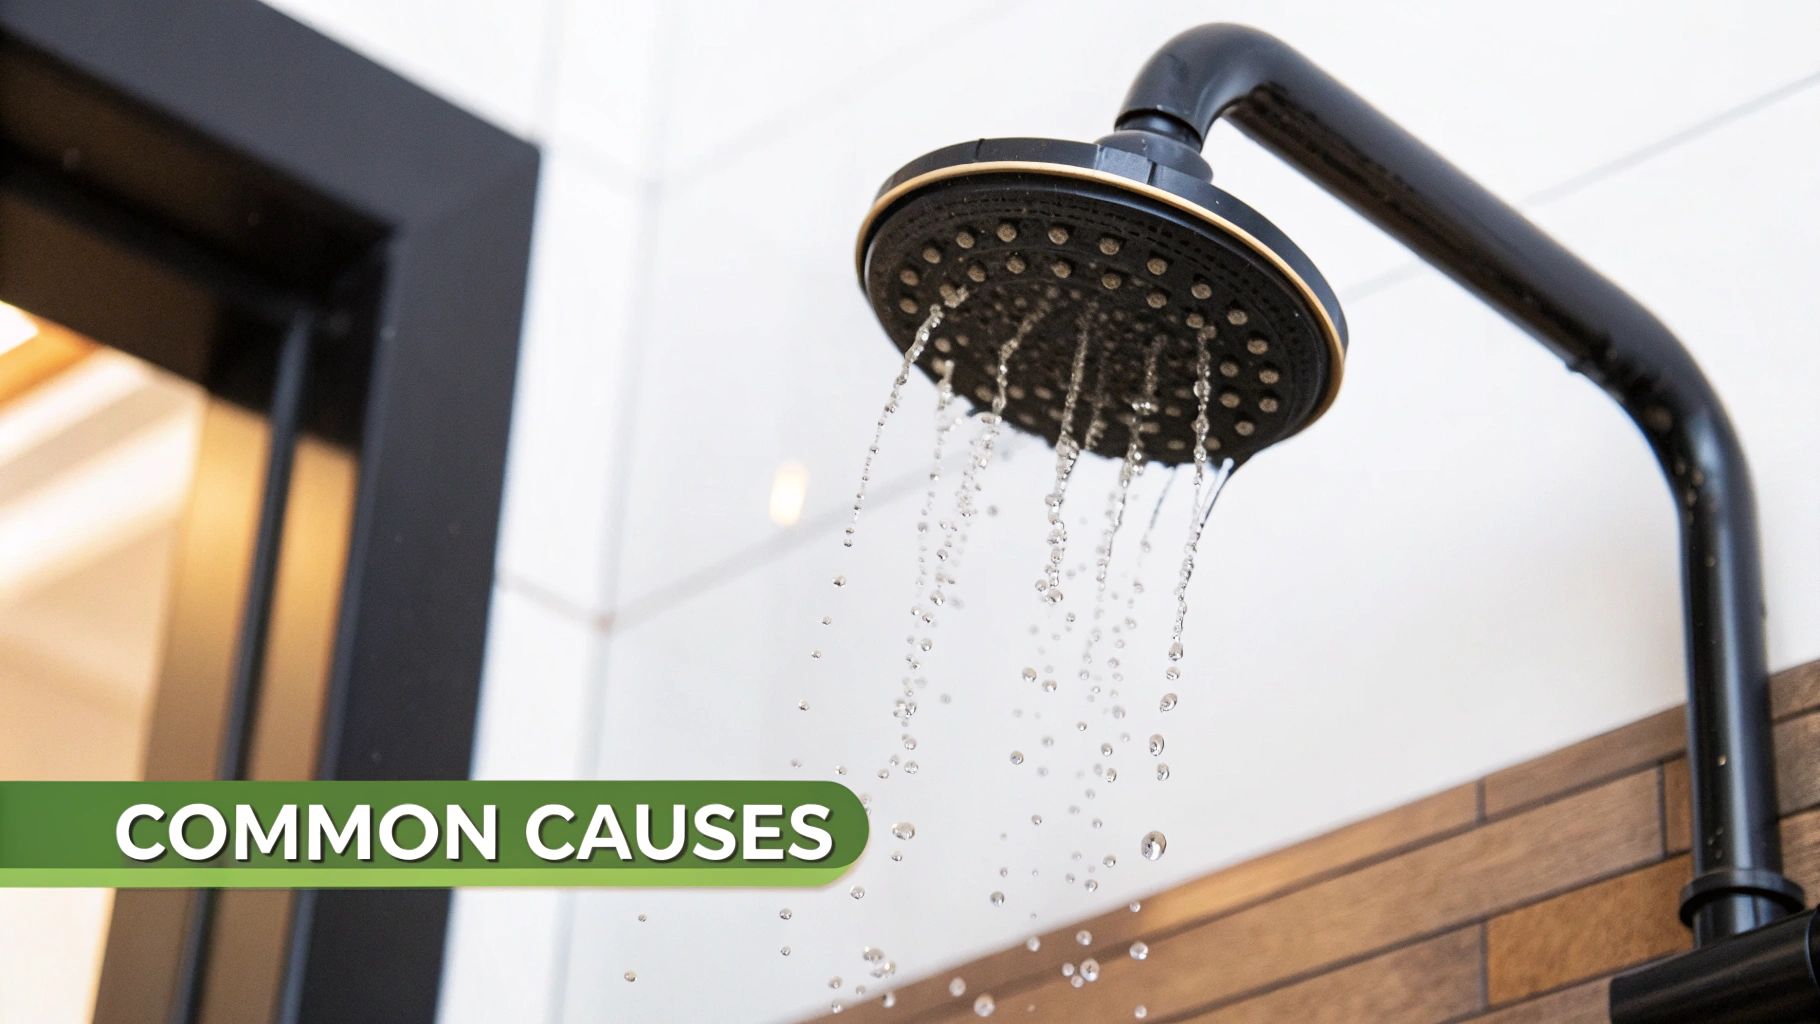
That tiny, persistent drip is more than just a nuisance; it's a clear signal that something inside your plumbing needs attention. While most people’s first instinct is to blame the shower head, the true source of the problem is almost always the shower valve hidden away in the wall.
Think of this valve as the gatekeeper for your water. When you turn the handle off, you’re telling the gatekeeper to close the gate and hold all the water back. But over time, the internal seals on that valve can wear down. When that happens, the gate can't close completely, allowing a small but steady stream of water to escape—creating the leak you see and hear.
Quick Diagnosis: Common Leak Sources
To quickly get a handle on what might be causing your leak, take a look at this simple table. It breaks down the most common symptoms and their likely causes.
| Symptom | Likely Cause | Is It the Shower Head's Fault? |
|---|---|---|
| A slow, steady drip when the water is off | Worn-out valve cartridge or seals | No |
| Water leaks from the handle or trim plate | Failing valve cartridge or diverter | No |
| Water still trickles out after shutting off | Residual water in the shower arm | Yes, but it's normal. |
| Uneven spray or water jets going sideways | Clogged nozzles due to mineral buildup | Yes, but it’s a cleaning issue, not a leak. |
As you can see, most true leaks point back to the valve, not the head itself.
This seemingly small issue can have a surprisingly big impact on both your wallet and the environment. A single leak, dripping just once per second, can waste more than 3,000 gallons of water in a year. That’s a lot of wasted water and money. This widespread issue is a big reason why water-saving technologies have become so important in modern fixtures.
The constant drip doesn’t just waste water; it also wastes energy. Every drop of hot water that goes down the drain is heated water you paid for, leading to higher utility bills.
Fixing the problem is key, but preventing it is even better. This is where investing in high-quality fixtures really pays off. Brands like CRANACH engineer their products with durable components designed to resist wear and tear, giving you long-term peace of mind.
While you're tackling the leak, it’s also the perfect opportunity to do a bit of maintenance. A clean shower head ensures you get the best performance and water pressure. You can find simple steps on how to clean your shower head to keep it working like new.
Diagnosing the Drip: The Main Culprits Behind a Leaky Shower
When your shower head keeps dripping long after you've turned it off, it's natural to blame the shower head. But most of the time, that’s not where the problem is. The real issue is almost always hidden inside the wall, at the shower valve.
Think of the valve as the gatekeeper for your water. When it’s working right, it shuts off the flow completely. When its internal parts wear out, water finds a way to sneak past, and you're left with that maddening drip… drip… drip. To figure out what's going on, we need to look at what’s happening inside that valve.
The Worn-Out Valve Cartridge
More often than not, the prime suspect is a worn-out valve cartridge. This is the heart of your shower faucet, the component that controls both water flow and temperature. Every single time you turn the shower on or off, this little part is put to work. Over years of use, its internal seals and gaskets simply wear down from the constant pressure and movement.
Once those seals fail, they can't create a tight barrier anymore. Water seeps through even when the handle is in the "off" position, causing that persistent drip that just won't quit.
Degraded O-Rings and Seals
Another common culprit is the set of O-rings and seals that fit around the valve cartridge. These are small rubber rings tasked with a big job: creating a waterproof connection. But over time, constant exposure to hot and cold water makes them brittle. They can crack, shrink, or get knocked out of place.
A single bad O-ring is like a weak link in a chain. It’s all it takes to create a tiny gap for water to slip through, leading to a steady drip from your shower head.
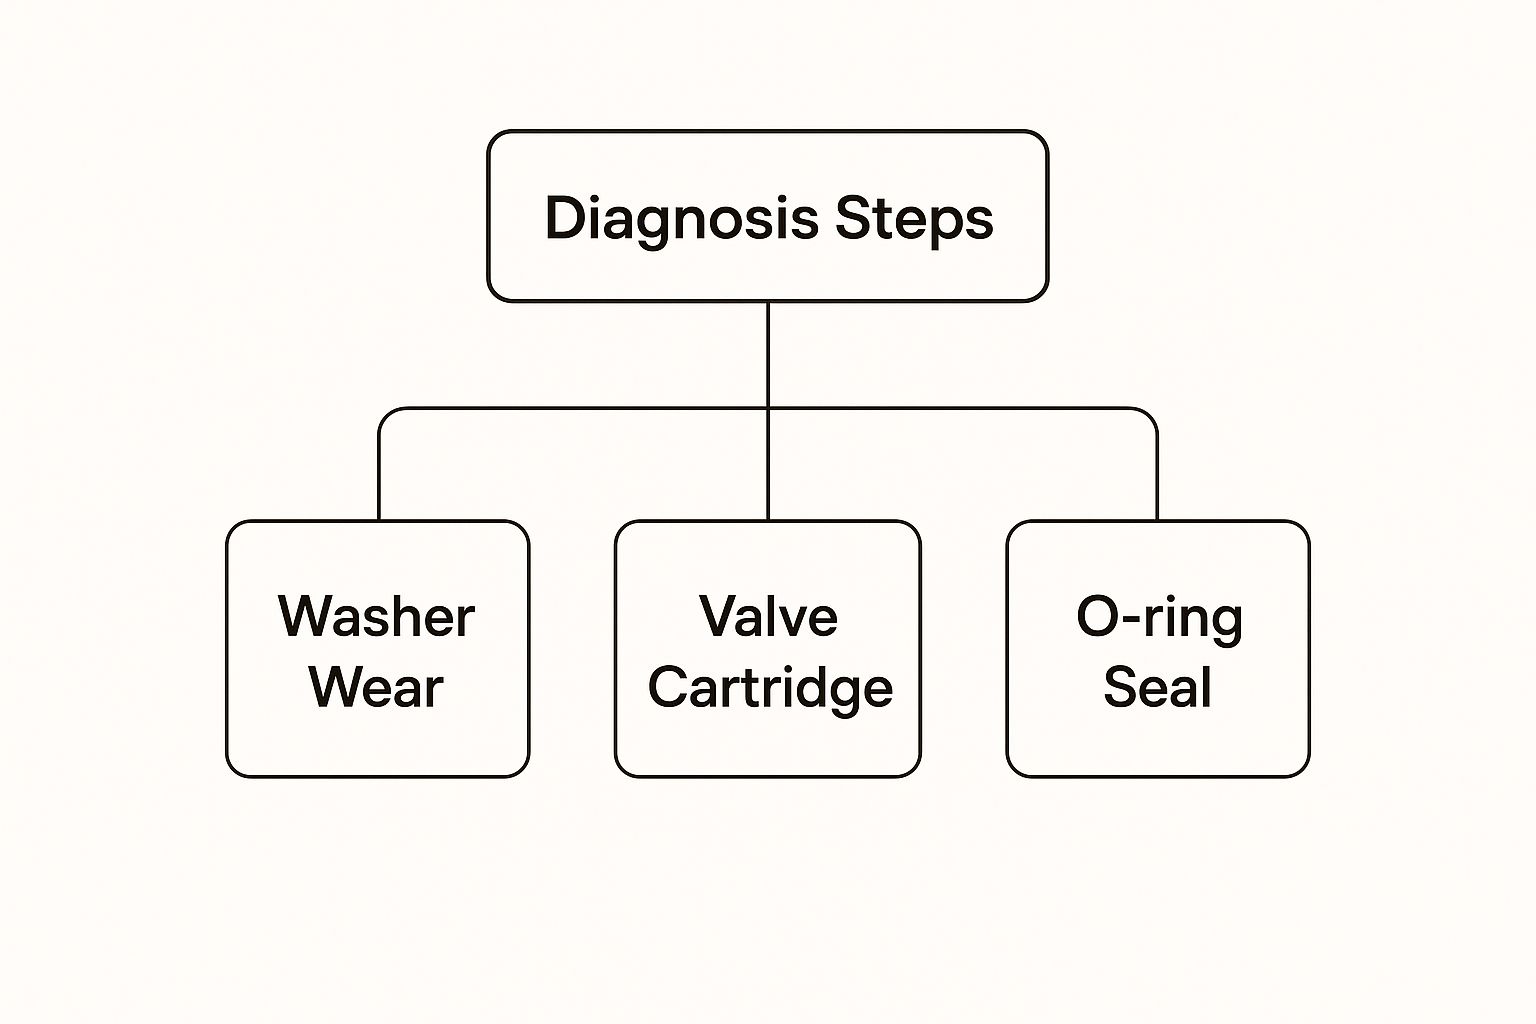
As you can see, the most common sources of these leaks—the washers, O-rings, and the cartridge itself—are all tucked away inside the valve assembly.
Mineral Buildup From Hard Water
Finally, there's the silent saboteur: mineral buildup. This is a huge issue in the United States, where over 85% of homes have hard water. Hard water is full of minerals like calcium and magnesium, and as it flows through your pipes, it leaves these deposits behind on every surface.
This buildup, often called scale, can physically prevent the valve cartridge from closing all the way. Imagine a tiny pebble in a doorway—it keeps the door from shutting tight. Scale does the exact same thing to your shower valve.
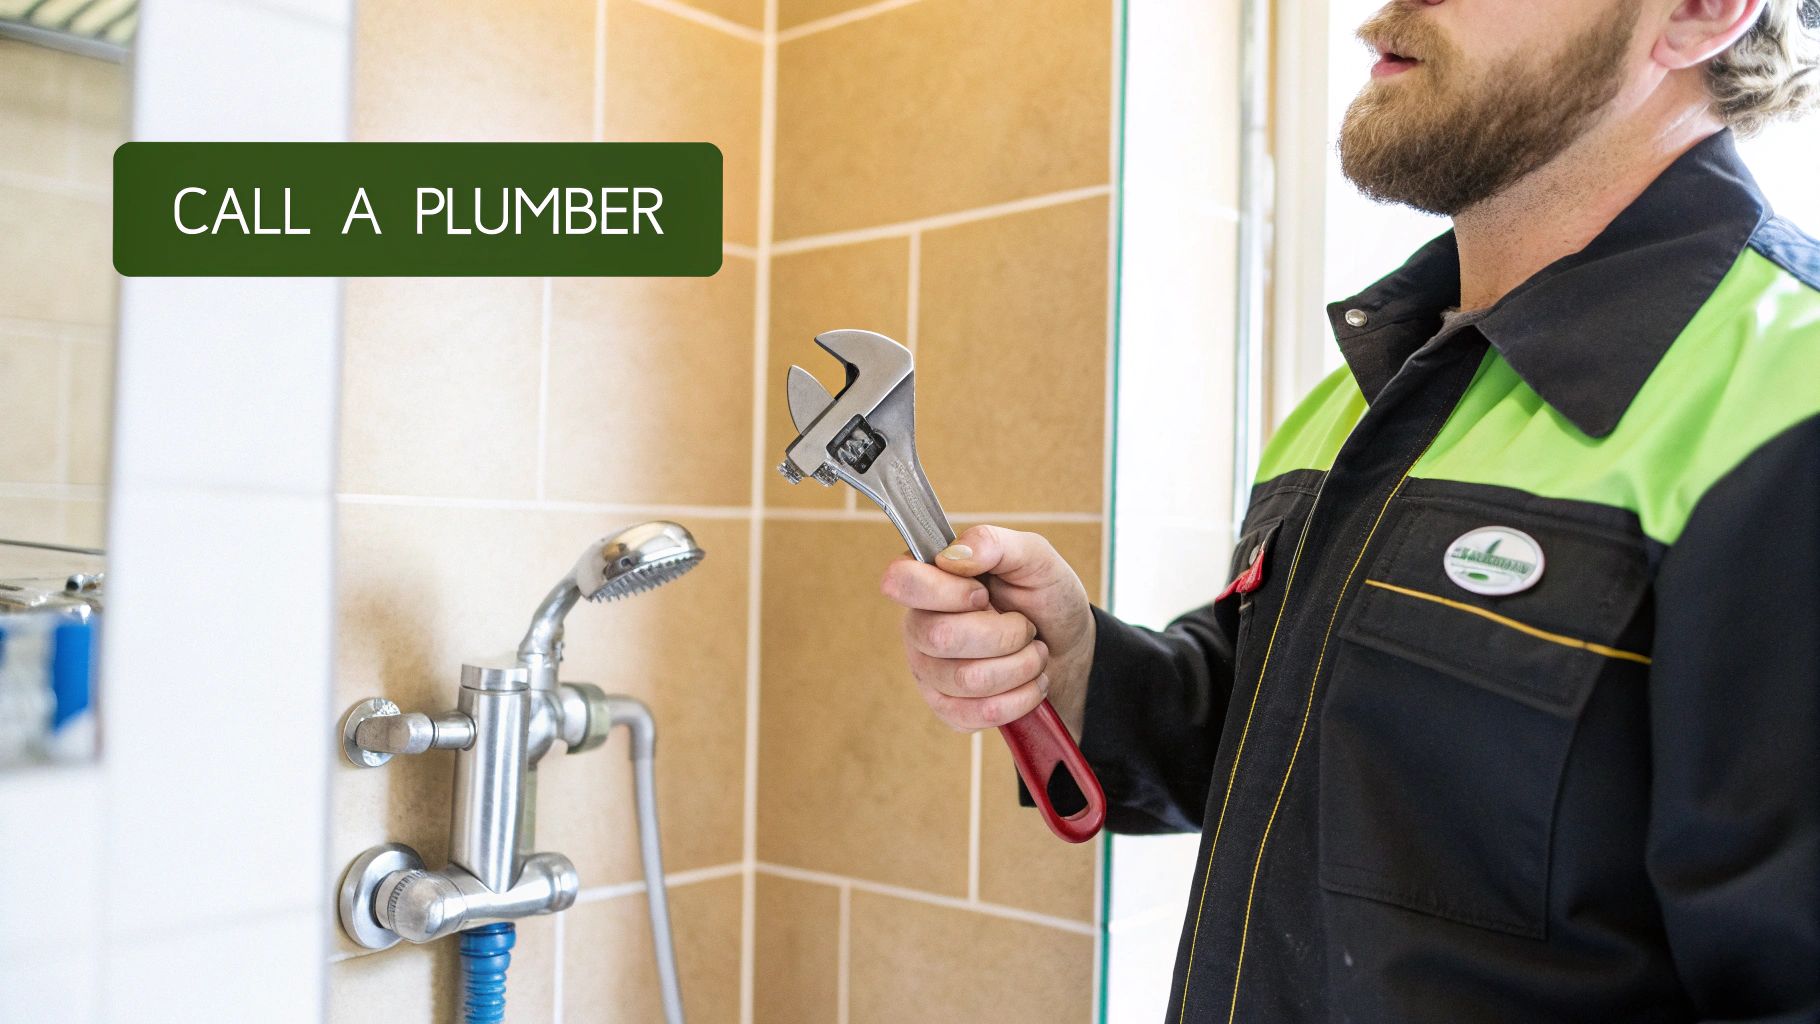
It's a surprisingly common problem. In fact, some reports show that between 30% and 40% of all household plumbing leaks stem from failing valves or faucet cartridges. For stubborn drips or leaks that seem to be coming from behind the wall, it might be time to call in professional leak detection and repair services. Pinpointing the right cause is the first step toward a permanent fix.
A Step-By-Step Guide to Fixing Your Leaky Shower
Alright, now that you know why your shower head is dripping, let's roll up our sleeves and get it fixed. More often than not, this annoying drip comes down to a faulty valve cartridge. The good news? Replacing it is a common DIY project that can save you a hefty plumber's bill. I'll walk you through every step to make it as painless as possible.
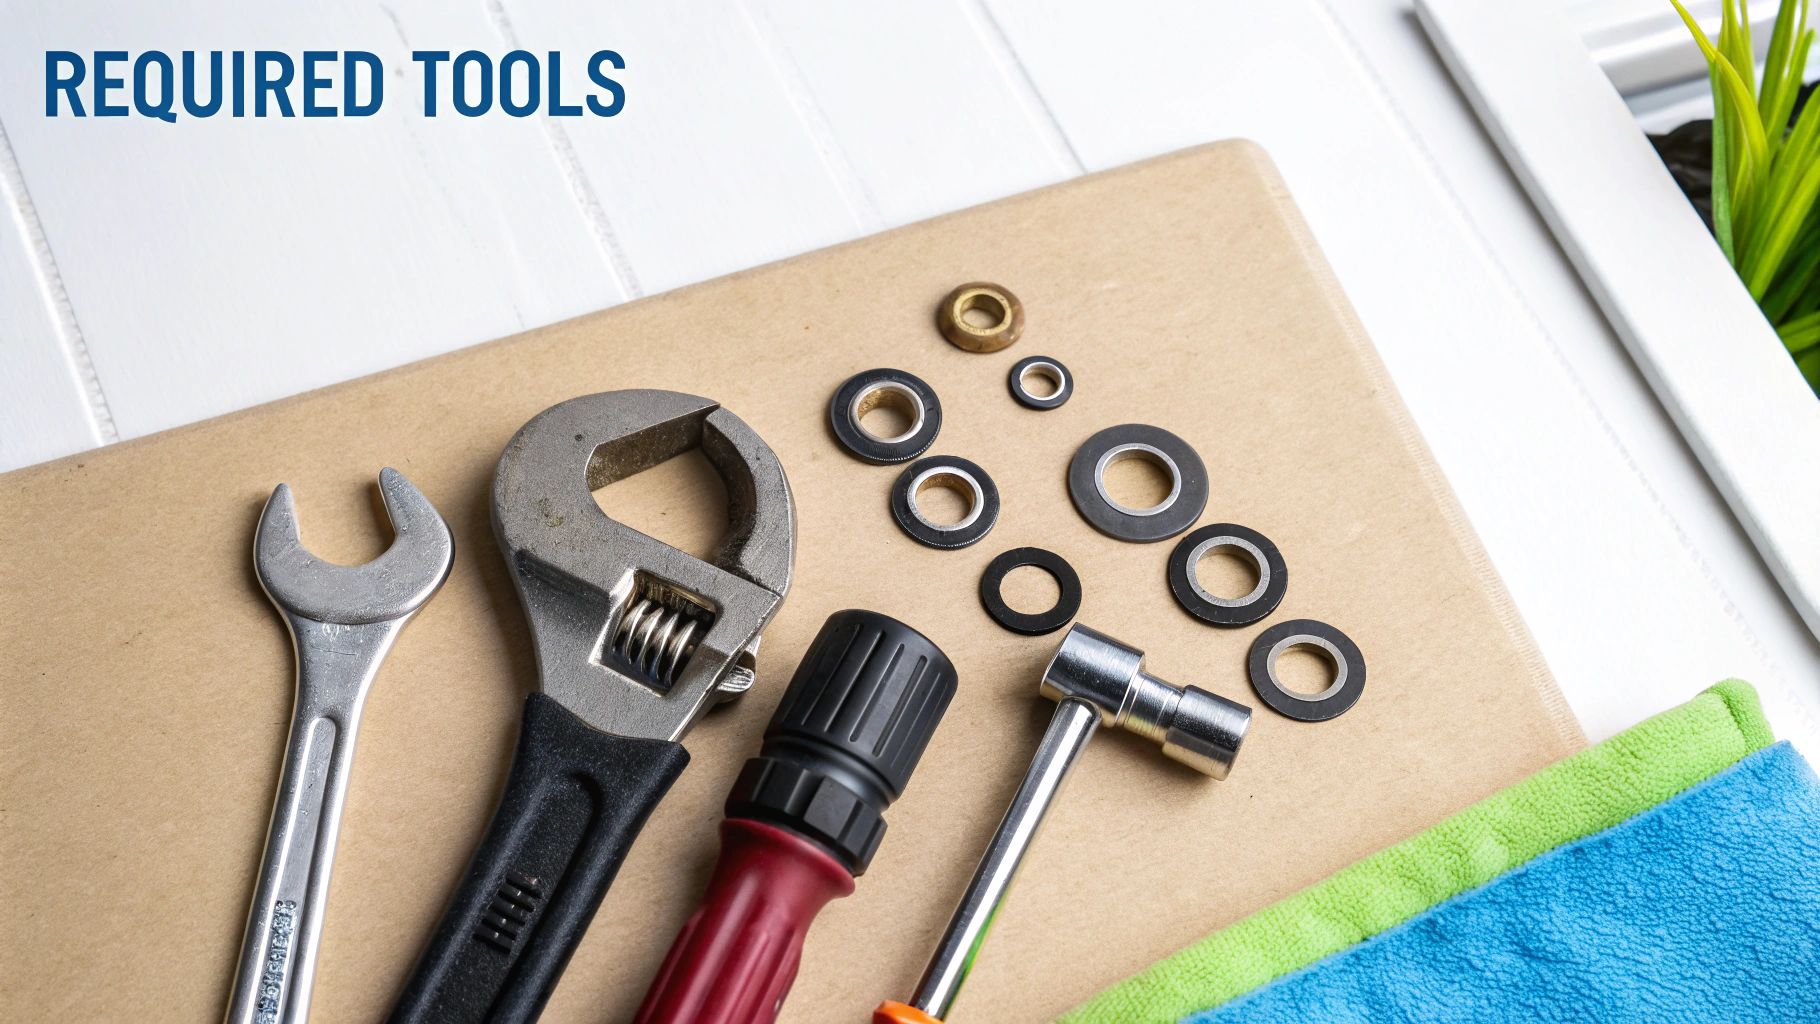
Before you even think about touching a screw, let's get your tools together. You won’t need a whole workshop, but having everything on hand makes the job go much smoother.
- A Phillips and a flathead screwdriver
- An adjustable wrench or channel-lock pliers
- A utility knife
- The correct replacement cartridge
Pro Tip: Before you head to the hardware store, snap a clear picture of your faucet handle and any brand names you can see. Cartridges are very brand-specific, and that photo will be your best friend in finding the perfect match.
Step 1: Turn Off the Water
This is the most important step, and you can't skip it. You have to shut off the water supply to your shower, or you’ll have a much bigger problem than a drip. Find the main water shutoff valve for your house—it’s usually in the basement, garage, or a utility closet—and turn it all the way off.
Once it's off, go back to the shower and turn the handle on. This will drain any leftover water in the pipes and confirm that the supply is actually off. It’s also a good idea to put a towel over the drain to catch any tiny screws that might try to escape.
Step 2: Remove the Faucet Handle and Faceplate
With the water safely off, you can start the disassembly. Most handles have a small screw holding them in place, often hidden under a little decorative cap. You can gently pry that cap off with a utility knife or a small flathead screwdriver to get to it.
Once the screw is out, the handle should pull straight off. If it's an older handle, it might be a bit stubborn from mineral buildup, so a gentle wiggle can help break it free. Next, take out the screws holding the large decorative cover (the escutcheon or faceplate) to reveal the valve assembly inside the wall.
Step 3: Replace the Old Cartridge
You should now be looking at the valve and the old cartridge. You'll typically see a small clip or pin holding the cartridge in place. Use your pliers to pull that clip straight up and out.
Now, grab the stem of the cartridge and pull it directly toward you. A little twisting motion can help loosen it if it’s stuck. Slide the new cartridge into the valve body, making sure it's aligned correctly—many have specific notches that need to line up. Pop the retaining clip back in, then reassemble the faceplate and handle.
For a more in-depth look at this process, you can learn more about how to fix a leaky shower faucet and really master the repair.
Finally, turn the main water supply back on—do it slowly—and watch for any leaks around the handle. If everything stays dry, congratulations! You’ve just silenced that frustrating drip for good.
Exploring Other Potential Leak Causes
So, you’ve swapped out the main valve cartridge, but that stubborn drip just won't quit. You're still asking, "why is my shower head leaking when off?" It’s frustrating, I know. But don't throw in the towel just yet. The problem might not be the main valve at all, but another component working quietly behind the scenes.
Let's look at a prime suspect: a faulty diverter valve. This is the little guy that tells the water where to go. It's usually a small pull-down ring on the tub spout or a knob on the wall plate. Its job is to block the tub faucet and send water rocketing up to your shower head.
When its internal seals get old and wear out, it can’t form a perfect seal anymore. Even with the main water valve shut off, the water sitting in the pipes can slowly sneak past the diverter and trickle out of the shower head.
Is It a Leak or Just Draining?
Before you start taking things apart again, let's make sure we're dealing with a true leak. It’s easy to mistake normal draining for a problem, especially with modern shower heads. The big, rain-style models can hold a surprising amount of water in the head and the shower arm long after you've turned off the faucet.
It’s perfectly normal for this leftover water to drip for a minute or two. Gravity is just doing its thing. A real leak is a persistent drip that just keeps going, long after the shower has had plenty of time to fully drain.
The Problem of High Water Pressure
Here's another culprit many people overlook: your home's water pressure might be too high. While a powerful shower feels fantastic, your home's plumbing is only built to handle so much force, typically between 40-80 PSI.
When the pressure is cranked up too high, it puts constant, excessive strain on everything in your system—from the pipes and seals to the brand-new valve cartridge you just installed. Over time, this intense pressure can cause even new parts to fail way ahead of their time. If you think this might be what's happening, getting a handle on your home's water flow is a smart move. Our guide on how to increase water pressure in your shower offers some related insights that can help.
By thinking through these other possibilities, you can get a much clearer picture of what’s causing that annoying drip and finally land on the right fix.
How to Prevent Future Shower Leaks
It’s one thing to fix a leak, and a satisfying job at that. But preventing one from ever starting? That’s even better. A little proactive maintenance is all it takes to keep your shower components happy and that dreaded drip-drip-drip at bay. It doesn't take much effort, just a few smart habits.
One of the simplest and most effective things you can do is clean your shower head periodically. Mineral buildup from hard water is a silent saboteur, clogging nozzles and putting extra stress on internal seals. A regular cleaning routine keeps everything flowing exactly as it should. We've got a great guide on how to clean a shower head with vinegar that makes it easy.
Beyond just cleaning, here are a couple of other strategies to keep in mind:
- Gentle Operation: Don’t muscle the shower handle. Forcing it can grind down the delicate seals inside the valve cartridge, causing them to wear out way too soon. A gentle touch goes a long way.
- Water Softeners: If you live in a hard water area, a whole-house water softener is a total game-changer. It takes out the minerals that create scale in the first place, protecting not just your shower, but your entire plumbing system.
Invest in Long-Term Reliability
Your choice of fixtures plays a massive role in whether you'll be dealing with leaks down the road. Older compression-style faucets, for instance, relied on simple rubber washers that would degrade and fail pretty quickly. Modern fixtures have come a long, long way, and investing in quality from the start will save you a world of headaches later.
Choosing premium fixtures like those from CRANACH is a smart long-term strategy. These systems are built with durable ceramic disc cartridges, which provide a harder, more reliable seal against leaks.
This technology was a huge leap forward, creating a much stronger seal that just doesn't wear down like the old rubber ones did. In fact, modern ceramic cartridges have been shown to slash typical leakage rates by over 50% compared to older designs.
Of course, a leaky shower head isn't just about the drip. All that moisture can invite other problems, like mold. It’s always a good idea to pair your plumbing maintenance with smart grout cleaning strategies to halt mold growth to keep your entire bathroom healthy and clean.
Still Have Questions About That Leaky Shower?
We’ve walked through the common culprits and fixes, but you might still have a few lingering questions. It’s completely normal. Let's tackle some of the most frequent things homeowners wonder about when they find their shower head dripping long after it’s been turned off.
How Much Water Does a Leaking Shower Head Actually Waste?
Honestly, it’s a lot more than you’d probably guess. A seemingly slow drip—just one drop per second—can add up to over 3,000 gallons of water wasted over a single year. A faster leak is even worse, and you’ll definitely see the impact on your water and energy bills. After all, it's usually heated water just trickling right down the drain.
Is It Expensive to Replace a Shower Valve Cartridge?
The good news is that this is usually a very manageable and budget-friendly DIY fix. A new cartridge will typically run you somewhere between $20 and $100, though the price really depends on your faucet's brand and specific model. If you’re up for doing the repair yourself, that's your only cost.
If you’d rather call in a professional, you can expect a plumber to charge an additional $100 to $300 for their time and labor.
My Shower Drips for a Minute After I Turn It Off. Is This a Leak?
This is a really common point of confusion, but it's probably not a true leak. If the dripping peters out and stops after a minute or two, it’s almost always just the residual water draining out of the shower arm and the head itself. This is perfectly normal behavior, especially for larger, rain-style shower heads that hold more water.
A true leak is a drip that just keeps going indefinitely, long after the shower has been turned off and had plenty of time to drain completely.
Can I Use Any Replacement Cartridge for My Shower?
No, and this is a critical point. Cartridges are definitely not one-size-fits-all. To get a proper, watertight seal, you absolutely have to use a replacement that is specifically designed for your faucet's make and model.
The best way to guarantee you buy the right one is to take the old, worn-out cartridge with you to the hardware store. That way, you can find an exact match and be confident it will work.
For more detailed information on this topic, check out our complete guide on why your shower head is leaking.
Ready to upgrade to a shower system designed for lasting reliability? CRANACH specializes in high-quality bathroom fixtures engineered with durable components to prevent leaks and deliver a therapeutic experience every day. Explore our collection at https://cranachhome.com.
Leave a Reply