Finding the Right Bathroom Faucet
Choosing the right bathroom faucet is important for both style and practicality. It involves more than just looks; you need to understand the types and ensure a good fit. Let’s delve into the differences between centerset, widespread, and single-hole faucets.
Faucet Configurations
- Centerset Faucets: Ideal for small bathrooms, with spout and handles in one unit, handles are 4 inches apart. Suitable for sinks with limited space.
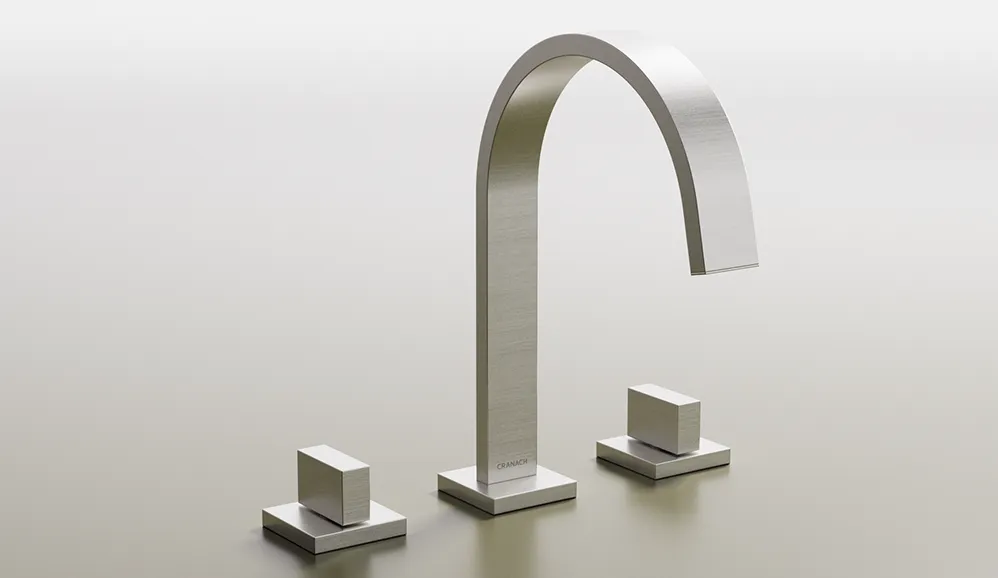
- Widespread Faucets: Offers a tailored look, with separate spout and handles, allowing for flexible placement.
- Single-Hole Faucets: Simple design, requiring one hole, often with a single lever for flow and temperature control.
Measuring for Fit
Accurate measurements ensure smooth installation. For replacements, measure the distance between existing mounting holes. For new setups, consider sink dimensions and layout.
Finish and Features
Consider finish and functionality. The finish affects both appearance and durability. Opt for a WaterSense certified faucet for water efficiency. Handle design impacts longevity; smoother designs may offer better usability over time.
Gathering Your Installation Arsenal
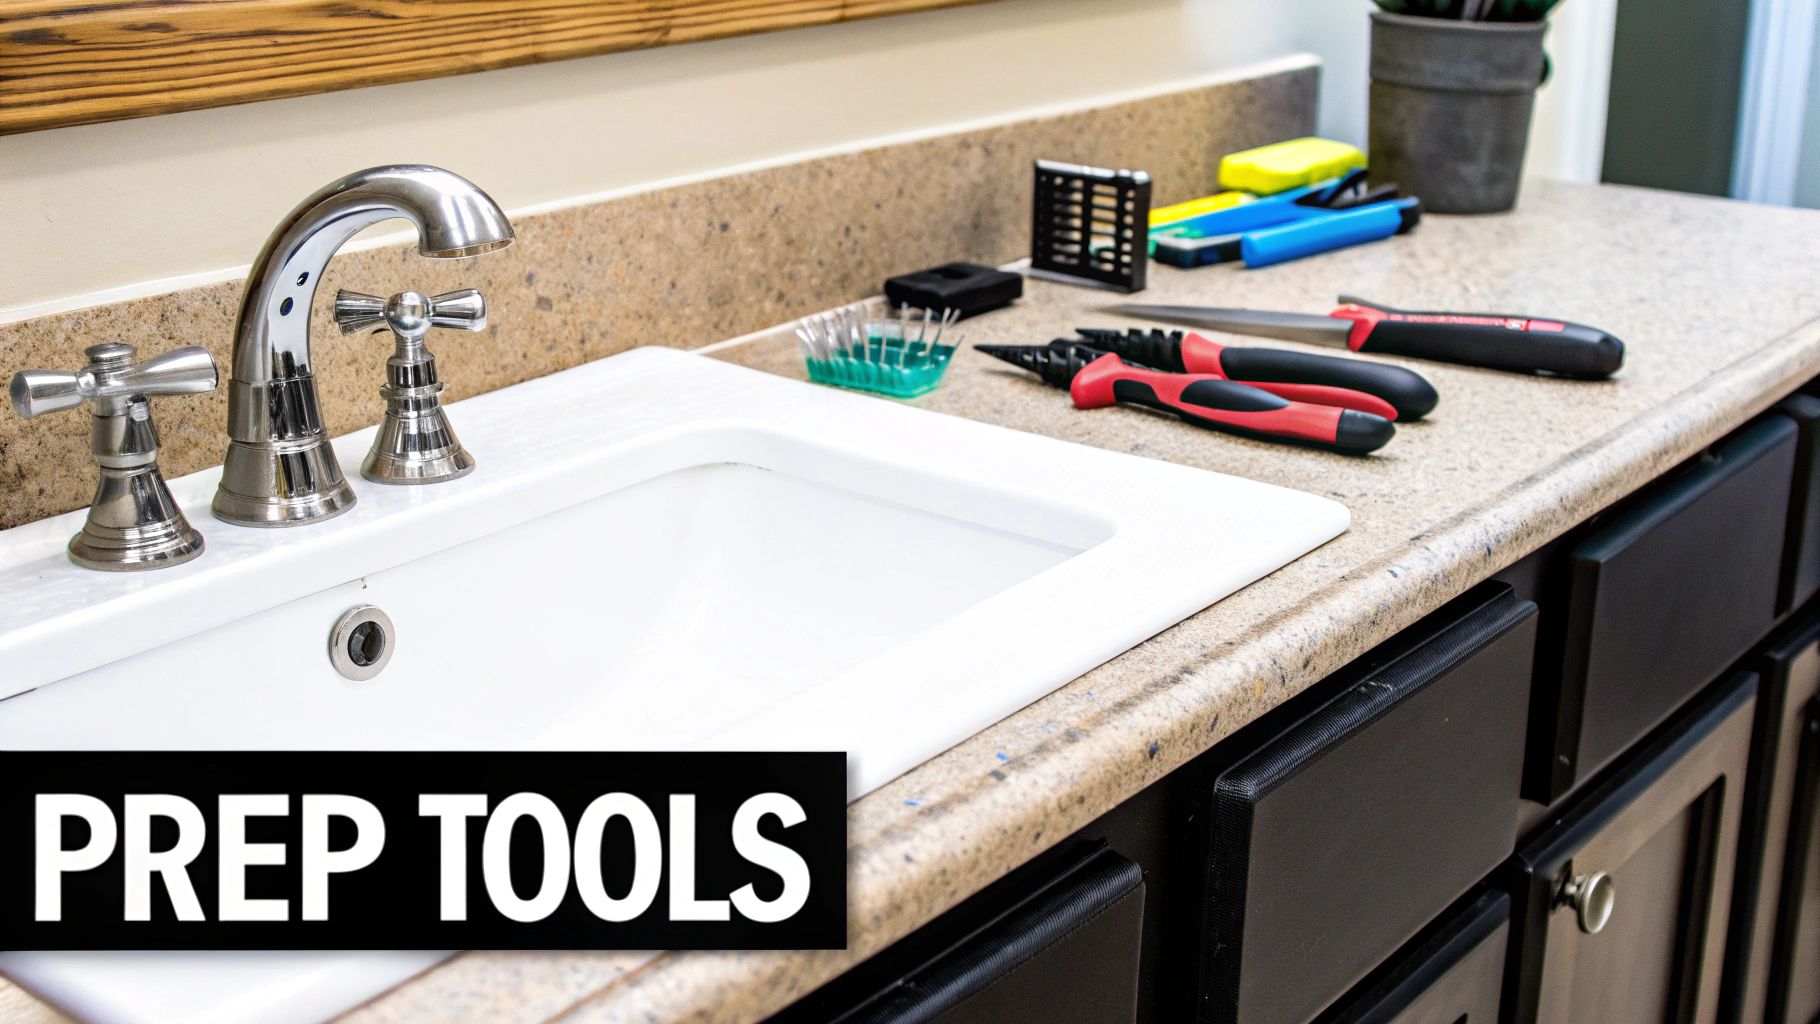
Having the right tools makes installation easier. Here’s what you need:
| Item | Purpose | Essential/Optional | Estimated Cost |
|---|---|---|---|
| Adjustable Wrench | Tightening various connections | Essential | $10 – $20 |
| Basin Wrench | Reaching tight spots under the sink | Essential | $15 – $30 |
| Phillips Screwdriver | Securing screws | Essential | $5 – $10 |
| Flathead Screwdriver | Prying and loosening parts | Essential | $5 – $10 |
| Plumber’s Putty | Creating a watertight seal | Essential | $5 – $10 |
| Teflon Tape | Preventing leaks in threaded connections | Essential | $3 – $5 |
| Supply Line Tubes | Pre-made water lines | Optional | $10 – $20 |
| Caulk | Additional leak protection | Optional | $5 – $10 |
| Small Container/Bucket | Catching dripping water | Optional | $1 – $5 |
| Flashlight | Illuminating work area | Optional | $10 – $20 |
Preparing for Success
Before beginning, organize your workspace for efficiency. Shut off the water supply by turning off the valves under the sink. Take photos of the existing setup to aid in reassembly. Keep your area clean and well-lit.
Preparing Your Workspace Like a Pro
Just like a chef meticulously prepares their ingredients before cooking, a successful bathroom faucet installation begins with proper workspace preparation. Taking the time to organize and take precautionary measures can greatly enhance your installation experience and ensure a professional outcome.
Shutting Off the Water Supply
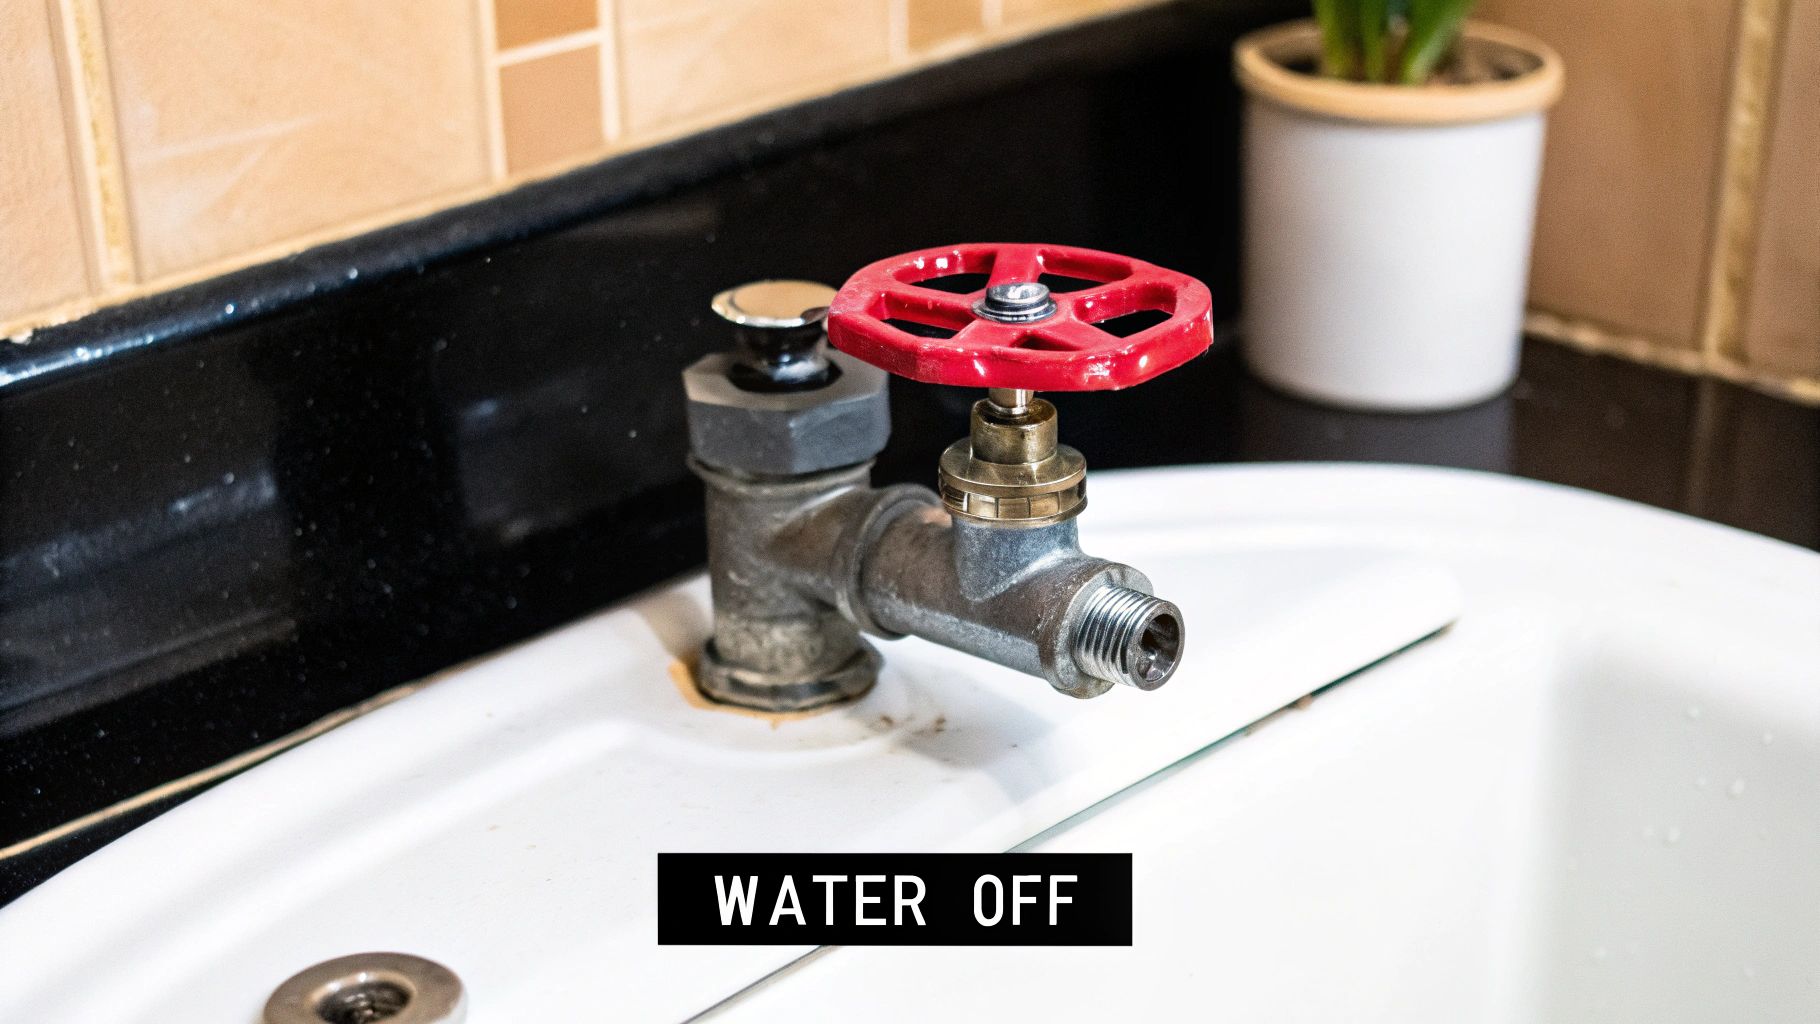
The most crucial first step is shutting off the water supply to the faucet. Locate the shut-off valves underneath your sink. These are typically small handles on the hot and cold water lines.
Turn both handles clockwise to completely close the valves. Then, turn on the faucet to confirm the water is off. This prevents any surprises and potential water damage.
What if your shut-off valves are stuck or missing? You might need to shut off the main water supply to your house. If a valve is stuck, try gently tapping it with a wrench handle to loosen it. If it’s completely seized, contacting a plumber is the safest option.
Photographing Your Existing Setup
Before removing the old faucet, take “before” pictures. These photos will help you remember the placement of components during reassembly, particularly the water supply lines.
Also, document any unusual connections or existing issues. These photographs serve as valuable references and can be incredibly helpful during the reconnection process.
Organizing Your Workspace
Installing a bathroom faucet requires careful planning and execution. The cost can vary based on factors like the faucet type and the installation’s complexity.
A clean and organized workspace is crucial. Place a towel or drop cloth under the sink to protect the cabinet and catch any dropped parts. Keep a small container or bucket nearby to collect any remaining water in the lines.
Good lighting is also essential. Use a flashlight or work lamp to illuminate the under-sink area. This improves visibility and prevents small parts from getting lost.
Assessing for Existing Issues
When replacing an old faucet, carefully inspect the area for signs of water damage or corrosion. Check for soft spots in the wood around the sink or corroded connections on the old faucet.
These issues might need attention before installing the new faucet. Addressing these problems now ensures a solid and reliable installation, maximizing the lifespan of your new faucet. With a well-prepared workspace, the installation process will be much smoother and more efficient.
Removing Your Old Faucet Without the Struggle
- Disconnect Water Lines: Ensure water is off, then use a basin wrench to loosen connections.
- Remove Mounting Nuts: Apply penetrating oil if nuts are stuck, then use a wrench to remove them.
- Detach Faucet: Lift the faucet from the sink. Use a utility knife to cut any caulk.
Installing Your New Faucet With Precision
- Assemble Faucet Body: Attach handles and components on the countertop.
- Apply Sealant: Use plumber’s putty or silicone for a watertight seal.
- Position and Secure: Place the faucet in the sink, secure with basin nuts.
- Connect Water Lines: Use Teflon tape for a tight seal, then tighten with a wrench.
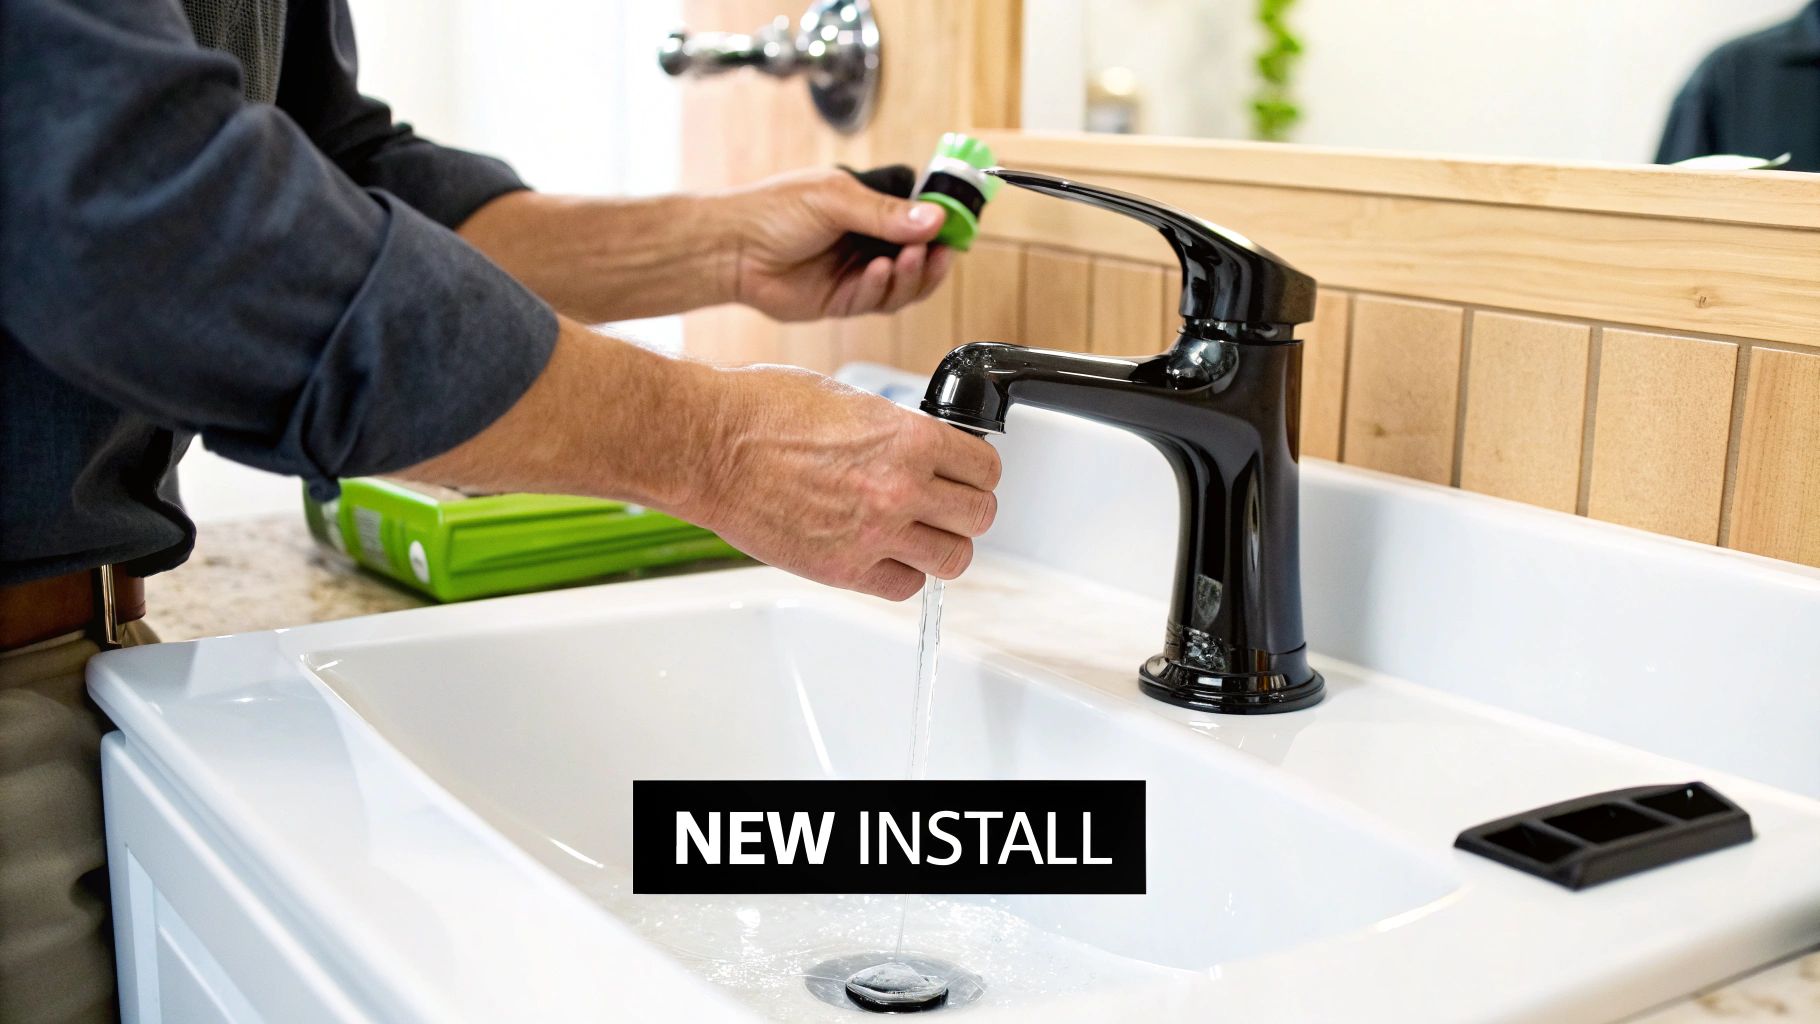
- Check for Leaks: Turn on the water supply and inspect connections.
Final Testing and Adjustments
After installation, test for proper function:
- Check Water Flow: Ensure steady stream and proper temperature control.
- Inspect for Leaks: Use a paper towel to detect any leaks.
- Adjust Handles: Ensure smooth operation and correct alignment.
- Clean Aerator: Remove debris for improved flow.
Troubleshooting Common Issues
Here’s a quick guide to address some common problems:
- Handle Resistance: If your handles feel stiff, lubricate the valve stems with plumber’s grease. This restores smooth operation and prevents wear.
- Aerator Sputtering: Uneven or sputtering water flow from the aerator usually means debris or mineral buildup. Soaking the aerator in vinegar can help dissolve these deposits.
The following table summarizes some common faucet installation problems and solutions:
Common Faucet Installation Problems and Solutions
| Problem | Possible Causes | Solution |
|---|---|---|
| Low Water Pressure | Clogged aerator, debris in lines | Clean or replace the aerator, flush the water lines |
| Leaky Faucet | Worn O-rings, loose connections | Replace O-rings, tighten connections, check valve seats |
| Stiff Handles | Dry valve stems | Lubricate valve stems with plumber’s grease |
| Sputtering Aerator | Clogged aerator | Clean or replace the aerator |
| Inconsistent Temperature | Faulty cartridge | Replace the cartridge |
This table provides a quick reference for troubleshooting common faucet installation problems. Addressing these issues promptly can prevent further damage and ensure the longevity of your faucet.
Long-Term Maintenance Tips
Regular maintenance keeps your faucet in top condition. Periodically clean the aerator and faucet surfaces with mild soap and water. Avoid abrasive cleaners that can scratch the finish. Inspect the water supply lines for wear or leaks. These simple steps ensure the lasting performance and beauty of your faucet. Visit Cranach Home for more faucet options and bathroom accessories.

