


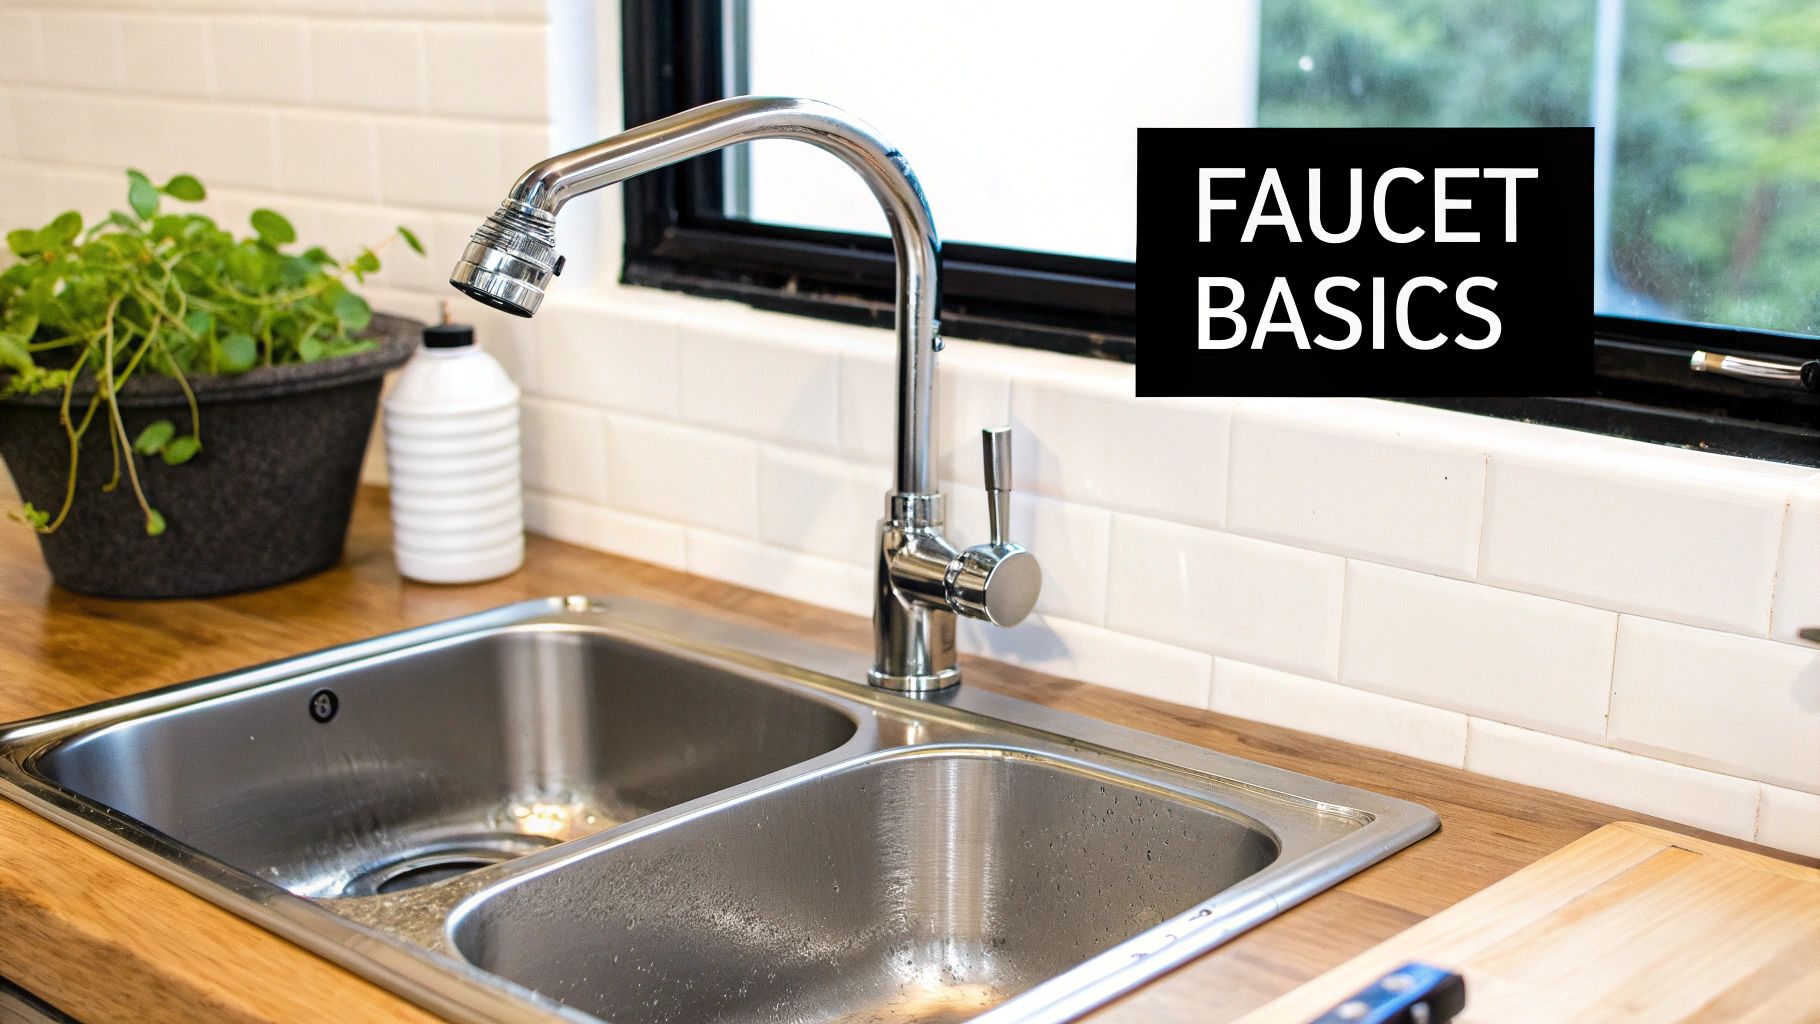
Understanding Faucet Handle Types Before You Begin
Before you even think about unscrewing your faucet handle, it’s essential to know what type you’re dealing with. This knowledge will guide your approach and help avoid any unfortunate mishaps. There are four primary types: knob handles, lever handles, cross handles, and touchless systems. Each presents its own unique removal challenges. For more installation guidance, you might find this helpful: How to master…
Identifying Your Faucet Handle Type
- Knob Handles: These classic, round handles operate with a simple twist. They often conceal a set screw beneath a decorative cap.
- Lever Handles: Operated by lifting and lowering, these handles may have a visible set screw or one hidden underneath the lever itself.
- Cross Handles: Typically found on older faucets, these handles feature “hot” and “cold” indicators and require turning. They often connect directly to the valve stem.
- Touchless Systems: These modern marvels use sensors to activate water flow. While they lack handles to unscrew, their internal components may still require occasional maintenance. This growing segment reflects broader industry trends. The global faucet market is projected to grow from $48.9 billion in 2023 to a staggering $118.4 billion by 2035.
Understanding Handle Connection Mechanisms
After identifying your handle type, the next crucial step is understanding its connection to the faucet. This connection point often confuses DIYers. Some handles use set screws, small screws tucked away under decorative caps that secure the handle to the stem. Others attach directly to the valve stem with a threaded connection. Knowing the difference is critical for selecting the right removal method.
For instance, knob handles often use set screws, while cross handles commonly have a direct threaded connection. This means different tools and techniques are required depending on your faucet’s design. Lever handles can use either method, increasing the complexity. Therefore, a careful examination of your faucet before starting is paramount. Understanding your specific faucet type will ensure a smoother, more efficient process.
The Toolbox: Essential Gear to Unscrew Any Faucet Handle
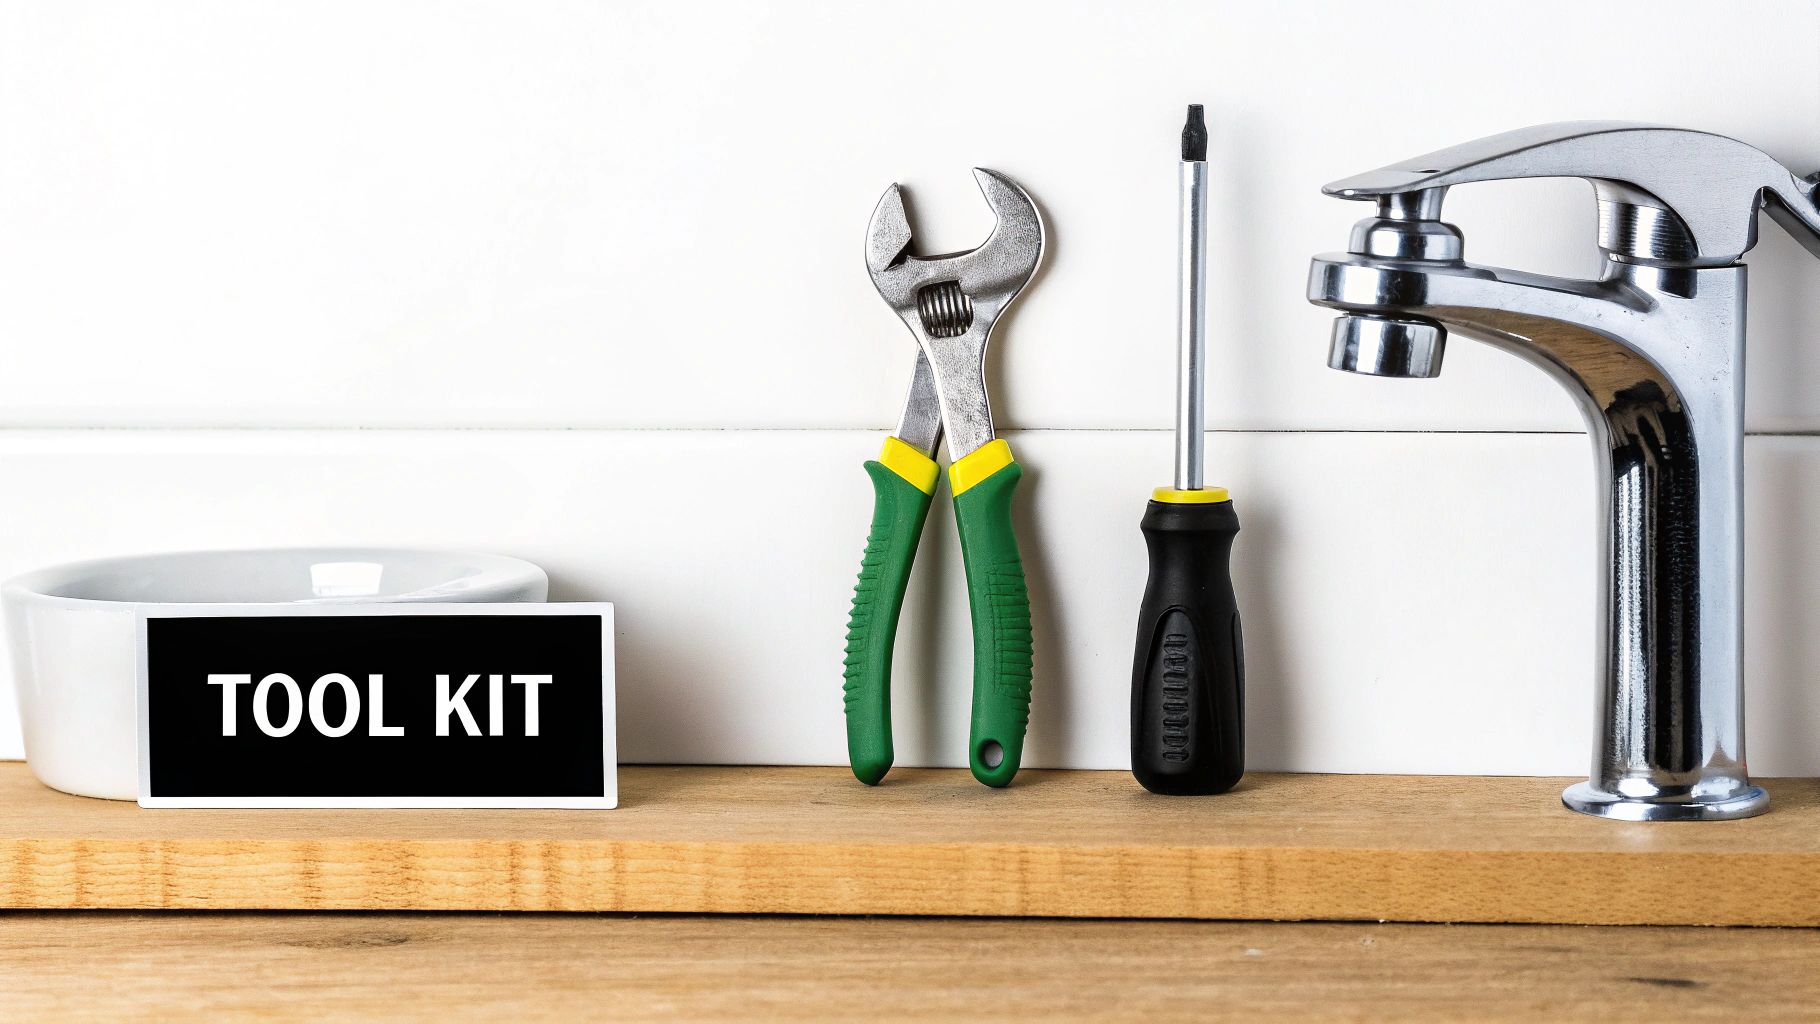
Having the right tools is crucial for successfully unscrewing a faucet handle. It’s more than just grabbing any old screwdriver; it’s about selecting the correct type and size. Just as a chef needs different knives for various tasks, you need the right tool for each faucet handle. This involves understanding the specific tools and how they interact with different faucet components.
Essential Tools for the Job
Here’s a breakdown of the essential tools for effectively unscrewing any faucet handle:
- Screwdrivers: A set of both Phillips and flathead screwdrivers is vital. Various sizes will ensure a proper fit, especially for those tiny set screws that strip easily.
- Allen Wrenches (Hex Keys): Many modern faucets, particularly brands like Moen, Delta, Cranach, and Kohler, use Allen screws. A set of metric Allen wrenches is a smart investment.
- Adjustable Wrench: This versatile tool is excellent for gripping and turning stubborn faucet handles. Protect the handle’s finish by wrapping it with a cloth before using the wrench.
- Penetrating Oil: For handles stuck by mineral deposits or corrosion, WD-40 can be a lifesaver. Apply liberally and let it sit for several minutes. White vinegar or lemon juice can offer a less harsh alternative.
- Utility Knife: A sharp utility knife helps remove decorative caps or access hidden set screws without damaging the finish. This is common with knob handles.
- Cartridge Puller (Optional): While not always required, a cartridge puller helps remove stubborn cartridges inside the faucet body. This tool can save significant time and frustration. Learn more in our article about How to master…
Step-By-Step: Unscrewing Faucet Handles Without Damage
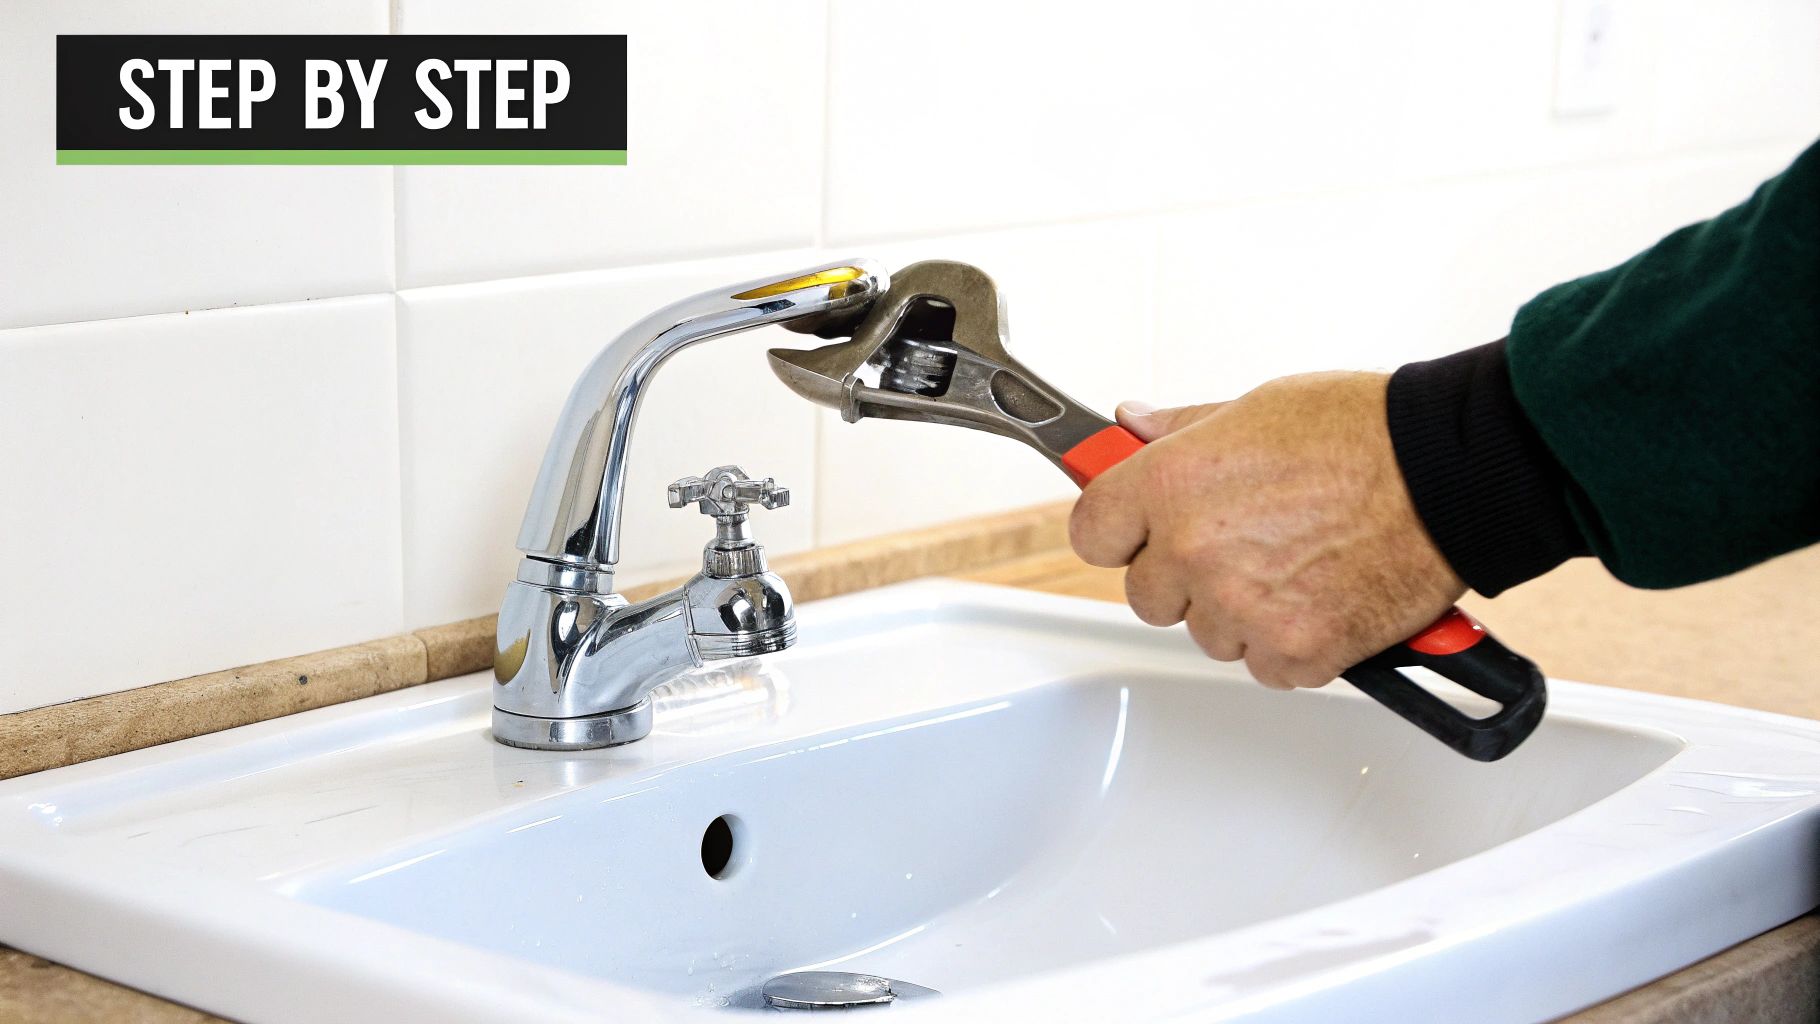
Now that you’ve gathered your tools and determined your faucet handle type, let’s carefully remove the handle. This process is more methodical than simply twisting and turning. It requires a thoughtful approach to protect your fixtures. Taking the time to prepare and proceed with caution will prevent damage and ensure your faucet lasts.
Preparing For Removal
- Shut Off the Water: Find the shutoff valves beneath your sink. Turn them clockwise to stop the water flow. If you can’t locate them, shut off the main water supply to your house. This crucial first step is standard practice for any professional.
- Protect Your Sink: Place a towel or drain cover in the sink basin. This will protect the surface from scratches and catch any small parts. This precaution is especially helpful when dealing with tiny screws or decorative caps.
- Test the Water Shutoff: Turn on the faucet to ensure the water is completely off. Any residual pressure suggests a valve isn’t fully closed.
Unscrewing The Handle
- Locate the Set Screw (If Applicable): Many handles, especially knobs, conceal a small set screw under a decorative cap. Gently pry off the cap with a utility knife to access the screw.
- Remove the Set Screw: Using the appropriate size Allen wrench or screwdriver, carefully remove the set screw. Make sure you have a snug fit to avoid stripping the screw.
- Loosen the Handle: If there’s no set screw, the handle itself is likely threaded onto the valve stem. Grip the handle firmly and turn it counterclockwise. For particularly stubborn handles, apply penetrating oil and let it sit for a few minutes to dissolve mineral buildup.
- Remove the Handle: Once loosened, carefully pull the handle straight off the valve stem. Take note of any resistance or unusual movement, which could indicate a problem with the internal cartridge. Paying attention to these details can prevent future leaks.
Handling Different Faucet Configurations
- Single-Handle Faucets: These often have a cartridge that needs removing after the handle. A cartridge puller might be necessary.
- Double-Handle Faucets: Unscrew each handle separately, following the steps above. Label the hot and cold handles to simplify reinstallation.
- Kitchen vs. Bathroom Faucets: The basic principles remain the same, but some kitchen faucets have spray hoses that require disconnecting before handle removal.
Interestingly, the faucet market is closely tied to economic trends and housing markets. After the 2008 financial crisis, the market rebounded to $21.78 billion by 2023. The pandemic-era home renovation boom, with roughly 60% of homeowners undertaking projects, further spurred growth. The residential sector, representing 72% of market revenue, saw a significant increase. Find more detailed statistics here. This data underscores the importance of understanding your faucet type and components. By following these steps and adapting them to your specific faucet, you can confidently unscrew your faucet handle without damage. Remember, patience and a methodical approach are essential for success.
Conquering Stubborn Faucet Handles That Won’t Budge
Sometimes, that faucet handle just won’t turn. It’s a common frustration, but there are solutions beyond the usual tricks. Even the most stubborn handle can be conquered with a little know-how. These advanced techniques are often the go-to methods for professional plumbers.
Understanding Why Faucet Handles Get Stuck
Before tackling the problem, it’s helpful to understand the underlying causes. Hard water often leaves mineral deposits, essentially gluing the handle in place. Corrosion can also fuse metal parts together, especially in older fixtures. Over time, materials can become brittle and resistant to movement due to simple aging. A long-term fix means addressing these root issues.
Professional Techniques for Removing Stuck Faucet Handles
Here are a few methods professionals use:
- Controlled Heat Application: Carefully applying heat to the handle can expand the metal and loosen the grip of mineral deposits or corrosion. A hairdryer on a low setting works well. Avoid excessive heat to protect the fixture’s finish.
- Vibration Methods: Gently tapping the handle with a rubber mallet while applying twisting pressure can break the bond. This vibration can dislodge stubborn deposits. Protect the handle’s finish with a cloth to prevent scratches.
- Specialized Pulling Techniques: For handles threaded onto the valve stem, a handle puller offers the necessary leverage without causing damage. These tools grip the handle securely for controlled and even force.
The following table summarizes different troubleshooting methods for stuck faucet handles. It provides a quick guide to identifying the problem and choosing the right solution.
Troubleshooting Stuck Faucet Handles
| Problem Type | Symptoms | Recommended Solution | Time Required | Success Rate |
|---|---|---|---|---|
| Mineral Deposits | Stiff handle, difficult to turn | Penetrating oil, heat application | 15-30 minutes | High |
| Corrosion | Handle fused to valve stem, visible rust | Heat application, penetrating oil, handle puller | 30-60 minutes | Moderate |
| Brittle Materials | Handle cracks or breaks easily | Handle replacement | Varies | High (with replacement) |
As you can see, the appropriate method depends on the underlying issue. Using the right tool and technique can save you time and prevent further damage.
The Professional’s Sequence: From Gentle to Aggressive
Professionals approach stuck handles with a step-by-step process, starting with the least invasive methods. This minimizes the risk of damage. Check out this resource for more tips: How to master…
- Penetrating Oil and Patience: Apply a penetrating oil, let it soak in for at least 15-20 minutes. This often solves the problem without further steps.
- Gentle Heat and Vibration: If penetrating oil isn’t enough, try gentle heat combined with light tapping using a rubber mallet.
- Handle Pullers and Increased Force: If the handle still won’t budge, use a handle puller, gradually increasing the force. Maintain even and controlled pressure.
This gradual approach protects your fixtures while maximizing your chances of success. Interestingly, water-efficient technologies are changing the faucet market. Faucets reportedly account for 30% of indoor water use in the U.S., leading to the development of models that use 40% less water. EPA’s WaterSense program has seen a 25% increase in certified faucet adoption over the past five years. Always protect finishes and surrounding surfaces during the process. By understanding why handles get stuck and using professional techniques, you can unscrew even the most stubborn faucet handle. Remember to start gently and escalate to more aggressive methods only if needed. This preserves your fixtures and ensures a successful repair.
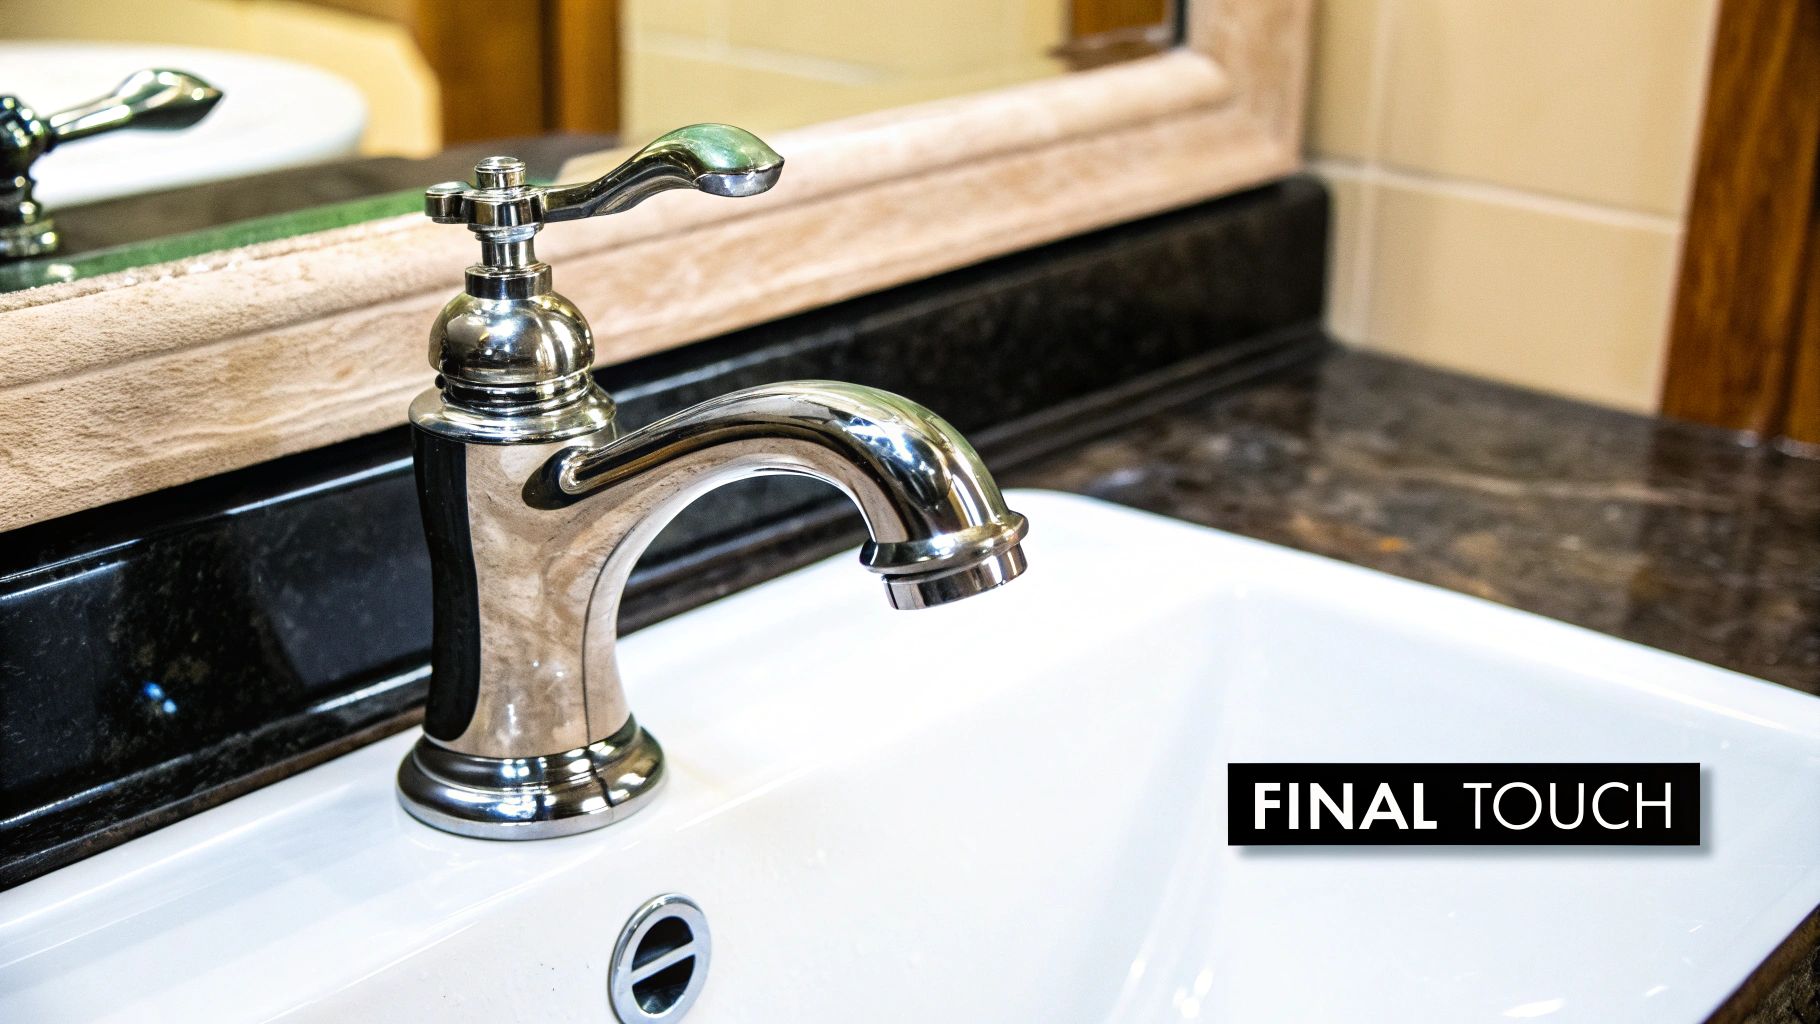
Reinstalling Your Faucet Handle: Techniques That Last
Reinstalling a faucet handle isn’t as simple as screwing it back on. It requires careful attention to detail to ensure a leak-free and long-lasting result. A proper reinstallation will also save you the trouble of having to repeat the process anytime soon.
Cleaning and Lubrication: The Foundation of a Lasting Reinstallation
Before you begin the reinstallation process, thoroughly clean all the components. Over time, mineral deposits and grime can accumulate, affecting the smooth operation of your faucet and leading to premature wear. Use a mild cleaning solution and a small brush to remove any debris from the handle, the valve stem, and the inside of the faucet body.
After cleaning, lubrication is essential for preventing future problems. Apply a thin layer of plumber’s grease to the valve stem and o-rings. This lubricant protects against corrosion and ensures smooth handle movement. Make sure to use a lubricant that’s compatible with your faucet’s materials, especially if you have high-end fixtures. You might be interested in: How to master…
Torque and Alignment: Achieving a Secure and Functional Fit
Proper torque is crucial when reinstalling the handle. Over-tightening can strip the threads or damage the handle, while under-tightening can cause leaks. Use a screwdriver or Allen wrench that fits snugly into the screw head. Tighten the screw firmly, but stop as soon as you feel resistance. Aim for a balance—not too tight, not too loose. This ensures a secure fit without causing damage.
Accurate alignment is equally important, particularly for lever-style handles. The handle should sit squarely on the valve stem and move smoothly through its full range of motion. If the handle feels stiff or binds, it might be misaligned. Loosen the screw slightly and adjust the handle’s position until it moves freely. This meticulous approach will optimize functionality and prevent premature wear.
Handling Replacements: Navigating Compatibility and Adaptations
If you’re replacing your faucet handle, ensure the new handle is compatible with your faucet’s valve. Different brands and models have different specifications. Consult your faucet’s documentation or contact the manufacturer for guidance if you’re unsure.
Sometimes, finding an exact replacement can be difficult, especially for older faucets. In these situations, you might need to use adapters. Adapters allow newer handles to be installed on older valves. However, it’s crucial to ensure the adapter creates a secure and watertight seal to prevent leaks. Choosing the right replacement handle ensures your faucet functions correctly and maintains its appearance.
When DIY Isn’t Enough: Recognizing Professional Territory
While many faucet handle issues are easily tackled with a bit of DIY knowledge, some situations demand the expertise of a professional plumber. Knowing when to step back and call in the pros can prevent costly repairs and potential water damage. This section will guide you in making that critical decision.
Recognizing the Limits of DIY
Sometimes, a seemingly simple stuck handle can be a symptom of a much larger issue. For example, corrosion at the base of the handle could indicate more extensive internal corrosion within the valve body itself. A handle that spins freely without adjusting the water flow often signifies a damaged cartridge. These problems require more than just removing the handle.
Furthermore, certain valve types, like pressure-balancing valves and thermostatic mixing valves, are intricate systems best left to trained professionals. These valves contain internal components that necessitate specialized tools and expertise for repair or replacement. Attempting a DIY fix on these complex systems could worsen the damage and create safety hazards. Learn more in our article about How to master…
Evaluating the True Cost Comparison
Calling a plumber may seem like a significant expense initially, but consider the potential cost of a DIY repair gone wrong. A stripped screw, a broken handle, or damage to the valve body can quickly inflate repair costs. Moreover, a failed DIY attempt could lead to water damage, adding substantial expense to the final bill.
Consider this: replacing a faucet handle typically costs between $50 and $150, while repairing water damage can cost thousands of dollars. This makes a compelling argument for professional assistance in more complicated situations. Realistically assessing the risks can help you make the most economically sound choice.
Communicating Effectively With Plumbers
Clear communication with your plumber is essential for a smooth and cost-effective repair. Be precise and descriptive when explaining the problem. For instance, instead of saying “my faucet is broken,” specify that you are having difficulty removing the handle and suspect an issue with the cartridge. This will help the plumber understand the situation and arrive prepared with the correct tools and parts.
Don’t hesitate to request a detailed estimate upfront. This allows you to compare prices and avoid unforeseen expenses. A reputable plumber will be happy to clarify the scope of the work and the related costs. This transparency builds trust and assures you’re receiving a fair price.
Finding Qualified Professionals
When you need professional assistance, seek licensed and insured plumbers with a strong track record. Online reviews and referrals from friends and family can provide valuable insights. A qualified plumber will accurately diagnose the problem and propose effective solutions.
Before hiring, inquire about their experience with your specific faucet brand and model. Some brands require specific tools and expertise. Selecting a plumber with relevant experience will ensure a successful repair. Understanding the limitations of DIY and knowing how to communicate with professionals will protect both your home and your finances.
Ready to update your bath and kitchen faucets? Visit Cranach Home for a vast selection of high-quality faucets and expert advice. We cater to interior designers, contractors, builders, remodelers, plumbers, and homeowners alike.