


Finding the Source of Your Leaky Shower Faucet
Think of yourself as a detective for a moment. That relentless dripping is your main clue, and your job is to trace it back to the source. Before you start taking things apart, you have to pinpoint the problem’s origin. It’s like a pre-flight check before you get to work.
We’ll walk through the most common culprits, from a simple, worn-out O-ring causing a pesky leak around the handle to a faulty internal cartridge creating that maddening drip from the showerhead itself. It’s a bigger deal than you might think. According to home water usage studies, a single faucet dripping just once per second can waste over 3,000 gallons of water a year. That’s a lot of wasted water and money.
By understanding whether you’re dealing with a minor seal replacement or a more involved cartridge swap, you can walk into the job with confidence and, more importantly, the right parts in hand. A leaky shower is often a sign of an aging fixture, and sometimes the best long-term solution is upgrading to a new shower system that offers better performance and efficiency.
Common Leak Locations and Their Causes
Knowing where the water is coming from is half the battle. In my experience, it almost always comes down to one of two scenarios:
- A Drip from the Showerhead: If water is constantly dripping out of the showerhead, even when the handle is firmly in the “off” position, the problem is almost certainly the internal faucet cartridge or valve. This is the part that actually controls the water flow, and over time, its seals wear out.
- A Leak from the Handle Base: See water seeping out from behind or around the faucet handle itself? The issue is usually a bad O-ring or gasket. These little rubber parts are designed to create a watertight seal, but they can degrade and fail after years of use.
Key Takeaway: A leak from the showerhead points to an internal valve problem. A leak at the handle suggests a bad seal. Getting this right is crucial for buying the correct replacement parts on your first trip to the hardware store.
To make things even clearer, I’ve put together a quick diagnostic table. Use it to match the symptom to the likely cause. It can turn a frustrating plumbing puzzle into a straightforward fix.
Diagnosing Your Shower Faucet Leak
Use this table to quickly identify the potential cause of your leak based on where you see the water coming from.
| Leak Location | Most Likely Cause | Typical Fix Difficulty |
|---|---|---|
| Drip from the Showerhead | Worn or faulty faucet cartridge | Moderate |
| Water around Handle Base | Worn-out O-ring or packing washer | Easy |
| Leak behind the Wall Plate | Loose pipe connection or valve body leak | Difficult (May require a pro) |
Once you’ve identified the likely culprit, you’re ready to move on to the next phase: gathering your tools and shutting off the water. If the problem seems complex or if multiple components are worn, consider if a full upgrade to a new shower system might be a more durable solution than a simple repair.
Getting Your DIY Plumbing Toolkit Ready
I’ve said it a thousand times, and I’ll say it again: walking into a repair without the right equipment is just asking for a bad time. We’ve all been there—halfway through a project, covered in grime, only to realize you’re missing the one tool you need. A quick run to the hardware store suddenly turns into three.
Before you even think about learning how to fix a leaky faucet shower, let’s get your tools lined up. Having everything you need from the start not only saves you a massive headache but also protects your fixtures from getting scratched or damaged by the wrong tool. It’s the difference between a controlled, manageable project and a frustrating ordeal.
Your Essential Tool Checklist
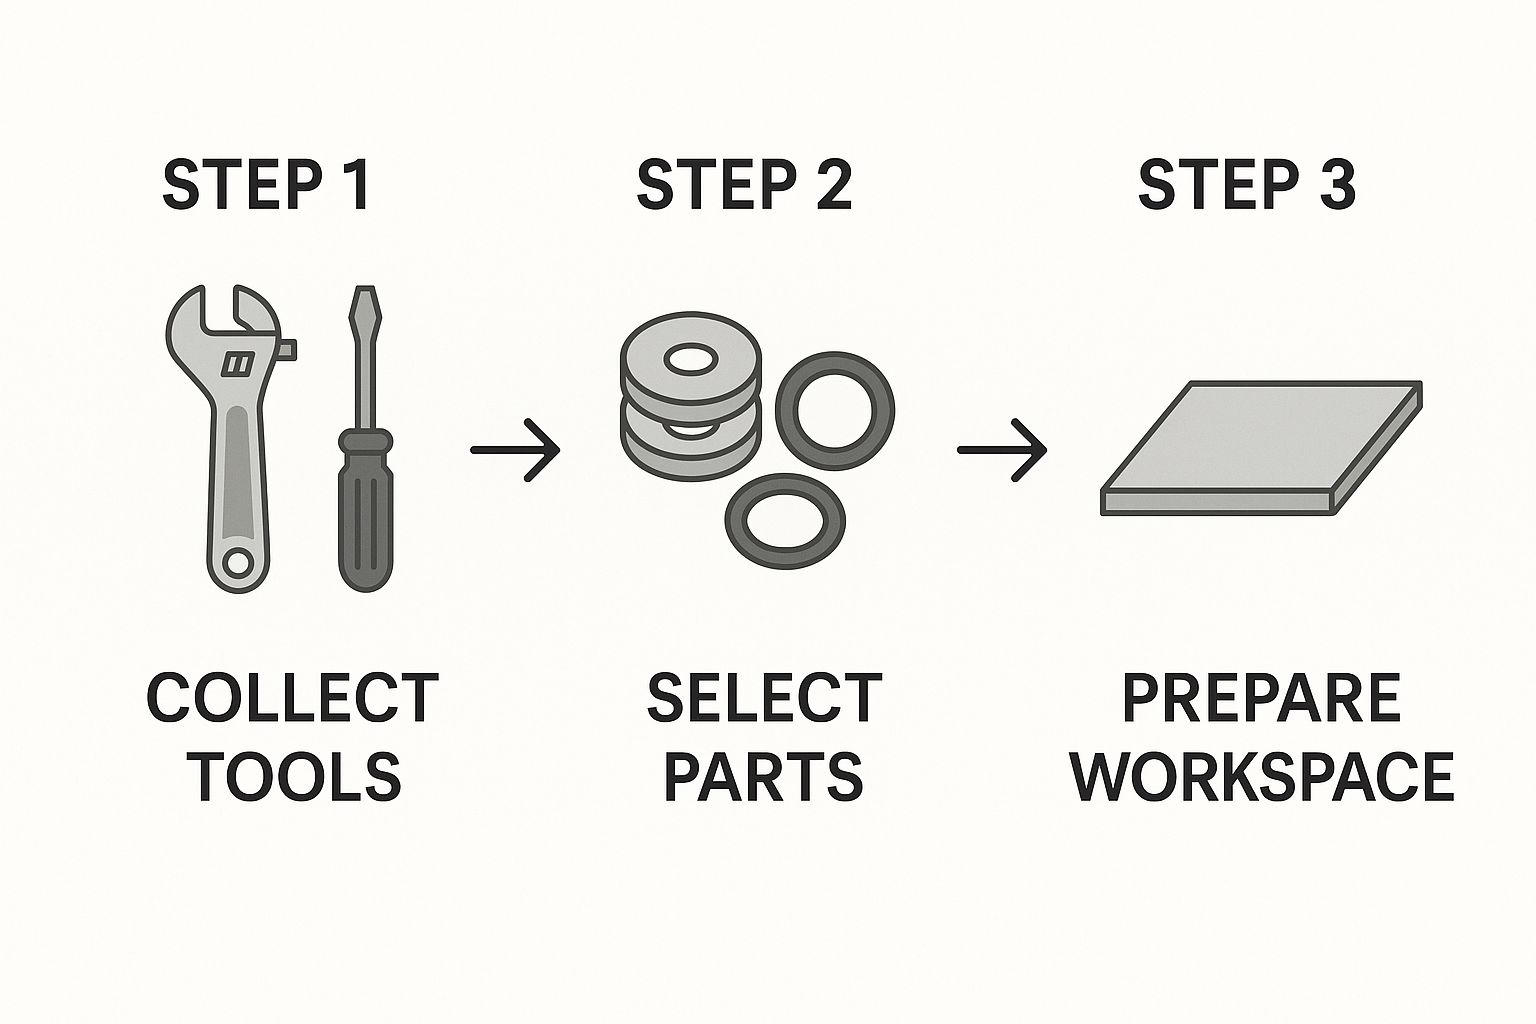
You don’t need to roll up with a professional plumber’s entire van, but a few key items are absolutely essential. Make sure you have these gathered and within arm’s reach before you shut off the water.
- Adjustable Wrench: This will be your best friend for loosening and tightening the various nuts you’ll find behind the handle.
- Screwdriver Set: You’ll definitely want both a Phillips and a flat-head. Faucet manufacturers love to mix things up, so you never know which screw you’ll find.
- Needle-Nose Pliers: These are perfect for plucking out small, stubborn parts like tiny retaining clips or old, brittle O-rings without breaking them.
- A Rag or Towel: Seriously, don’t skip this. Use it to plug the drain. It’s the only thing standing between you and a tiny screw disappearing down the drain forever.
Some faucets, especially the cartridge-style ones, might put up a fight. If the cartridge is fused in place from years of mineral buildup, you may need a special cartridge puller. It’s an inexpensive tool that can save you from a world of hurt. If you’re wrestling with a particularly stubborn handle, our guide on how to unscrew a faucet handle has some extra tricks you can try.
Pro Tip: Before you go anywhere, snap a quick photo of your shower faucet handle and the brand name (if you can see it). Trust me, this little step is priceless when you’re standing in the hardware store aisle, trying to find the perfect replacement parts on your first trip.
A little prep work here makes the actual repair go smoothly. It sets you up for success from the get-go. Taking the time to prepare also gives you a moment to assess the overall condition of your fixture. If it looks heavily worn or outdated, now might be the perfect time to explore upgrading to a complete shower system for a more reliable and modern bathroom experience.
A Practical Guide to Taking Apart the Faucet
Taking a shower faucet apart can feel like you’re trying to solve a puzzle, but if you’re methodical, it’s a pretty straightforward job. Getting inside is the only way to reach the components—like the cartridge or O-rings—that are almost always the real reason for that annoying drip.
First things first, and this is non-negotiable: shut off the main water supply to your home. I can’t stress this enough. Skipping this step is a fast track to turning a simple repair into a full-blown indoor flood. Once the water is off, turn the shower on to let any leftover water drain out of the pipes.
Getting to the Core Components
With the water off, you can start the disassembly. Most shower handles have a small, decorative cap right on the front. You can usually pop this off with a small flat-head screwdriver to get to the handle screw underneath.
A little pro tip: wrap the tip of your screwdriver in a bit of electrical tape or a thin rag. This simple move will save you from scratching the chrome finish on your fixture.
Once that screw is out, the handle should pull straight off. If it’s stuck solid from years of mineral buildup, don’t just yank on it. A gentle wiggle back and forth or a few light taps with the soft handle of your screwdriver should be enough to break it loose.
Expert Tip: Before you touch a single screw, place a towel or an old rag over the shower drain. I’ve seen it happen a hundred times—a tiny, crucial screw takes a dive right down the drain, sending you on an unplanned trip to the hardware store. It’s a frustrating and completely avoidable mistake.
After the handle is off, you’ll see the faceplate, which plumbers call an escutcheon. It’s typically held on by two or more screws. Unscrew those, and you can pull the plate away from the wall. This is the moment of truth, as you’ll finally have access to the faucet’s inner valve and cartridge—the heart of the problem. As you expose the inner workings, inspect them for severe corrosion or damage. If the valve body itself looks compromised, a repair might not be enough, and a full shower system replacement is the better long-term strategy.
It’s a good reminder that having your tools and replacement parts ready before you start is just as important as the repair itself. Preparation is half the battle.
Putting It All Back Together: Replacing Parts and Rebuilding Your Faucet
Alright, with the faucet taken apart, you’re now at the heart of the repair. This is where you get to swap out those old, worn-out components you found earlier. This is the moment you finally fix that drip and see how a leaky shower faucet works from the inside out.
Whether it’s a busted cartridge, brittle O-rings, or a corroded valve seat, the process is all about careful replacement. I can’t stress this enough: take your old parts with you to the hardware store to find an exact match. Trust me, this one small step will save you from a world of frustration and a second trip back.
Installing New Components the Right Way
A little technique goes a long way when you’re installing the new parts. Here’s a pro tip I’ve learned over the years: apply a small dab of plumber’s grease to any new O-rings and seals. This helps them slide into place without tearing and creates a much more robust seal against water pressure, meaning your fix will last.
If you’re replacing a cartridge, pay close attention to how it’s oriented before you slide it into the valve body. Most cartridges have little tabs or notches that need to line up perfectly. Trying to force it in at the wrong angle is a surefire way to damage both the new cartridge and the faucet housing itself.
A Proactive Approach: Once you have everything back together, don’t just crank the water on full blast. Open the main shutoff valve slowly—just a quarter turn at first. This lets the pipes pressurize gradually and gives you a chance to spot any immediate drips before they turn into a geyser.
It’s no surprise that faucet repairs are so common. The faucet market was valued at about $25.32 billion in 2025 and is projected to hit $51.17 billion by 2034. That growth is driven by homeownership and a strong renovation culture, especially in North America. It just goes to show you’re not alone in this project. This trend also reflects a growing interest in upgrading to a more comprehensive shower system for enhanced features and water efficiency.
Reassembly and Knowing When to Upgrade
Once your new parts are securely in place, you can start reassembling the faucet by simply reversing the steps you took to take it apart. Tighten every screw and component so it’s snug, but don’t go overboard. Over-torquing can easily crack plastic parts or strip the threads. If you’re tackling a similar job on a sink, our guide on how to replace a bathroom faucet has some extra tips that might come in handy.
Sometimes, though, you’ll open things up and find that the internal parts are heavily corroded or the main valve body is damaged. In those situations, a simple parts swap might not cut it. This is the perfect moment to think about upgrading your entire shower system. A new system from a trusted brand like CRANACH not only offers a permanent fix for the leak but can also seriously upgrade your daily shower with modern features and better efficiency.
A high-quality shower system can provide years of trouble-free use, eliminating the cycle of repairs and bringing a touch of luxury to your bathroom.
Deciding Between a Quick Fix and a Full Upgrade
That drip, drip, drip from your shower faucet can feel like it’s mocking you. While another quick fix might seem like the easiest path forward, let’s be honest—it’s often just a temporary patch on a much bigger problem. This is that moment where you have to weigh your options and decide: another repair, or a permanent solution?
When you’re trying to figure out how to fix a leaky faucet shower for the last time, take a hard look at its age. If that fixture has been around for more than a decade, finding the right replacement parts can turn into a frustrating scavenger hunt. Those repair costs start to add up, too. A persistent leak is usually a sign that the internal components are simply worn out and at the end of their life.
When to Upgrade Your Shower System
Making the choice to upgrade isn’t just about stopping a leak. It’s an investment in your home and your daily routine. Here are a few tell-tale signs that a full replacement is the smarter move:
- Frequent Repairs: If you find yourself fixing the same leak every year, the time, money, and sheer hassle will eventually eclipse the cost of a new fixture.
- Visible Corrosion: Seeing significant rust or crusty mineral buildup on the faucet body or its internal parts is a dead giveaway. That’s not just a surface issue; it signals widespread wear.
- Outdated Style: A bathroom remodel is the perfect excuse to finally ditch that old faucet for something more modern and efficient that actually matches your new design.
Choosing to upgrade to a modern shower system isn’t just about looks. It’s an investment in water efficiency and better performance that can save you money and headaches for years to come.
This shift toward smarter fixtures isn’t just a trend; it’s the new standard. With advancements like digital thermostats and water-saving features, modern systems are a world away from their older counterparts. In fact, by 2033, the global bathroom shower faucet market is projected to hit roughly $23 billion. This growth is fueled by homeowners demanding more sustainable and innovative bathroom solutions. You can read about the growth of the modern faucet market to see just how much plumbing technology is changing.
If you’re at this crossroads, upgrading to a high-quality shower system from a trusted brand like CRANACH is a solid choice. You don’t just solve the leak for good—you elevate your daily shower and can even lower your water bills. For a complete look at the repair process that can help you make a fully informed decision, check out our guide on how to fix a leaky shower faucet.
Testing Your Work and Preventing Future Leaks
You’ve put everything back together, but don’t pack up your tools just yet. This last part is absolutely critical to make sure your repair was a success and to save you from having to do this all over again next year.
Head back to your main water supply and turn it back on, but do it slowly. I always just open the valve a quarter-turn at first. This lets the pipes pressurize gradually, which helps you spot any immediate problems before they turn into a major gusher.
Now, it’s time to inspect your handiwork. Look closely for any hint of moisture around the handle, the faceplate, and the showerhead itself. Let the water run for a few minutes, then shut it off and check again. A perfectly dry fixture is what we’re aiming for.
Proactive Faucet Maintenance
Honestly, preventing future leaks often just comes down to simple, regular maintenance. If you have hard water, it’s the number one enemy of your plumbing fixtures because that mineral buildup can really do a number on seals and cartridges over time.
A few good habits can make a world of difference:
- Regular Cleaning: Every so often, give your showerhead a good cleaning to get rid of clogs and mineral deposits.
- Address Drips Immediately: Don’t let a small drip go. Fixing it early stops extra wear and tear on the internal parts.
- Monitor Water Pressure: If your water pressure is unusually high, it can put a strain on your entire plumbing system, especially the faucet valves.
The key takeaway here is that prevention is always easier than repair. Keeping your fixtures clean and jumping on minor issues right away will seriously extend the life of your shower system and keep it running smoothly.
For a deeper dive into cleaning, check out our guide on how to clean a shower head. These small maintenance steps can save you a ton of time, money, and frustration down the road, making sure your hard work today pays off for years to come. This kind of preventative care is especially important whether you have a basic faucet or a full-featured shower system.
Your Leaky Shower Faucet Questions Answered
Even with a solid plan, any home repair project can throw you a curveball. Fixing a leaky shower faucet is certainly no exception. I’ve been there. So, let’s walk through some of the most common questions and frustrations that pop up so you can get the job done right.
What If the Drip Gets Worse After My Repair?
This is a classic DIY headache, but don’t worry, it usually points to a pretty simple issue. If you’ve put everything back together and the drip is still there—or even worse—the most likely culprit is an incorrectly installed part or, you guessed it, the wrong replacement part.
Take a deep breath and retrace your steps. Did you make sure the new cartridge is sitting perfectly flush inside the valve body? Even a slight angle can prevent a proper seal. Also, give those O-rings and seals another look to ensure they’re snug and weren’t pinched or damaged during installation. It’s also possible another old component just couldn’t handle the pressure from the new parts and finally gave out. If repairs become a recurring issue, it may be time to stop fixing and start replacing with a new shower system.
How Do I Find the Right Replacement Parts?
Finding the perfect match for your faucet’s internals can feel like a treasure hunt. The best place to start is by identifying the brand of your faucet. Look for a name or logo stamped on the handle or the decorative faceplate (the escutcheon).
Once you have the old parts out, bring them with you to the hardware store. Seriously.
Key Takeaway: Visually matching your old parts to the new ones is the most surefire way to guarantee a perfect fit. Whenever you can, stick with brand-specific parts. It’s the best way to get a reliable, long-lasting repair when you’re learning how to fix a leaky faucet shower.
This focus on getting the right fit is part of a bigger picture in the plumbing world. Since 2006, programs have pushed manufacturers to create better, more efficient fixtures. This has encouraged homeowners to choose certified, high-quality options when it’s time for a repair or replacement. You can discover more insights about the push for efficient shower fixtures if you’re curious about the industry trends. This push towards efficiency and quality is a major reason why upgrading to an integrated shower system has become such a popular choice for homeowners.
And if you’re tackling a leak, you might also be dealing with weak water flow. While you’ve got the tools out, it could be the perfect time to learn more about how to increase water pressure in your shower.
Of course, if you’re tired of battling persistent leaks and lackluster performance, upgrading to a modern, high-efficiency shower system is the ultimate fix. Take a look at the stylish and dependable options from CRANACH to completely transform your bathroom experience.