


Why Your Shower Head Is Secretly Sabotaging Your Morning
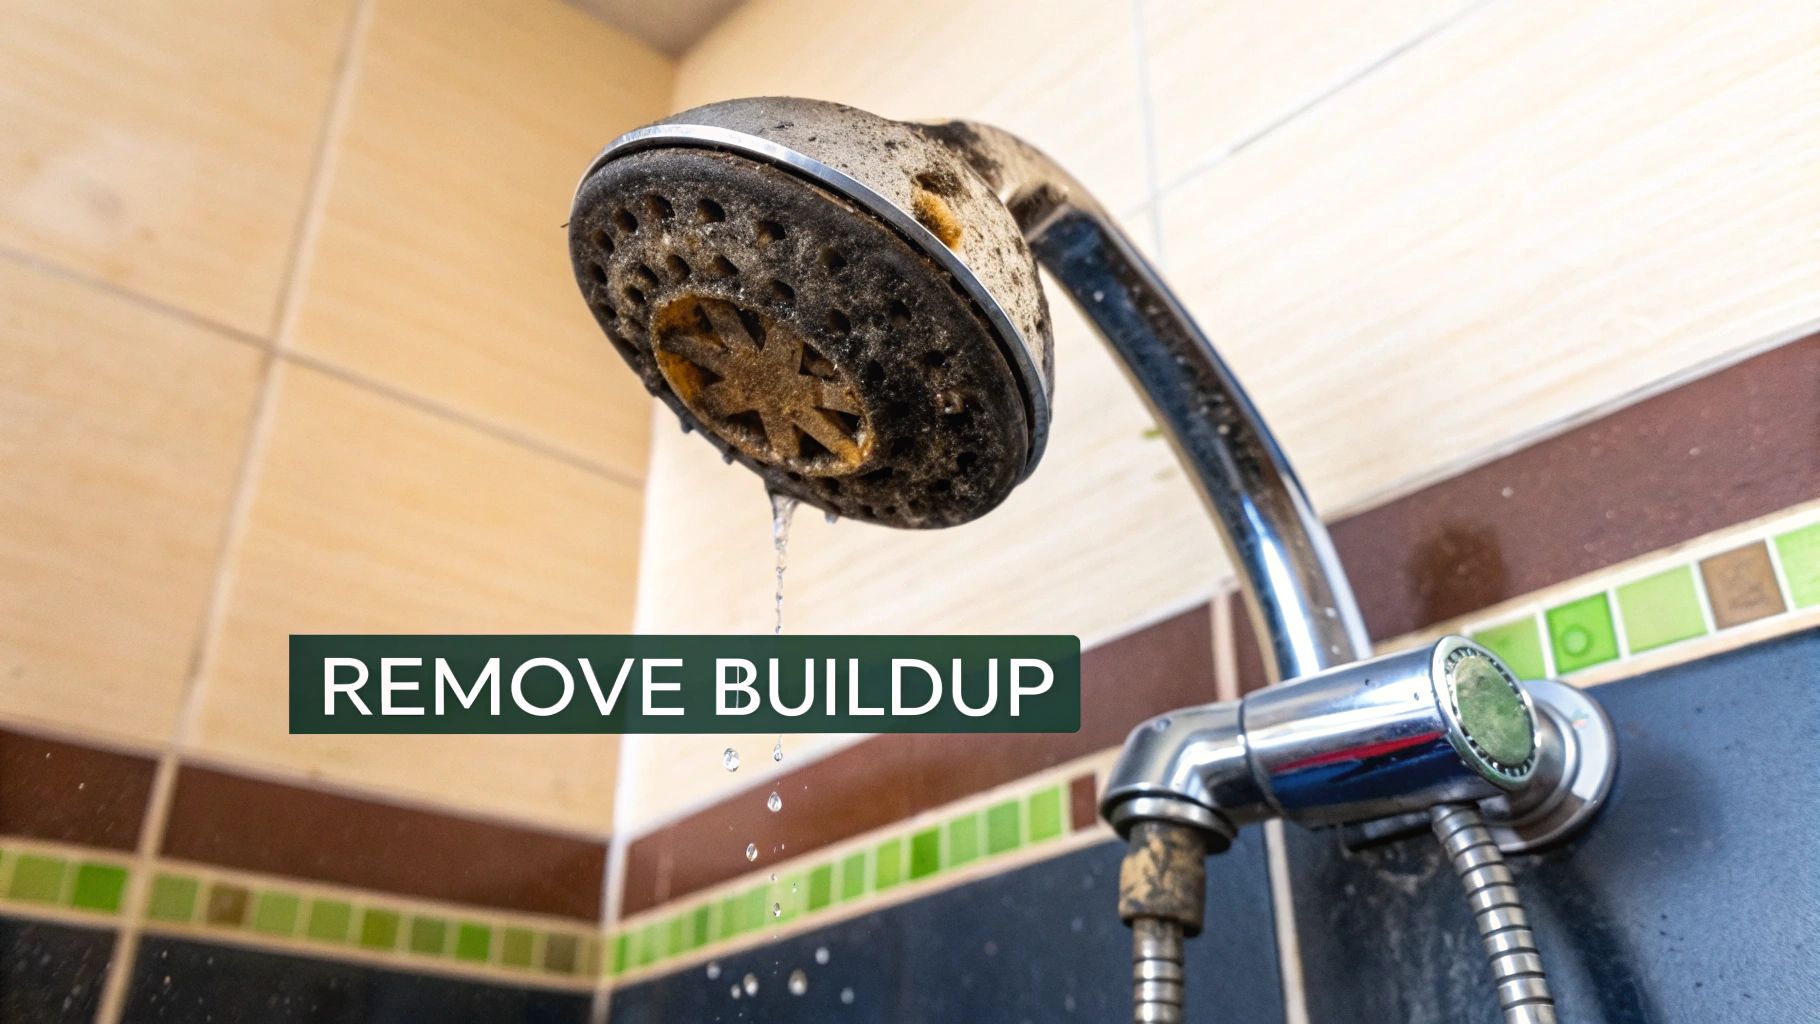
That weak trickle of water you’re feeling isn’t just a morning frustration; it’s a clear signal that your shower head is clogged and needs a good cleaning. Most of us tend to overlook the early signs, like when a few nozzles start spraying sideways. Before you know it, your refreshing morning shower feels more like standing in a light mist. What’s happening behind the scenes is a gradual buildup of mineral deposits. This crusty, white gunk isn’t just ugly—it’s the primary cause of your declining water pressure and can even harbor bacteria.
The Problem With Hard Water
For a vast number of households, hard water is the main offender. This isn’t some niche problem; it’s estimated that hard water is present in about 85% of the U.S. water supply and is a common issue worldwide. The high concentration of minerals, especially calcium and magnesium, leads to something called limescale. If you let it build up, this limescale can choke off your shower’s water flow by 30-50%. This not only turns your powerful shower into a disappointing drizzle but also makes your water heater work harder, which isn’t great for your utility bills.
Recognizing the Signs
Knowing when you have a real problem versus just a bit of normal grime is the first step. If a couple of jets are pointing in the wrong direction, a quick wipe might be all you need. But if you’re dealing with a noticeable drop in pressure, lots of clogged nozzles, or visible flaky stuff building up, it’s definitely time for a deeper clean. Putting it off won’t just ruin your morning routine; it can actually reduce the lifespan of your fixture. A sparkling clean shower head is also a key part of any modern, well-kept bathroom, fitting right in with the latest in bathroom design trends. Before you jump into learning how to clean head shower parts, understanding what causes the blockage will give you the motivation to get it done right.
Your Kitchen Pantry Is a Cleaning Goldmine
Forget wandering down the cleaning aisle for pricey, single-use bathroom products. The best fix for a clogged shower head is probably already in your kitchen. It’s surprising how well common household items can dissolve the stubborn mineral buildup that’s strangling your water flow. You don’t need harsh chemicals for a sparkling, high-performance shower head; in fact, some commercial cleaners can permanently ruin your fixture’s finish.
Everyday Heroes for Your Shower
The real star of the show is plain old distilled white vinegar. Its acetic acid is fantastic for breaking down calcium and magnesium deposits (the culprits behind limescale) without being abrasive. All it takes is some vinegar, a sturdy plastic bag, and a rubber band or twist tie to hold it in place. I’ve used this simple trick on countless metal and plastic shower heads with great success.
However, a word of caution for certain finishes. You’ll want to be careful here:
- Avoid vinegar on: Gold-plated, nickel, or brass fixtures. The acid can be too aggressive and may strip the finish over time, leaving it looking dull or discolored.
- A safer alternative: For these more delicate finishes, you can mix a gentle dish soap with water or create a paste using baking soda and water. While less acidic, these options are still effective at gently scrubbing away grime.
To help you decide what’s best for your situation, I’ve put together a quick comparison of the most common DIY cleaning solutions.
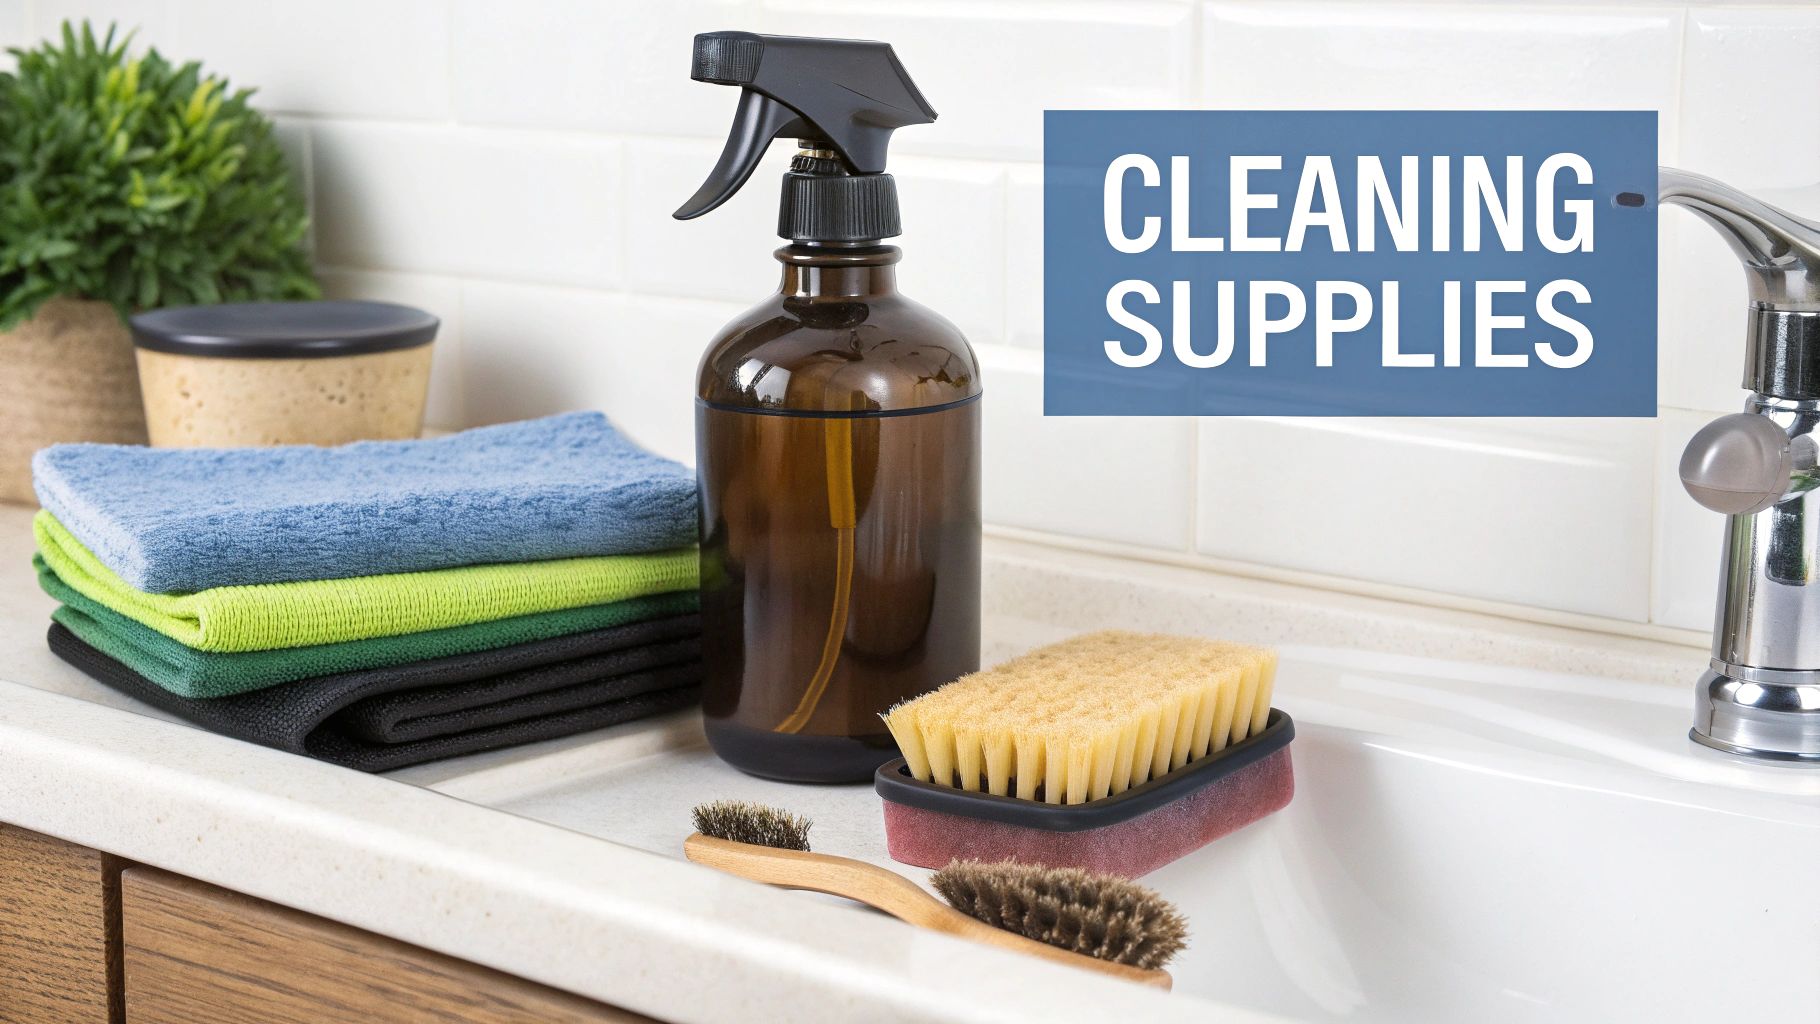
Essential Cleaning Supplies Comparison
| Cleaning Solution | Effectiveness | Cost | Safety Level | Time Required |
|---|---|---|---|---|
| White Vinegar | High on mineral buildup and limescale | Low (under $5) | High (non-toxic but avoid on certain finishes) | 1-4 hours (soaking) |
| Baking Soda Paste | Medium on surface grime and mild buildup | Low (under $2) | Very High (safe for all finishes) | 30-60 minutes |
| Dish Soap | Low on mineral buildup, good for soap scum | Low (under $5) | Very High (safe for all finishes) | 15-30 minutes |
| Commercial Cleaners | Varies (can be very high) | Medium-High ($5-$15) | Varies (check labels for harsh chemicals) | 15-30 minutes |
As you can see, vinegar offers the best bang for your buck when tackling serious mineral clogs, as long as your fixture’s finish can handle it. For routine cleaning or sensitive materials, baking soda is an excellent, safe choice.
Knowing how to use everyday items for cleaning is a game-changer for home maintenance. The main thing is to match the right solution to the material you’re cleaning. For more great ideas on keeping your home in top shape, these expert tips on cleaning wood cabinets offer similar practical advice for another common household task.
The Overnight Soaking Trick That Changes Everything
If you’re dealing with a seriously stubborn clog, the best method often requires no scrubbing at all. I’m talking about the famous plastic bag trick, a genuine lifesaver that has rescued countless shower heads from being thrown out. This technique uses simple household items to do all the hard work for you, dissolving those tough mineral deposits while you catch some sleep. I’ve personally used this to bring a sputtering, weak shower head back to life with powerful, even streams literally overnight.
Positioning for a Perfect Soak
The real key to making this work is getting full immersion. You need every single nozzle to be submerged in your cleaning solution. For a typical, downward-facing shower head, this is pretty simple. Grab a sturdy plastic bag and fill it with a 1:1 mix of white vinegar and water—just enough to completely cover the head. Secure it tightly around the shower arm with a rubber band or a zip tie to stop any leaks.
While a quick soak helps, the real magic happens over time. For a seriously blocked-up head, letting it sit for at least four hours, or even overnight, will give you the best results.
Things get a little trickier for shower heads with odd shapes, like large rain-style models or handheld wands. You can often just detach the head and let it soak in a bowl. If detaching it isn’t an option, find a larger bag and use extra ties to wrap it securely around the whole fixture. The goal is to create a sealed pouch so the solution gets into every nook and cranny.
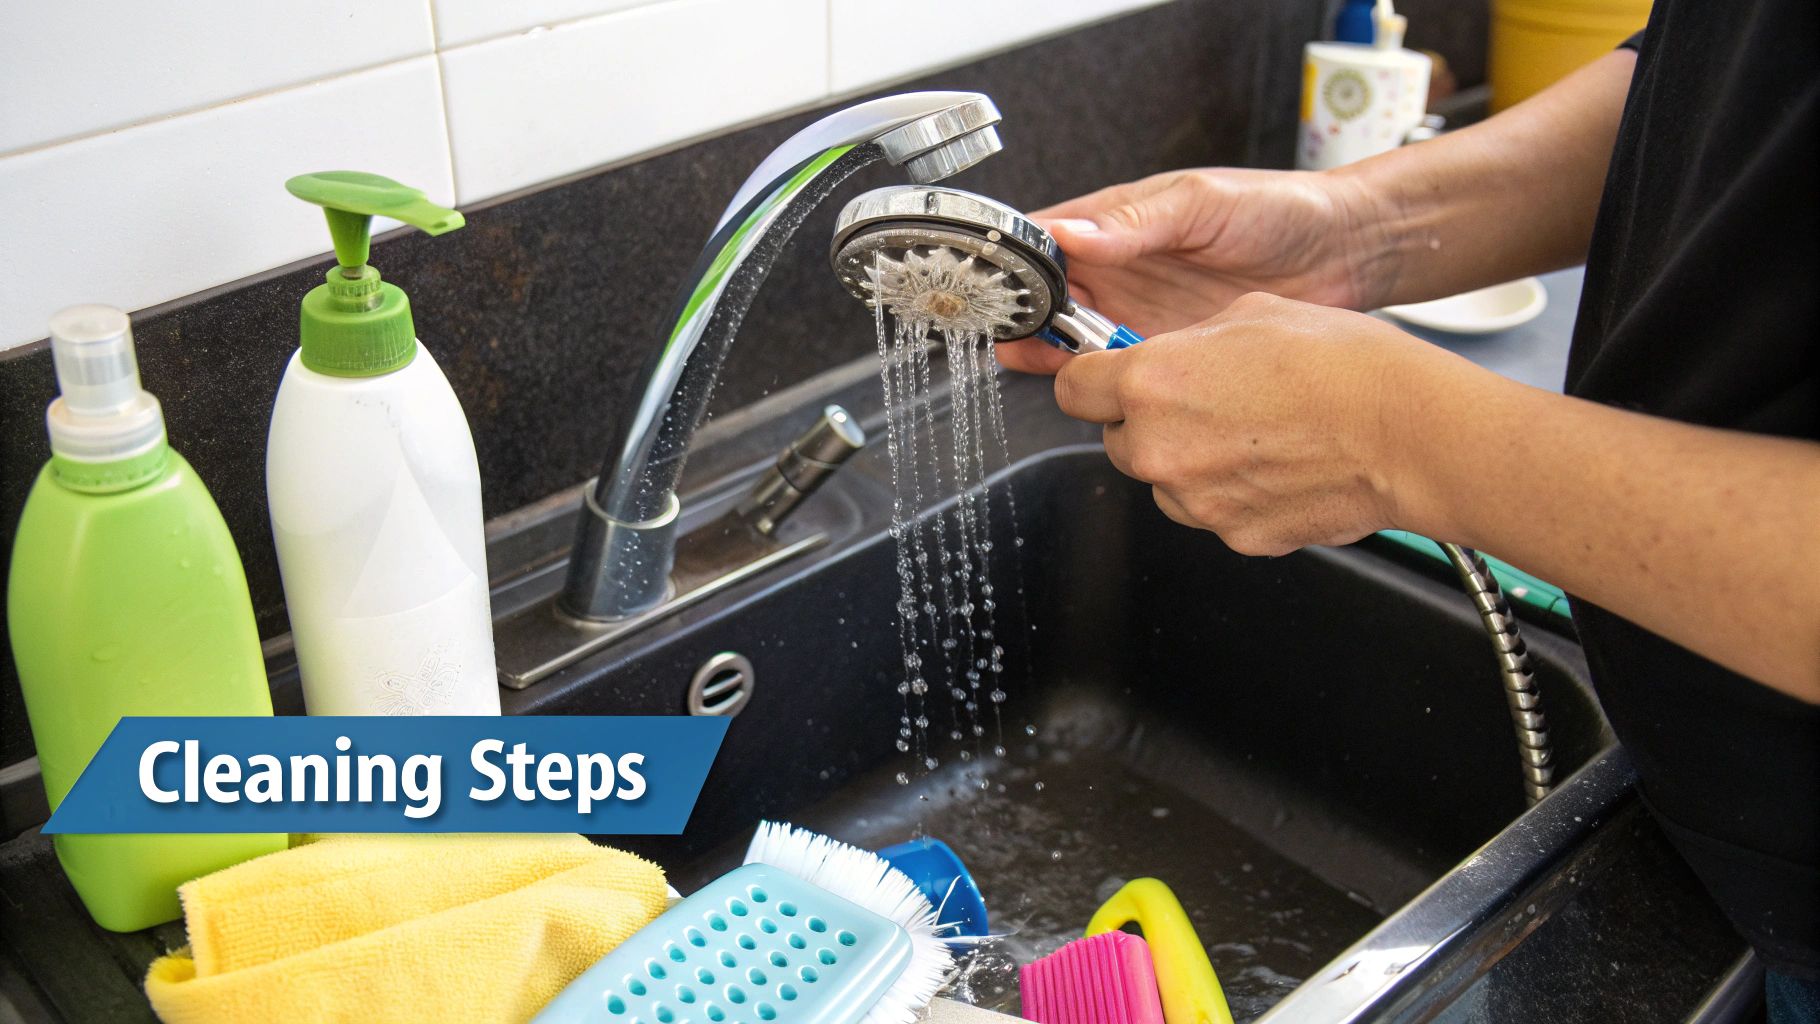
This visual guide shows just how simple the prep is.
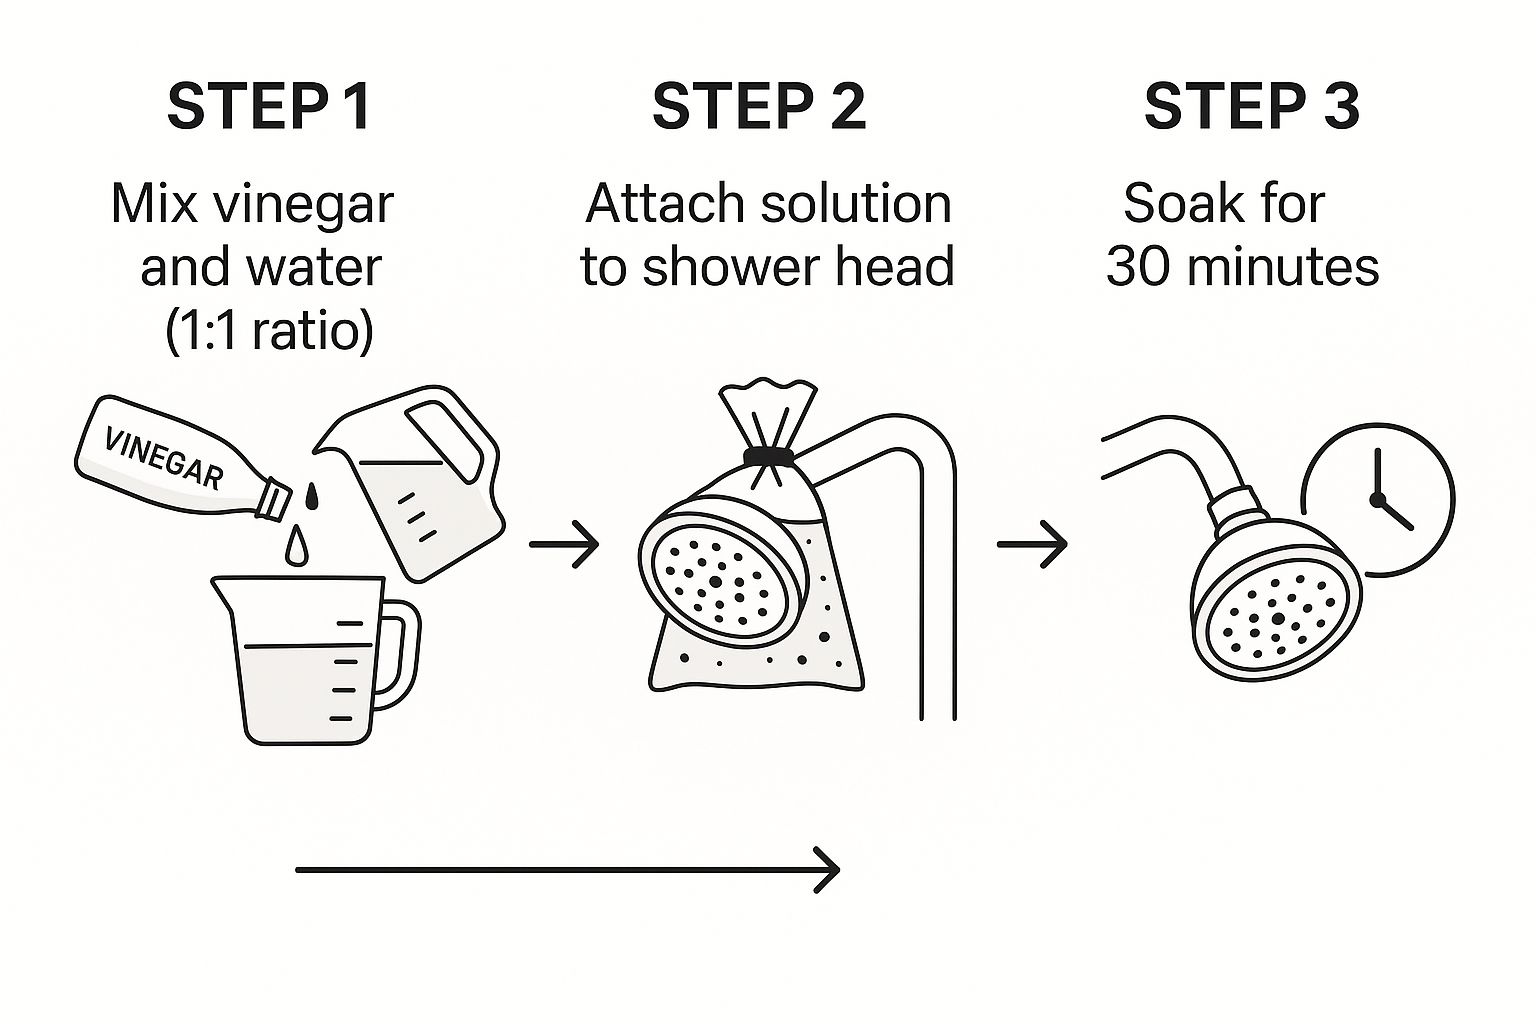
As you can see, mixing the solution is easy, but success really depends on making sure the fixture is completely soaked for the right amount of time.
After its long bath, take the bag off and run hot water for a minute to flush out all the loosened gunk. You should see a big difference in the water flow right away. For more in-depth advice on how to clean head shower models of all kinds, our complete guide has even more tips. While this soaking method is incredibly effective, some extreme cases might need a bit more elbow grease, which we’ll get into next.
Advanced Techniques for Seriously Stubborn Buildup
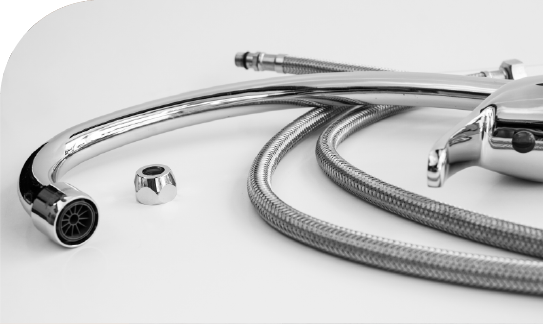
Sometimes, the overnight vinegar soak just doesn’t make a dent. If you’re dealing with years of mineral buildup or live in an area with notoriously hard water, you might need to bring out the heavy hitters. When a gentle soak fails, the next step is to carefully take the shower head apart for a more direct deep clean. Most modern shower heads can be unscrewed from the shower arm by hand, but if it’s stuck, a cloth-wrapped wrench will give you the grip you need without scratching the finish.
This direct approach lets you get right to the source of the problem. The faceplate, where all the tiny nozzles are, is usually the main culprit for trapping stubborn gunk. Once it’s off, you can give it a more focused soak and start working on the individual spray holes. This is where a little creativity with your tools comes in handy.
Tackling Individual Nozzles
With the faceplate separated, you can easily spot which nozzles are completely blocked. A small, stiff brush or even an old dental pick can work wonders here. The goal is to be firm but gentle; you want to break up the mineral crust, not accidentally enlarge the holes, which could mess up the spray pattern for good.
- Start by soaking the faceplate again in a strong vinegar solution to soften the deposits.
- Next, grab a thin, firm object like a straightened paperclip or a dedicated nozzle-cleaning tool. Gently poke out the leftover debris from each clogged hole.
- Before putting it all back together, give the faceplate a powerful rinse under the tap to flush everything out.
This hands-on method is incredibly effective for getting that perfectly even flow back, as you can see in this photo of a well-maintained shower head.
The picture really shows how every single nozzle plays a part in the overall spray, which is why clearing each one is so crucial for good performance. If you’ve noticed similar buildup on your sink, you can find more great advice in our guide on removing calcium deposits from faucets.
For truly stubborn limescale that laughs at your home remedies, it might be worth considering professional deep cleaning services. There’s a point where your time and effort might be better spent on a new fixture, but these advanced techniques give you a solid fighting chance to save the one you have.
The Moment of Truth: Testing Your Success
After all that soaking and scrubbing, this is the part that feels like a real reward. You’ve put in the work, and now it’s time to see if your efforts paid off. But a successful cleaning is about more than just seeing water come out; it’s about the quality of the spray. Go ahead, turn on the water and step back. A truly clean shower head won’t just have better pressure—it will have that original, even spray pattern you remember. If you see rogue jets shooting sideways or notice weak spots in the stream, you know some stubborn mineral deposits are still hanging on.
Pinpointing Lingering Problems
Take a moment to watch the water flow. A common issue I see after cleaning is an uneven pattern, where one side of the shower head seems way more powerful than the other. This usually means a few nozzles on the weaker side are still partially blocked. Don’t worry, you can often fix this without re-soaking the whole thing. Just grab a small brush or even an unfolded paperclip and gently poke at the specific nozzles that look lazy. Then, run hot water for another minute to flush out any loosened gunk. In many cases, this tiny adjustment is all it takes to get a perfectly balanced spray.
However, if the flow is weak across the entire head, you might be looking at a different issue. If you’ve thoroughly cleaned every nozzle but the pressure is still disappointing, the problem could be deeper inside the fixture or even in your plumbing. You can find more diagnostic tips in our guide on how to increase shower water pressure. It can help you figure out if it’s a simple fix or a larger concern.
Gauging Real Improvement
To really know if you’ve succeeded, it helps to compare the “after” with your memory of the “before.” I’ve put together this quick table to help you evaluate the key performance indicators of your shower head post-cleaning.
| Performance Indicator | Before Cleaning | After Cleaning | What It Means |
|---|---|---|---|
| Spray Pattern | Uneven, jets shooting sideways | Consistent, full spray | All nozzles are clear and functioning properly. |
| Water Pressure | Weak, almost drizzling | Strong, forceful stream | Mineral buildup is no longer restricting water flow. |
| Coverage Area | Obvious gaps in the water stream | A uniform cone of water | The head is distributing water exactly as designed. |
Looking at this table, if your results line up with the “After Cleaning” column, give yourself a pat on the back! You’ve successfully learned how to clean head shower parts effectively and restored your shower’s performance. If you’re still facing issues after a couple of attempts, it might be a sign of internal wear and tear, and it could be time to consider a replacement.
Keeping Your Shower Head Happy Long-Term
Now that your shower is back to its full-pressure glory, let’s talk about how to keep it that way without having to do a deep clean every month. The real secret is moving from a big “rescue” mission to simple, consistent care. Think of it like this: a quick wipe-down after you shower stops grime from ever getting a chance to build up. This is the same strategy property managers use for hundreds of units—they prioritize prevention to keep everything running smoothly.
An incredibly easy and effective habit is to keep a squeegee or microfiber cloth right in your shower. After you’re done, a quick wipe of the shower head’s face removes fresh water droplets before they can dry and leave behind those pesky mineral deposits. This tiny action, which takes less than 15 seconds, is your strongest defense against future clogs.
Customizing Your Maintenance Schedule
Not every shower needs the same amount of attention. Your perfect maintenance plan will depend on a few things: the hardness of your local water, how often the shower gets used, and the type of shower head you have.
Here’s a simple way to figure out a routine that works for your home:
- If you live in a soft water area: A light wipe-down once a week and a quick 30-minute vinegar soak every three to four months should be all you need.
- If you have hard water: You’ll want to be a bit more diligent. Stick with the daily wipe-down, and schedule a quick soak once a month. Keep an eye out for early signs of buildup, like a single jet spraying sideways. When you see that, it’s time for a little maintenance.
Long-Term Health and Upgrades
If you feel like you’re constantly fighting mineral buildup even with regular cleaning, it could be a sign that your water is extremely hard. Investing in a water softener system can be a real game-changer, not just for your shower head but for all your plumbing and appliances. It tackles the minerals at the source, which dramatically reduces your cleaning duties. The same principle applies to other fixtures; for instance, the advice in our guide to cleaning bathroom faucets becomes much easier to follow with softer water.
Finally, it’s important to know when it’s time to move on. If your shower head is old, has permanent finish damage from harsh chemicals, or just can’t hold good pressure anymore, it might be time for an upgrade. A new, high-quality fixture from Cranach lets you start fresh with a clean, healthy shower experience designed for easy upkeep and a long life.