


您的购物车目前是空的!
How to Fix a Leaky Faucet in the Shower: DIY Tips & Tricks
That constant drip-drip-drip from your shower isn't just an annoying sound; it's a clear signal that something needs your attention. Learning how to fix a leaky faucet in the shower is one of those essential home maintenance skills that does more than just restore peace and quiet. It's a straightforward repair that protects your home and your wallet from a surprising amount of damage.
Why You Must Fix That Leaky Shower Faucet Now
It's easy to put off fixing that relentless dripping from your shower faucet, but letting it go has some pretty steep consequences. Procrastination can turn a small, totally manageable problem into a costly and even hazardous one. It's a silent drain on your finances and a hidden threat to your home's structure, making a quick fix a necessity, not just a preference.
Before diving in, here's a high-level overview of the repair process to give you a clear roadmap from start to finish.
Your Quick-Fix Action Plan
| Phase | Key Action | Primary Goal |
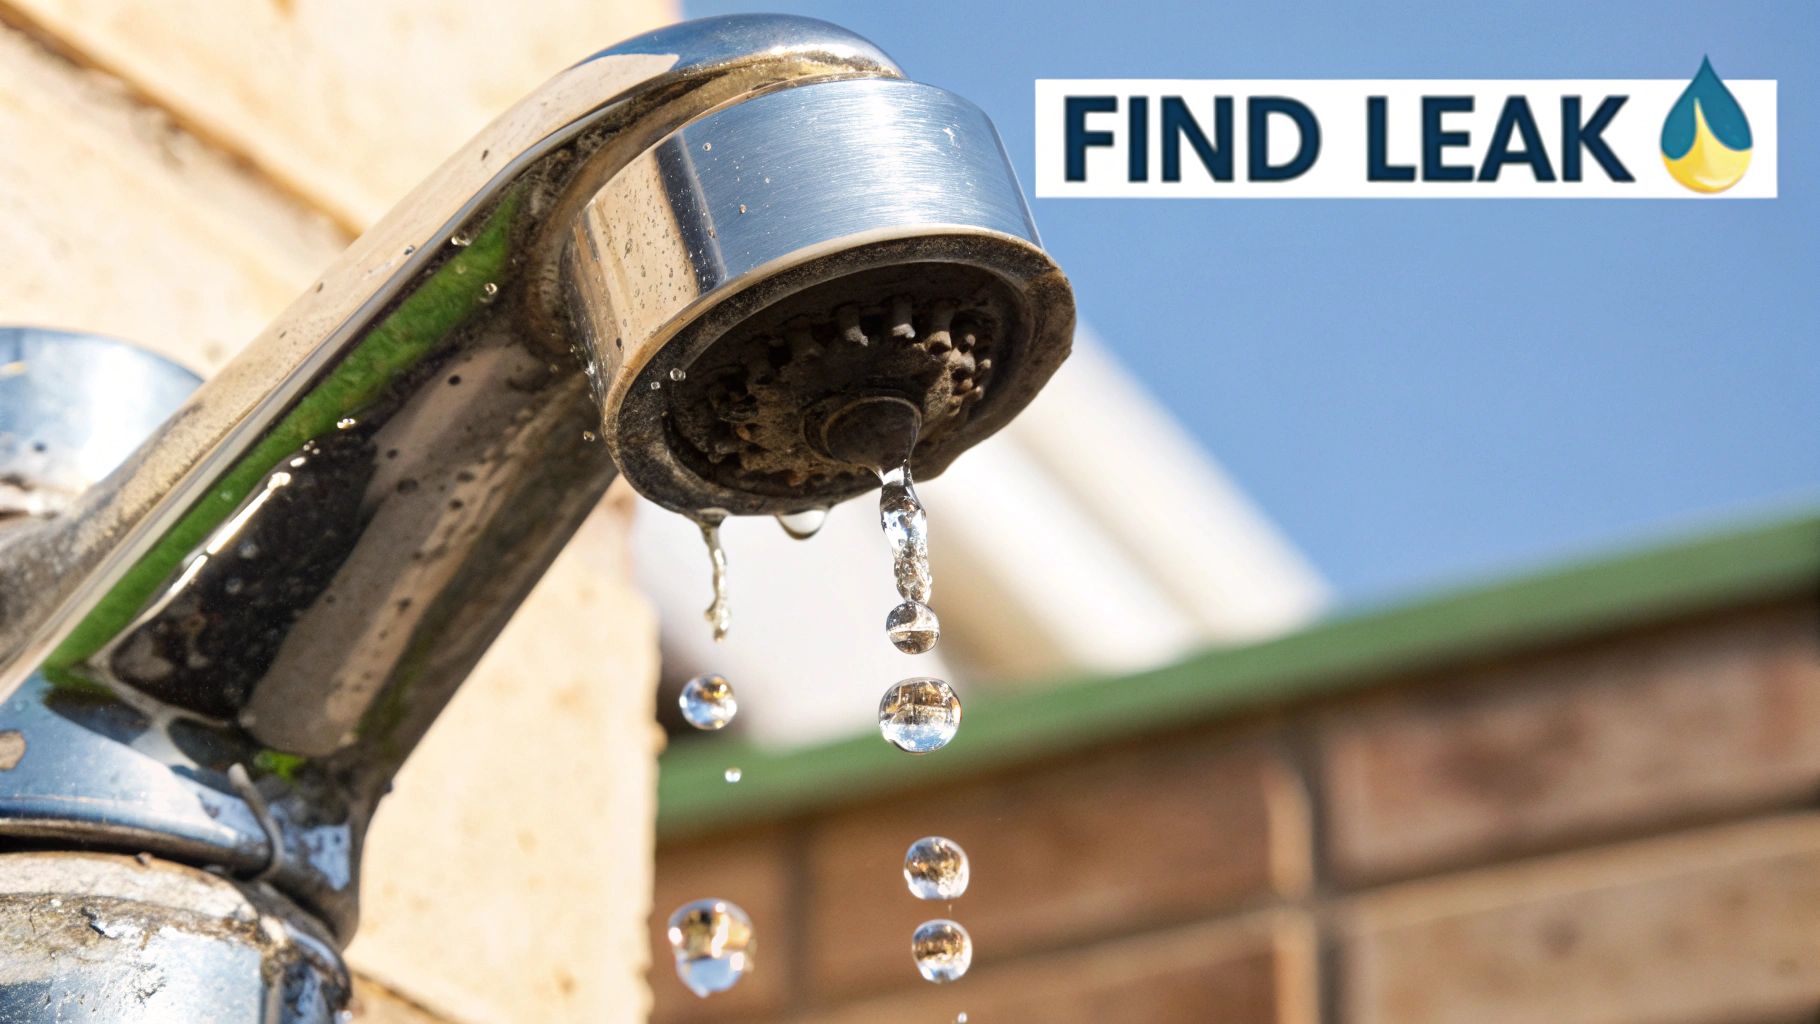
|---|---|---|
| 1. Diagnosis | Identify the faucet type and the source of the leak. | Pinpoint the exact problem to get the right parts. |
| 2. Preparation | Shut off the water supply and gather your tools. | Create a safe and efficient work environment. |
| 3. Disassembly | Carefully remove the handle, faceplate, and cartridge. | Access the internal components without causing damage. |
| 4. Replacement | Install the new cartridge or other worn parts. | Replace the faulty component causing the leak. |
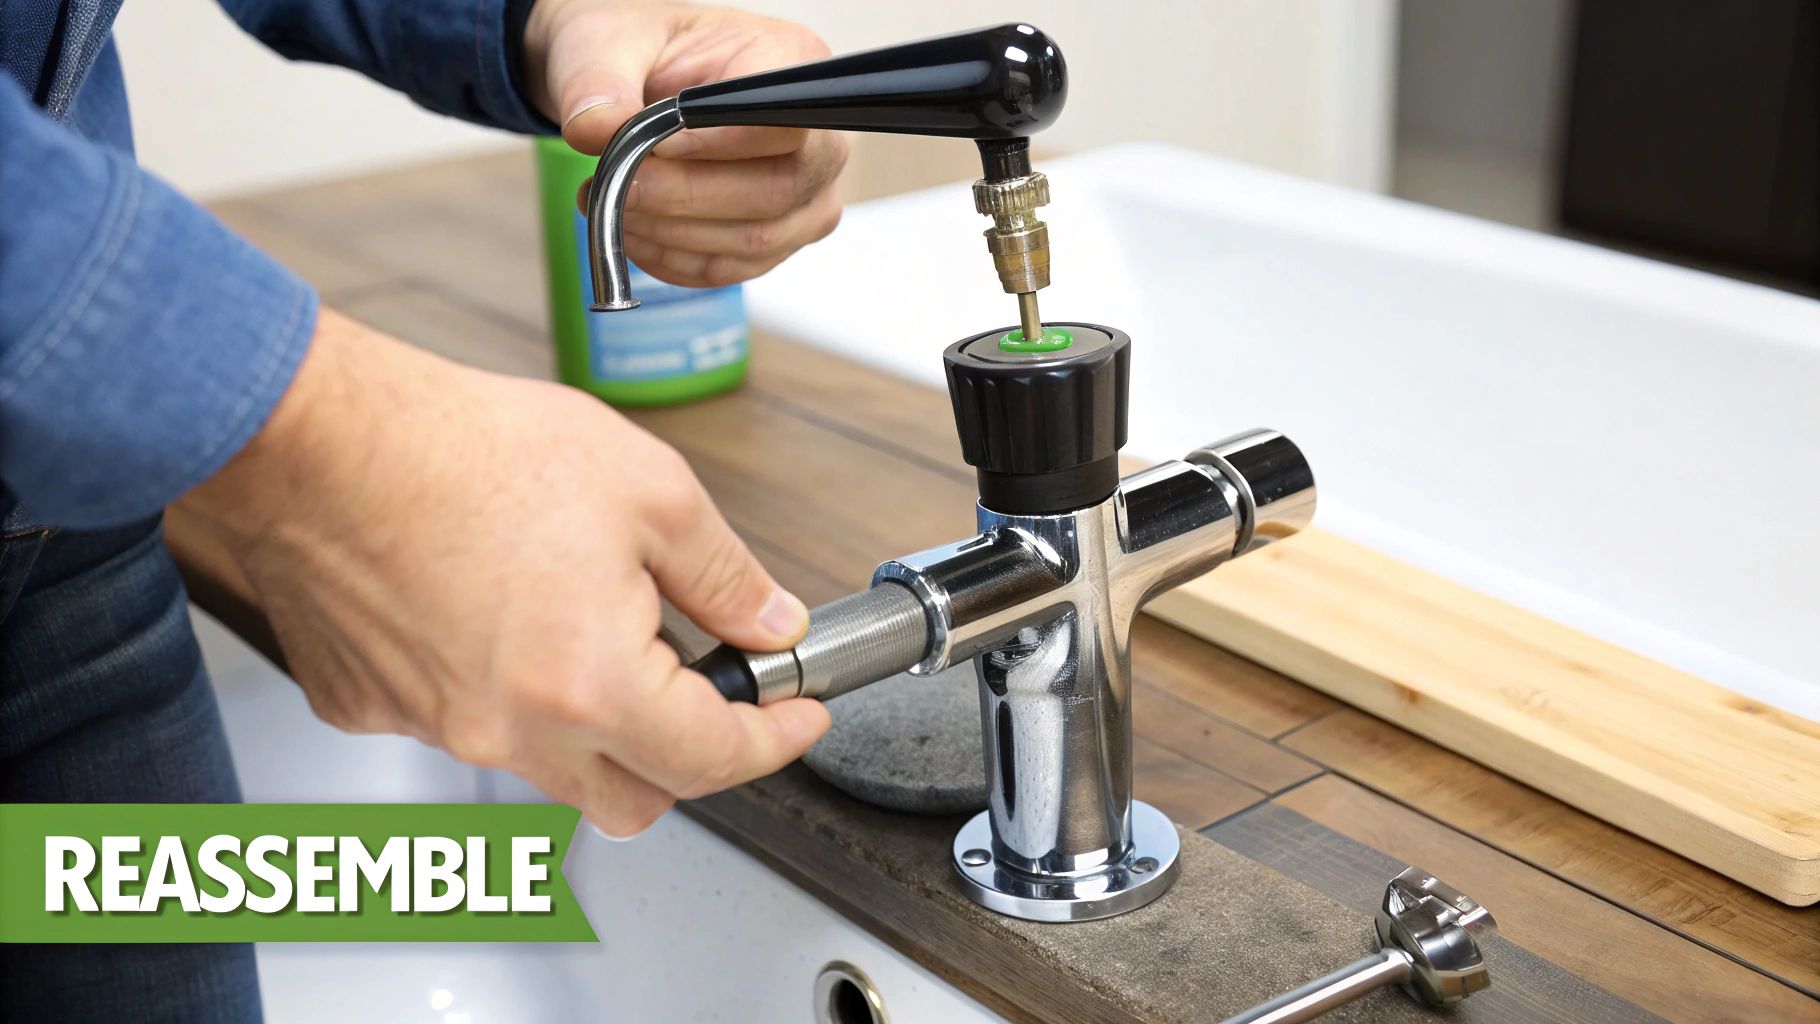
| 5. Reassembly | Put everything back together in reverse order. | Restore the faucet to its original, functional state. |
This table breaks down the project into simple, achievable stages. Now, let's explore why tackling this sooner rather than later is so important.
The Staggering Cost of Water Waste
That drip might not look like much, but it adds up with shocking speed. A faucet dripping just once per second wastes over 3,000 gallons of water in a single year. That's water you're paying for, and it puts an unnecessary strain on local resources.
In the United States alone, household leaks contribute to nearly 1 trillion gallons of wasted water annually, and leaky faucets are a major culprit. Taking a little time to fix your shower leak is a direct investment in sustainability and can lead to real savings—studies show that timely repairs can slash household water bills by around 10%. You can explore more data on bathroom fixture efficiency and market trends to see the full picture.
The Hidden Dangers of Water Damage
Beyond your utility bill, that persistent moisture creates the perfect storm for serious structural problems. When water seeps behind the shower wall, it can kick off a chain reaction of issues that stay invisible until the damage is already severe.
Here’s what you’re up against:
- Mold and Mildew Growth: The dark, damp space behind your tiles is prime real estate for mold. This can wreck your indoor air quality and lead to health risks.
- Structural Rot: Over time, constant dampness will rot the wooden studs and subfloor supporting your bathroom. That means expensive, large-scale structural repairs down the line.
- Damaged Finishes: Water can also cause tiles to loosen, grout to crumble, and paint or drywall on nearby walls to peel and stain.
Addressing a leak promptly is one of the most effective preventative measures a homeowner can take. It’s not just about fixing a drip; it's about preserving the long-term value and safety of your property.
Ultimately, a quick DIY repair is far more affordable than a major renovation. If your fixture is old or giving you constant trouble, it might be time for an upgrade. A modern shower system from a quality brand like CRANACH not only stops leaks for good but also improves water efficiency and completely elevates your daily routine. Investing in a high-quality shower system is a long-term solution that prevents future headaches.
Gather Your Tools and Identify Your Faucet
Any good repair job starts long before you pick up a wrench. Trust me, proper prep is what separates a quick, one-and-done fix from a frustrating afternoon of multiple trips to the hardware store. Think of it as your pre-flight check—getting all your gear and intel together first makes the actual mission of fixing that leaky shower faucet go a whole lot smoother.

Before you dive in, let's round up the essentials. The good news is you probably don't need a professional plumber’s entire van, just a few common tools most people have kicking around.
Your Essential Tool Checklist
Here’s a look at what you’ll likely need to get this done right:
- Allen Wrench Set: A lot of modern faucet handles hide a tiny set screw. You'll need the right size Allen wrench to get it out.
- Screwdrivers: You’ll want both a Phillips head and a flathead. These are your go-to for faceplates and other bits and pieces.
- Adjustable Wrench: This is your best friend for gripping various nuts and parts without scratching up the chrome finish.
- Pliers: A pair of needle-nose or slip-joint pliers will be a lifesaver for grabbing small clips or other tiny, stubborn parts.
Pro Tip: Don't even think about starting until you've laid an old towel over the shower floor and—most importantly—plugged the drain. I've seen too many DIY jobs get derailed by a single, tiny screw disappearing forever. It's a simple step that can save you a massive headache.
Identifying Your Faucet Type
Okay, this is where you really need to pay attention. Buying the wrong replacement part is the single most common mistake I see people make, and it's incredibly frustrating. Shower faucets typically come in one of four main types, and each has a completely different gut.
Figuring out which one you're dealing with is key to understanding how to fix a leaky faucet in the shower correctly.
- Compression Faucet: The old-school design with two separate handles for hot and cold. These work by squishing a rubber washer down to stop the water flow.
- Cartridge Faucet: Super common in homes built in the last couple of decades. They can have one or two handles and rely on a self-contained cartridge. The fix is usually as simple as swapping out the old cartridge for a new one.
- Ceramic Disk Faucet: A durable, single-handle design that uses two slick, interlocking ceramic disks to control the water. They last a long time but can be a bit pricier to replace.
- Ball Faucet: Another single-handle style, this one uses a rotating ball (usually metal or plastic) inside the faucet body to mix temperatures and control flow.
Home improvement is a big deal, and it's only getting bigger. The global market for bathroom shower faucets is on track to jump from around $5 billion in 2025 to over $9.7 billion by 2033. That boom, especially in North America, tells you just how many people are tackling these exact kinds of repairs and upgrades. If you've given your faucet a good look and you're still scratching your head, our complete guide on how to fix a leaky shower faucet has more pictures and tips to help you nail down which model you have.
Disassembling the Faucet with Confidence
Okay, you’ve got your tools laid out and you know what kind of faucet you’re dealing with. It’s time to get your hands dirty. This is where a lot of folks get nervous, but I promise that with a steady, methodical approach, taking apart your shower faucet is totally manageable. The real secret is to work slowly and deliberately. Don't rush it.
First things first, and this is non-negotiable: shut off the main water supply to your house. You'll typically find the main shut-off valve in your basement, a crawl space, or sometimes on an exterior wall. Turning this off is the difference between a simple fix and an unintentional indoor water feature.
Accessing the Internal Components
With the water safely off, let's start with the handle. Most are held on by a tiny set screw, often hiding behind a decorative cap right on the front or side. You can gently pry that cap off with a small flathead screwdriver. Then, grab the right size Allen wrench and loosen the screw.
Some handles can be a real pain. If you're having trouble getting it to budge, our guide on how to unscrew a stubborn faucet handle has a few extra tricks to get it off without leaving scratches. Once the handle is off, you'll be looking at the faceplate, or what we call the escutcheon. It's usually just held on with two or more screws. Take those out and carefully pull the plate away from the wall.
This chart breaks down the basic steps for taking things apart and figuring out what’s wrong.
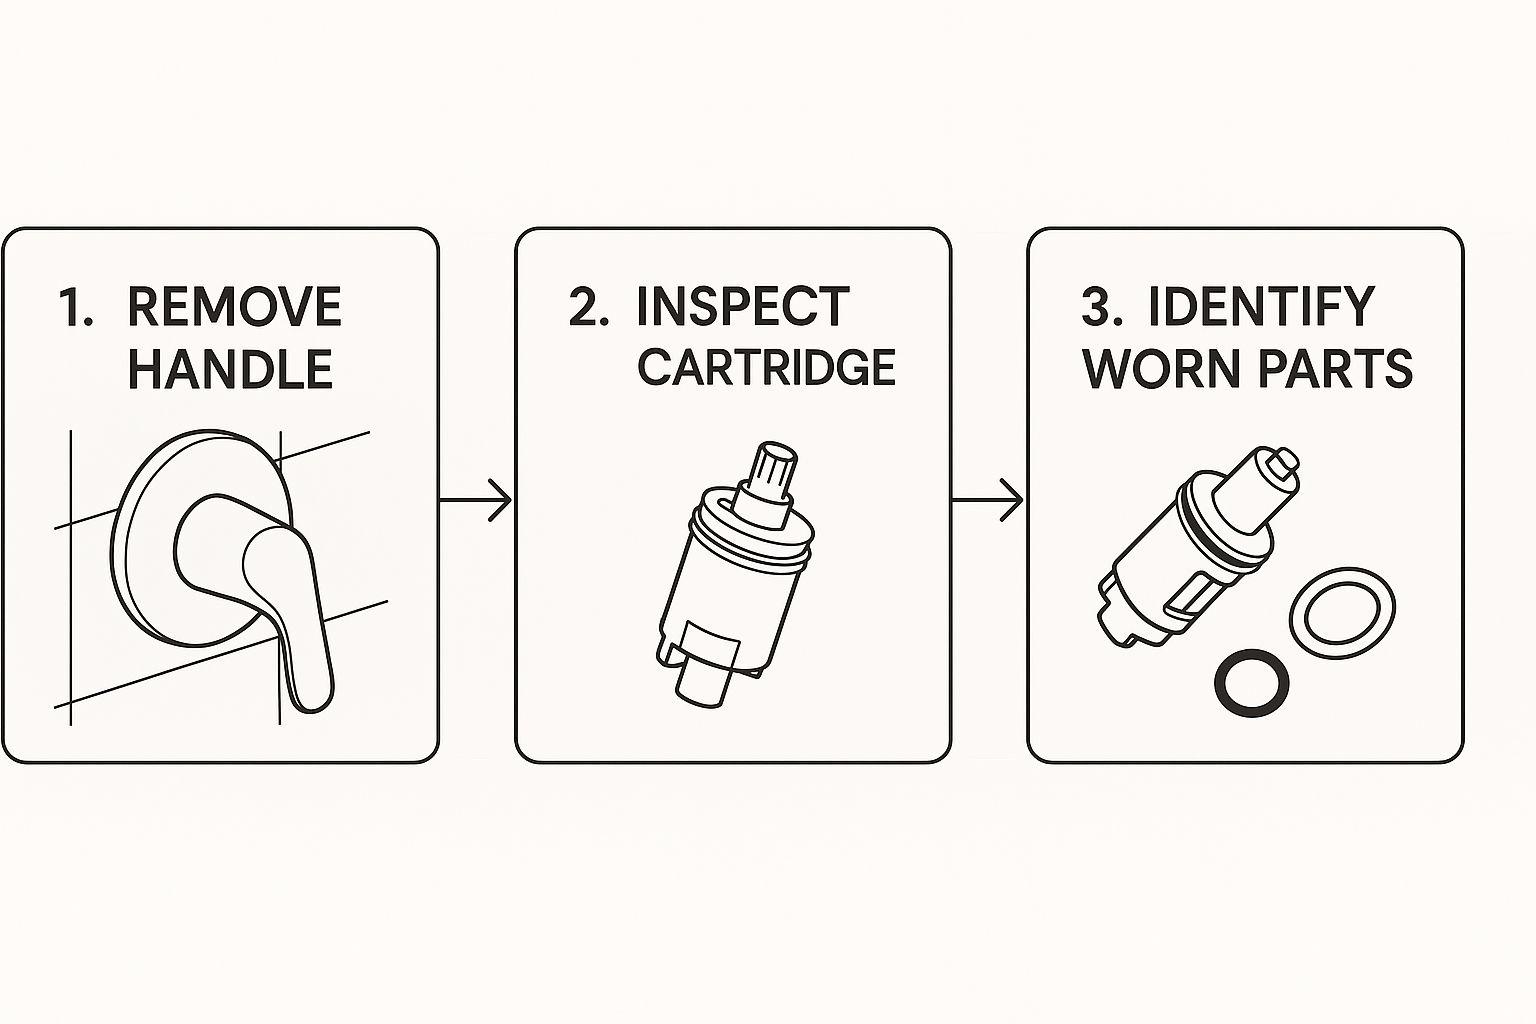
Think of it as three phases: getting it open, finding the problem, and putting it back together. Breaking it down like this keeps the job from feeling overwhelming.
A Pro Tip for Easy Reassembly
Here’s a piece of advice I give to everyone, from first-timers to seasoned DIYers: take photos with your phone at every single step. Seriously. As you take out a screw, remove a plate, or unhook a clip, snap a quick picture. It creates a visual roadmap that makes putting it all back together later a completely stress-free process.
Trust me on this. Having a photo log is like having an expert looking over your shoulder. It ensures every little part goes back exactly where it came from, in the right order. That’s the key to a fix that actually lasts.
Behind that faceplate, you'll see the guts of the faucet—the valve body and the cartridge. There might be a small retaining clip holding the cartridge in. Use your needle-nose pliers to pull it straight out. Now, you can get to the cartridge itself. If you're new to this, knowing some general product disassembly techniques can boost your confidence. The same principles of careful, step-by-step removal apply here.
With that clip out of the way, you can finally grip the old cartridge with your pliers or a wrench and pull it straight out of the valve body. Don't be surprised if a little water spills out—that's perfectly normal.
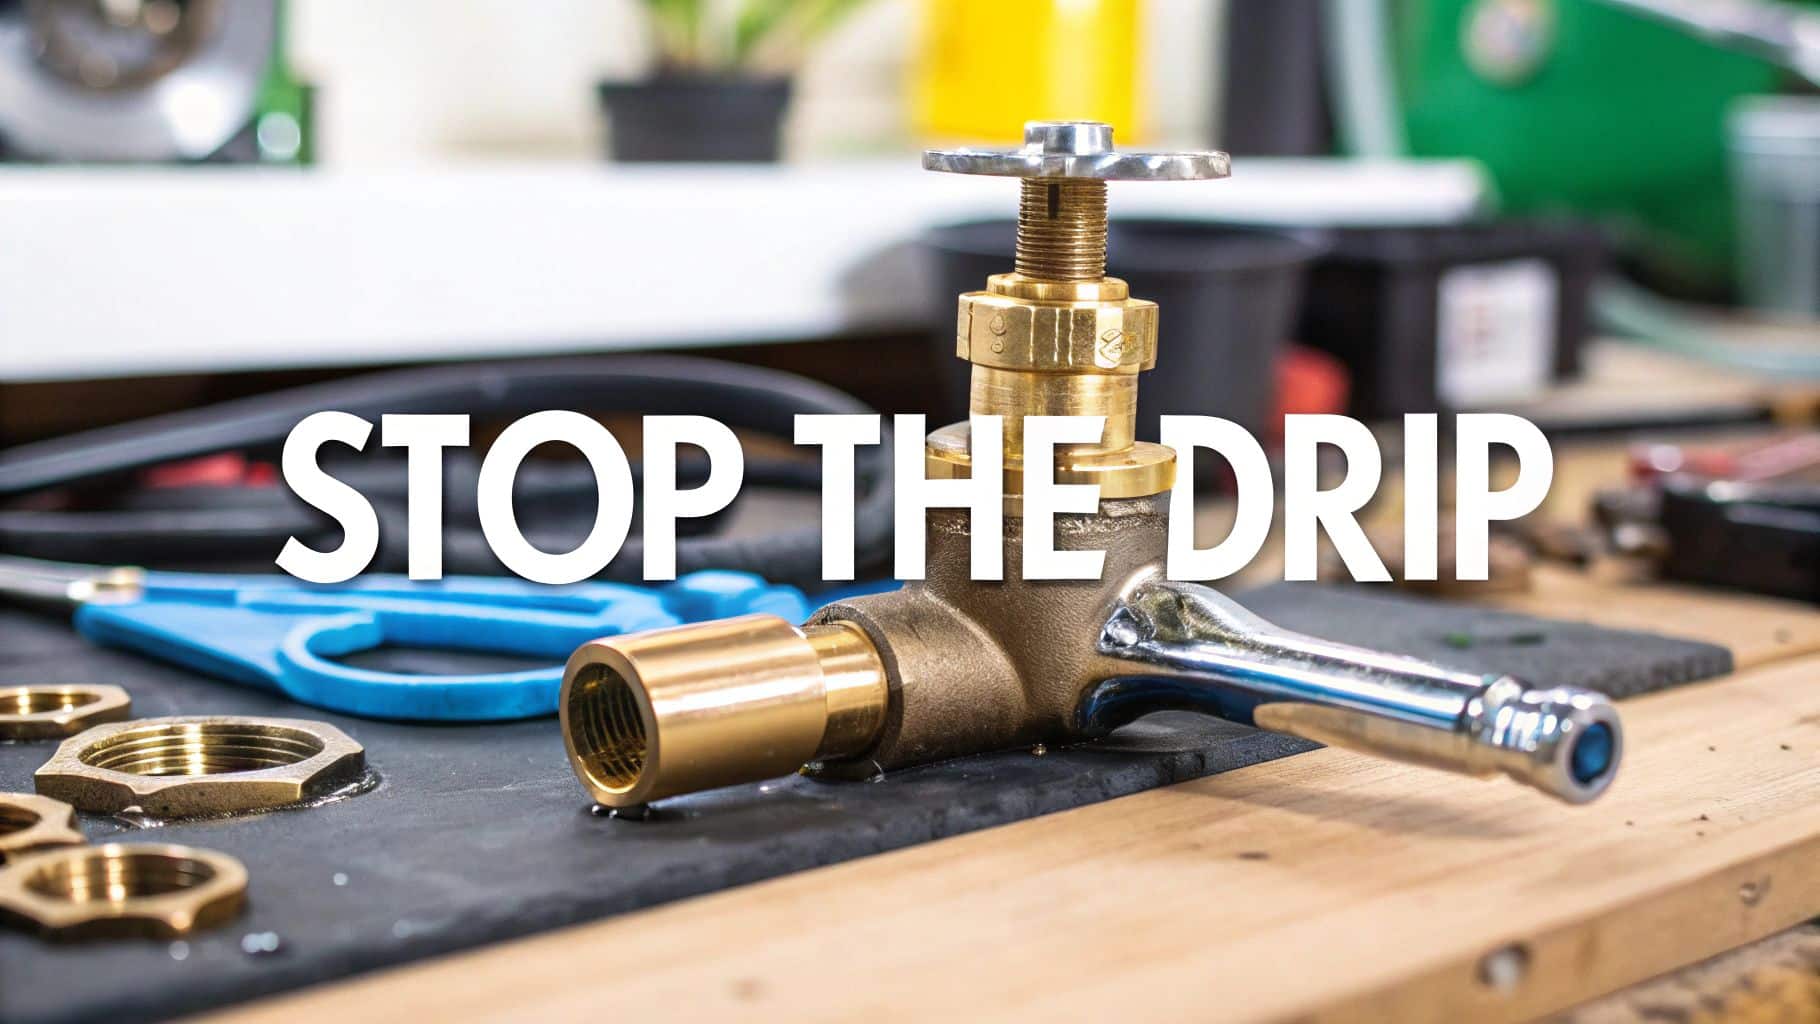
Replacing Worn Parts to Stop the Leak
With the faucet taken apart, you’re now at the heart of the repair. This is the moment you finally get to banish that annoying drip for good.
In most modern faucets, the leak almost always comes down to one single, hard-working component: the cartridge. It's the usual suspect, but we’ll also give a quick look at other small but critical parts like O-rings and seals just to be sure.
After you've pulled the old cartridge out, take a second to give it a good look. You might see obvious cracks in the plastic housing, or maybe the rubber O-rings look brittle, flattened, or even torn. Any of these signs are a dead giveaway that you've found the source of your leak.
Before you jump to popping the new part in, take a clean rag or a soft plastic brush and give the inside of the valve body (the part in the wall) a thorough cleaning. Mineral deposits and tiny bits of grit build up over the years, and that gunk can prevent a new cartridge from seating perfectly. You need a clean surface to get a truly watertight seal.
Installing the New Cartridge Correctly
Alright, let's get that new cartridge in. You’ll notice it’s designed to fit only one way, usually with little tabs or nubs that line up with slots inside the valve body. Gently push it straight in until it sits flush and feels secure. Whatever you do, don't force it. If it’s not going in smoothly, you’ve probably got it misaligned, so just pull it out and try again.
Once the cartridge is seated, it's time to put that little retaining clip back in. This tiny piece is what holds the cartridge firmly in place against water pressure. Use your needle-nose pliers to carefully slide it back into its groove. You should hear or feel a faint "click" as it locks in. Give the cartridge a gentle tug to be sure it's secure.
It’s interesting how much plumbing repairs have evolved. A decade or two ago, a fix like this was all about simple rubber washers. Now, with the rise of smart home tech, the game has changed. Market research shows that smart shower systems now make up about 35% of faucet sales in new high-end homes. It’s a good reminder that modern plumbing can involve both mechanical know-how and a bit of digital savvy. You can read the full research on shower faucet market trends if you're curious about where things are headed.
Reassembling Your Faucet
With the new guts installed, you're on the home stretch. Putting it all back together is just a matter of reversing the steps you took to get it apart.
- Reattach the Faceplate (Escutcheon): Line it up carefully against the wall and screw it back on.
- Slide the Handle Back On: Get it aligned correctly on the valve stem, then tighten the set screw you removed earlier. Don't forget to pop that decorative cap back into place to hide the screw.
The basic process is surprisingly similar for most faucets, whether it's a shower or a sink. Feeling confident after this project? You might want to tackle your next one with our guide on how to replace a bathroom faucet.
Final Check: Before you even think about turning the water back on, make sure the faucet handle is in the "off" position. This simple step prevents a sudden, uncontrolled blast of water when you re-pressurize the pipes.
Head back to your main water valve and turn it on—slowly. Go back to the shower and listen for any hissing sounds and watch for any drips. If all looks good, turn the faucet on and run both the hot and cold water to make sure your repair was a success.
When to Repair vs. When to Upgrade Your Shower System
There's a real sense of accomplishment that comes from fixing a leak yourself. But let's be honest, that persistent drip can also be a red flag. It’s often the first sign that your current shower fixture is on its last legs. This puts you at a decision point: do you slap another band-aid on it, or is it finally time for a full upgrade?
Constantly patching up an old, worn-out faucet can turn into a frustrating cycle. While knowing how to fix a leaky faucet in the shower is a fantastic skill to have, sometimes the smartest move is to invest in a long-term solution that brings reliability and comfort. If you're dealing with chronic issues, it's a good bet the internal components are just tired and worn out from age.
Making the leap to a premium shower system isn't just about stopping leaks for good; it’s about genuinely transforming your daily routine into a better, more enjoyable experience.
Benefits of a Full System Upgrade
Modern fixtures offer some serious perks over older models, turning a daily necessity into a moment of luxury and efficiency.
Here’s what you stand to gain from making the switch:
- Enhanced Durability: New systems are just built better. They use superior materials and engineering, which dramatically cuts down on the chances of future leaks and annoying repairs.
- Stable Water Temperatures: Many modern systems come with thermostatic valves. What does that mean for you? No more sudden, shocking bursts of icy cold or scalding hot water. The temperature stays right where you set it.
- Improved Water Efficiency: An upgrade can slash your water usage without you ever feeling the difference in performance. For example, some low-flow showerheads can reduce your water consumption by up to 50%. That’s real money back in your pocket and a win for the environment.
Investing in a new shower system is a proactive step. It’s about creating a more reliable, efficient, and enjoyable bathroom. You’re solving the root of the problem, not just patching up the symptom one more time.
If you’re leaning toward a full overhaul, it can be helpful to explore comprehensive bathroom remodeling ideas to see just how much a new fixture can elevate the entire look and feel of your space.
Choosing a Long-Term Solution
When you're ready to put an end to leaks for good and give your shower quality a massive boost, upgrading to a CRANACH shower system is the way to go. These systems aren't just designed to look good; they're built for performance and longevity, bringing a spa-like experience right into your home.
With advanced features, every shower is comfortable and consistent. An upgrade can also work wonders for your water flow. If low water pressure is a concern, a new shower system can often resolve the issue, providing a more invigorating shower experience.
Making the switch from a finicky old faucet to a state-of-the-art shower system doesn't just prevent future headaches—it turns your bathroom into your own personal retreat.
Common Questions About Fixing Shower Leaks
Even with the best guide in hand, you’re bound to hit a snag or two during a DIY repair. It happens to everyone. Knowing the answers to these common hurdles can be the difference between a quick, satisfying fix and a long, frustrating afternoon. Let's walk through some of the questions that always seem to come up when you're tackling a leaky shower faucet for the first time.
What if My Faucet Still Drips After Replacing the Cartridge?
This is a classic—and often deflating—moment. You've done everything right, but that maddening drip… drip… drip… is still there. Don't worry, the fix is usually pretty straightforward.
More often than not, the problem is one of two things. First, take a moment to double-check that the new cartridge is seated perfectly straight and pushed all the way into the valve body. Sometimes it just needs a little wiggle to settle in properly.
If that’s not it, the culprit is almost always tiny bits of gunk—mineral buildup or old gasket debris—stuck on the valve seat inside. This prevents the new cartridge from making a perfect seal. Just pull the new cartridge back out and gently clean the inside of the valve body with a soft cloth or a non-abrasive scouring pad before putting it back in.
How Can I Remove a Stripped or Stuck Handle Screw?
Ah, the dreaded stuck screw. It can bring your whole project to a screeching halt. If the head is stripped, try this little trick first: place a wide rubber band over the screw head, then press your screwdriver firmly into it. The rubber often provides just enough extra grip to get it moving.
If corrosion is the issue and the screw feels welded in place, don't just muscle it. You’ll risk breaking the head off. Instead, grab some penetrating oil, apply a few drops, and give it about 15-20 minutes to work its magic. Then, try again. In a worst-case scenario, a simple screw extractor kit from the hardware store will be your best friend.
A successful repair is often about patience, not force. Taking a few extra minutes to deal with a stuck screw or clean a valve body is what ensures a lasting, drip-free result.
How Do I Know Which Replacement Cartridge to Buy?
This is arguably the most critical part of the whole job. Getting it right the first time saves you a second trip to the store. The absolute best way to ensure you get the right part is to take the old, leaky cartridge with you.
There are dozens upon dozens of types and sizes, and even a tiny variation means it won't fit or function correctly. Laying your old cartridge side-by-side with the new one is the only surefire way to guarantee a perfect match. It also helps to snap a clear photo of the faucet and know the brand name (if you can see it) so a store associate can help you track down the right part.
Keeping all your shower components clean, including the head, also helps everything work better. If you're noticing a lot of mineral buildup, we've got more information in our article on how to clean a shower head with vinegar.
Ultimately, pulling off a successful repair feels great. But if you find yourself fixing the same faucet over and over, it might be a sign that it’s time for an upgrade. A CRANACH shower system not only offers a permanent solution to leaks but also completely elevates your daily shower with modern design and performance you can rely on.
Leave a Reply