


您的购物车目前是空的!
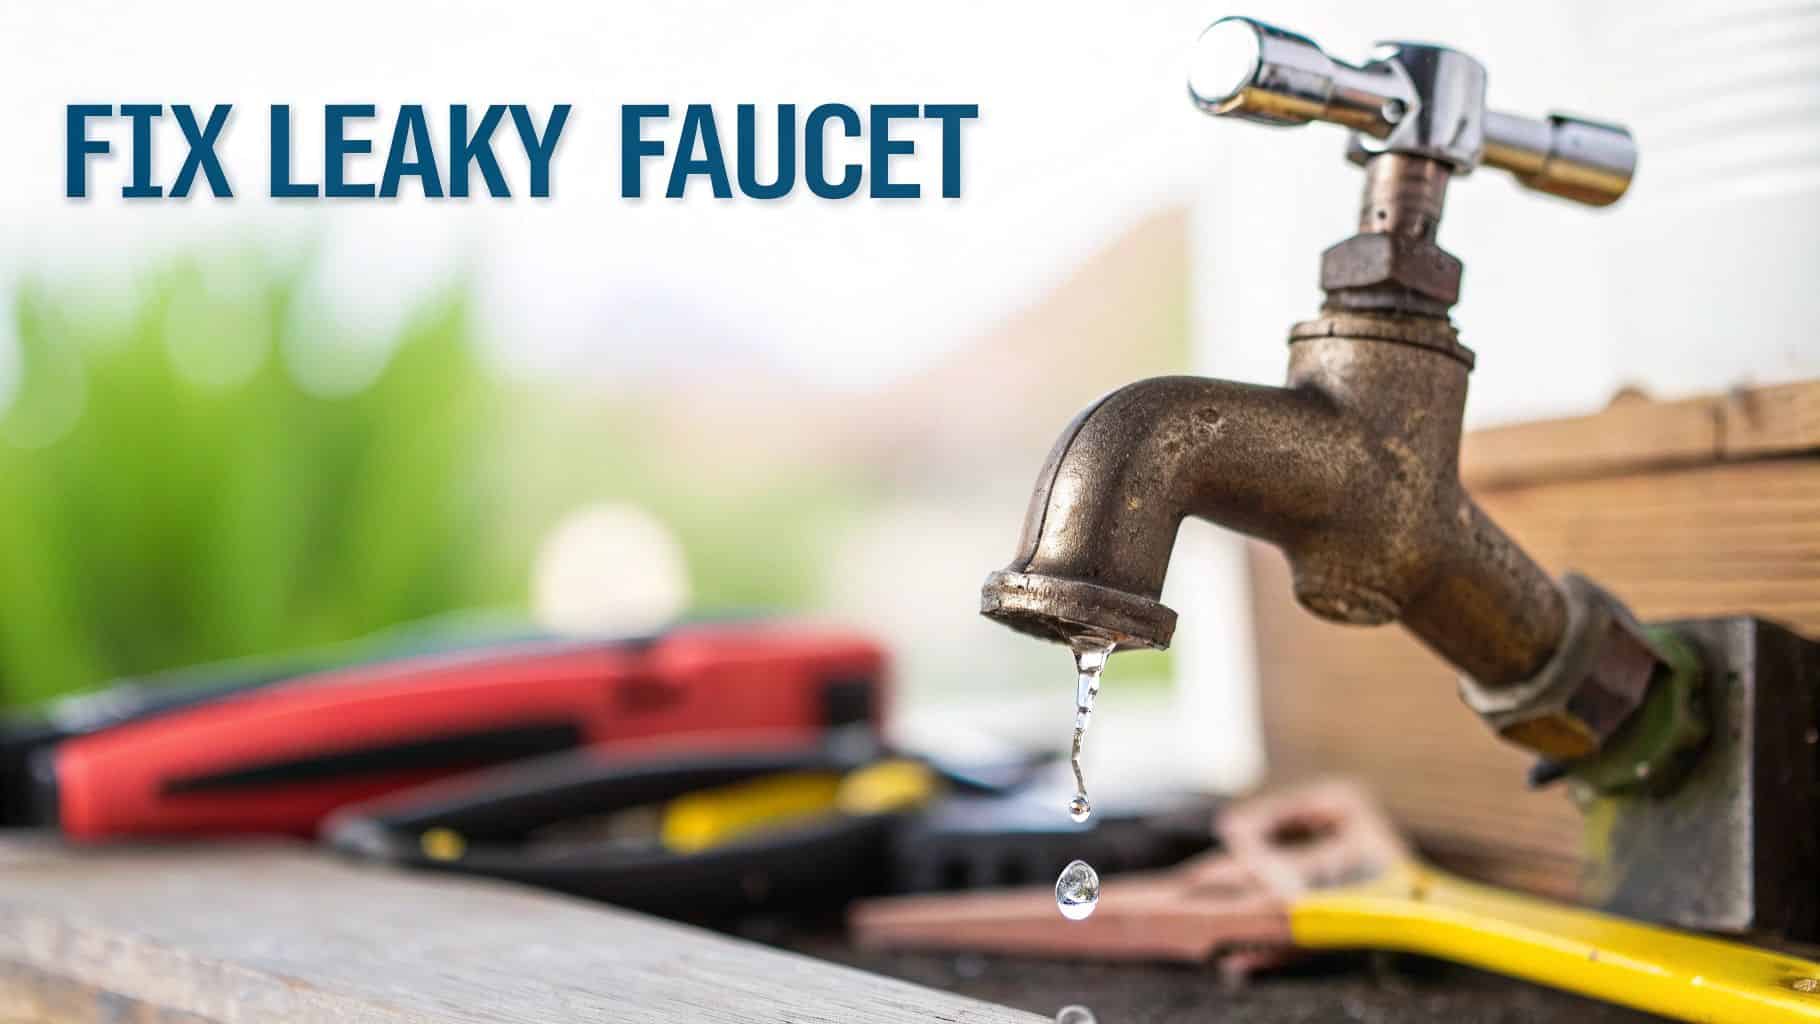
How to Fix a Leaky Shower Faucet Single Handle | Easy Repair Tips
That constant drip, drip, drip you're hearing is more than just a nuisance—it’s the sound of your faucet telling you its internal parts are giving up. Figuring out how to fix a leaky single-handle shower faucet always starts with understanding why it's dripping in the first place. Almost every time, the problem boils down to a worn-out valve cartridge or failing rubber seals inside the fixture.
Diagnosing the Drip: Why Your Faucet Is Leaking
Before you grab a single tool, your first job is to play detective. Pinpointing the exact cause of the leak is the most critical step, saving you from a second trip to the hardware store and a lot of frustration. A single-handle faucet might look simple on the outside, but inside, a few key components do all the work, and they all wear out eventually.
If you're dealing with this, you're not alone. This issue is incredibly common. Single-handle models now make up over 55% of all shower faucet sales globally, making this repair one of the most frequent DIY jobs for homeowners. Millions of these faucets get fixed every year, which isn't surprising given how many are installed. You can see the numbers for yourself in this market analysis on shower faucets.
The Usual Suspects Behind a Leaky Faucet
When a single-handle faucet starts to drip, my experience tells me it's almost always one of two things:
-
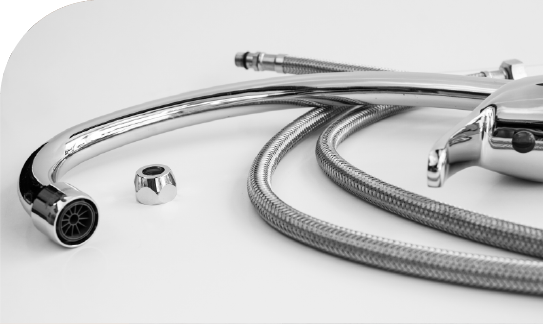
A Failed Valve Cartridge: Think of this as the heart of your faucet. It’s a small, usually plastic, component that controls both the water flow and temperature mix. After years of turning the handle on and off, the delicate seals and plastic housing inside the cartridge can crack or degrade. Once that happens, water finds a way to sneak past, even when the faucet is off.
-
Worn-Out O-Rings: These are simple rubber rings that create a watertight seal around the cartridge. Hard water is their worst enemy. Mineral deposits build up, causing the O-rings to become hard, brittle, and eventually crack, breaking the seal.
Here’s a pro tip: hard water dramatically speeds up this wear and tear. Those minerals crystallize on the internal parts, causing them to grind against each other and break down much faster than they would in a home with soft water. According to the U.S. Geological Survey, hard water is a problem for over 85% of U.S. households, making it a key factor in faucet longevity.
By figuring out where the leak is coming from—is it a constant drip from the spout (a classic cartridge failure) or a slow leak from the base of the handle (usually a bad O-ring)?—you’ll know exactly what you need to fix.
Preparing for a Successful Repair
Walking into a plumbing repair unprepared is a recipe for turning a simple job into a major headache. I've seen it happen countless times. Before you even think about shutting off the water, take a moment to gather everything you need. This little bit of prep work will ensure you can fix that leaky single-handle shower faucet in one go, instead of making multiple frustrating trips to the hardware store.
A smooth repair really comes down to having the right tools and the correct parts on hand from the very beginning. You don't need a massive professional toolkit, but a few specific items are non-negotiable.
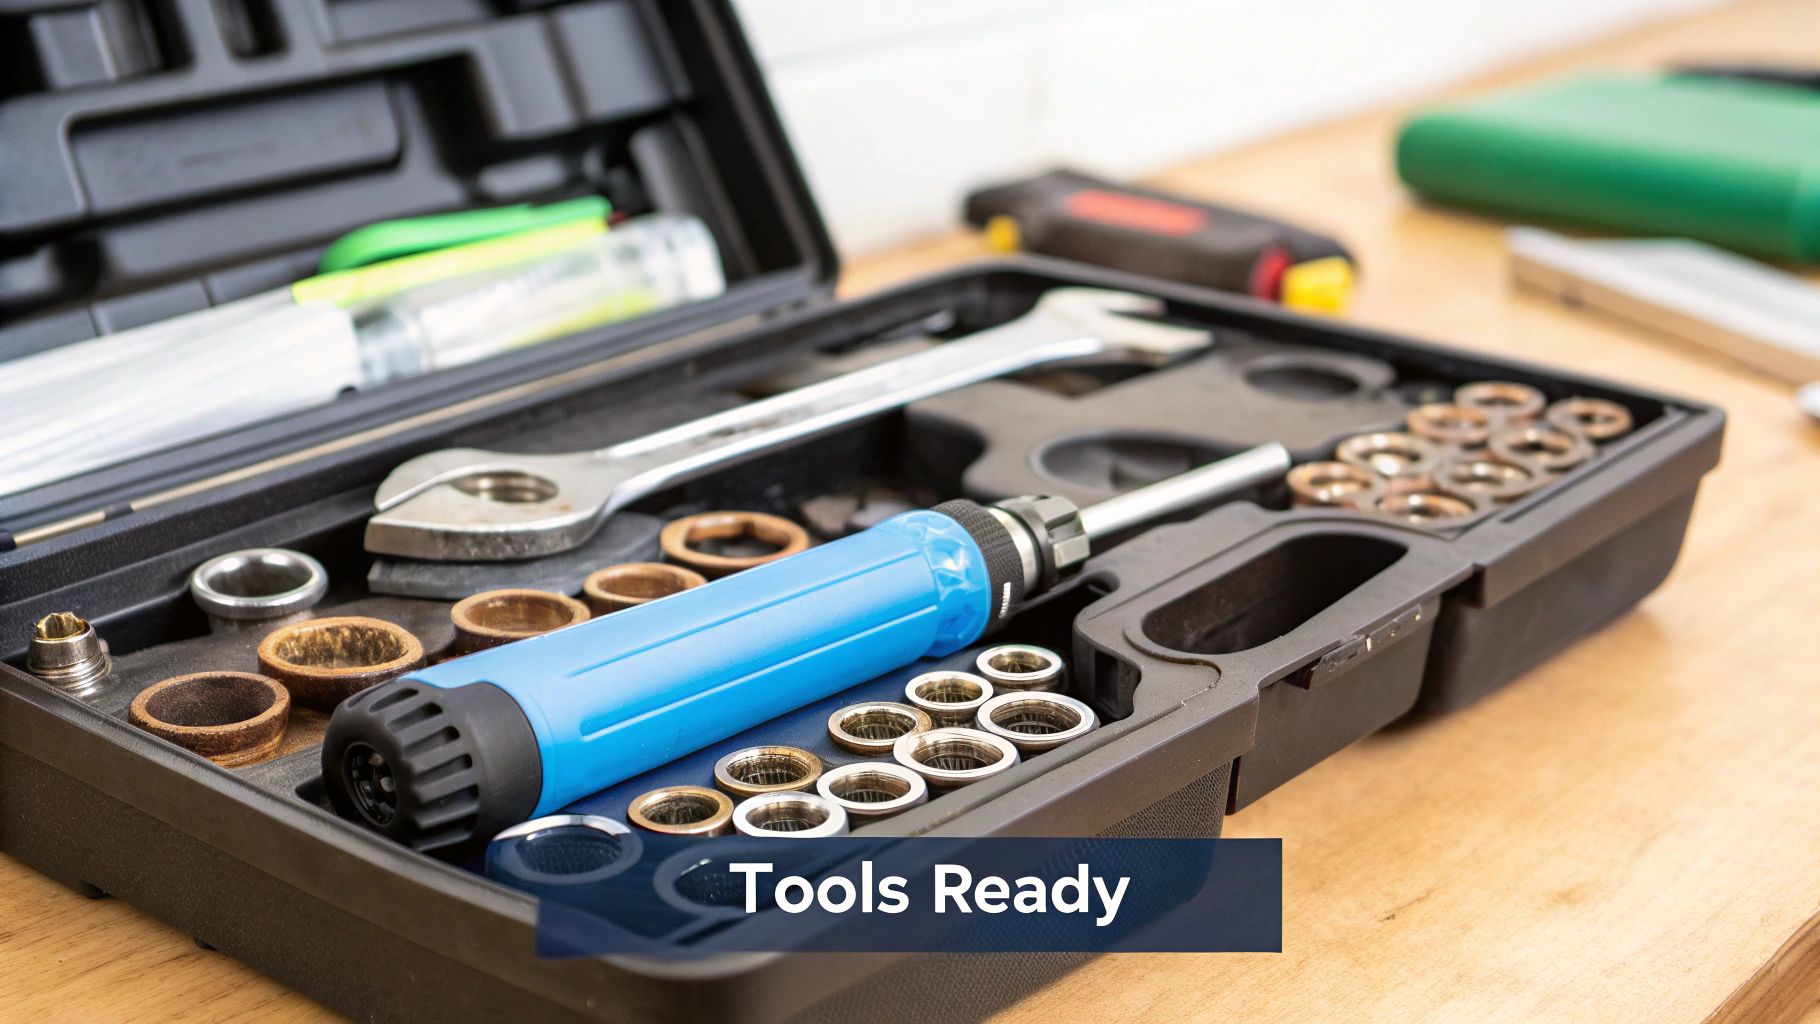
Your Faucet Repair Toolkit
Gather these essential tools and supplies before you start to ensure a smooth repair process from start to finish.
| Tool or Supply | Primary Use | Why It's Important |
|---|---|---|
| Allen Wrench Set | Removing the handle's set screw | Most modern faucet handles use a small, hidden set screw. Having a full set saves you from guessing the size. |
| Screwdrivers | Removing the faceplate (escutcheon) | You'll likely need both Phillips and flathead types. A good set is invaluable for many home projects. |
| Pliers | Gripping and removing small parts | Perfect for pulling out a stubborn retaining clip without breaking it. |
| Utility Knife | Cutting away old caulk or sealant | A sharp blade makes it easy to score and remove the old, hardened caulk around the faceplate for a clean seal later. |
| Rags or Towels | Cleanup and surface protection | You’ll have some residual water. Keep several handy to mop it up and to protect your tub or shower floor from dropped tools. |
Having these items within arm's reach means you can stay focused on the task without having to stop and search for a tool mid-repair.
My single best pro tip: Before you do anything else, take a few clear pictures of your faucet handle and any visible logos. This simple step can save you so much grief when you’re trying to find the right replacement cartridge. Trust me on this one.
The Most Important Tools
While the basics will get you started, there's one specialized tool that can be a true project-saver: a cartridge puller. Over time, mineral buildup can essentially fuse a cartridge to the valve body, making it impossible to remove by hand. This device is designed to extract those stubborn cartridges by applying even, steady pressure.
Using one prevents you from cracking the valve housing—a costly mistake that immediately turns a simple cartridge swap into a much bigger, more expensive plumbing job.
Identifying the right replacement cartridge is just as crucial. Take those photos you took—or even better, the old cartridge itself—to the hardware store to get a perfect match. The process is very similar to other fixture repairs, and our guide on how to replace a bathroom faucet has some extra insights that you might find helpful here, too.
Time to Replace the Faucet Cartridge
Alright, with your tools and new parts laid out, you're ready to tackle the core of the job. This is the hands-on part of fixing that leaky single-handle shower faucet, where we'll get the old components out and the new ones in. First thing's first, and this is non-negotiable: shut off the main water supply to your shower. The last thing you want is an accidental indoor flood.
Once the water is off, it’s time to get the handle off. I’ll be honest, this can sometimes be the trickiest part of the whole process because the handle is usually held on by a tiny, well-hidden set screw. You might need to gently pry off a small decorative cap on the handle to even find it.
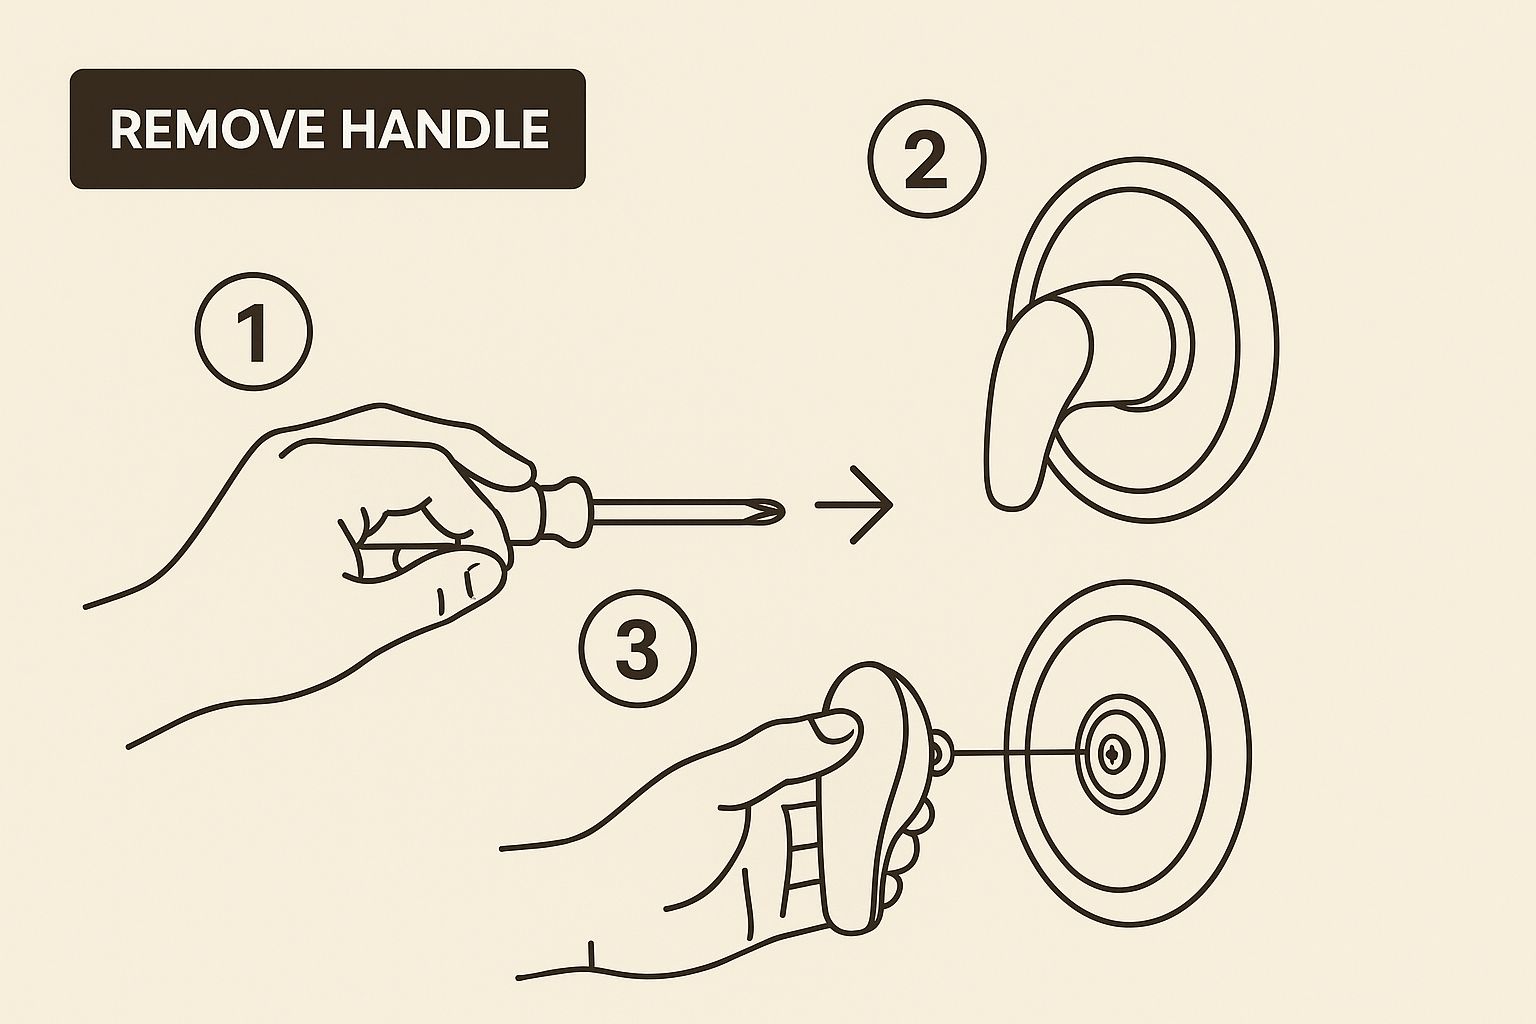
Loosening that set screw is your ticket to accessing the internal valve assembly and is a big step closer to stopping that annoying drip for good.
Gaining Access to the Valve Cartridge
With the handle out of the way, you can now remove the decorative faceplate, also called an escutcheon. It's typically just held in place by a couple of screws. Go easy here—if it’s been on for a while, you might need to score some old caulk around the edges with a utility knife to pry it off cleanly without cracking it.
You should now be looking at the valve body and the top of the cartridge. The type of faucet you have can make a difference here. Stainless steel models are common—they make up over half the market—and are built tough, but that can sometimes make them a little stubborn to work on. As noted by plumbing experts at This Old House, hard water is the real enemy, leaving behind mineral deposits that can practically weld old parts in place.
Important Tip: Before you go any further, take a second to clean up any gunk or mineral scale you can see around the valve. A clean workspace is key because it stops crud from falling into the valve body, which helps your new cartridge create a perfect seal.
Extracting the Old Cartridge
You'll spot a small, often U-shaped, retaining clip that holds the cartridge in its housing. Use your pliers to carefully pull this clip straight out. Don’t lose it! You’ll need to put it back in later.
Now for the main event. Grab the cartridge stem with your pliers and give it a firm pull straight out. If it’s stuck solid from years of mineral buildup, don't try to brute force it. This is where a dedicated cartridge puller tool becomes your best friend. It’s designed to apply even pressure and pop the cartridge out safely without damaging the expensive valve housing inside your wall. For a more detailed guide just on this step, you can check out our post on how to remove a shower cartridge.
Once the old cartridge is out, grab a rag and give the inside of the valve body a final, thorough cleaning to get rid of any leftover residue. This ensures a clean, smooth surface for the new cartridge to seat into, which is absolutely critical for a lasting, drip-free fix.
Putting It All Back Together and Testing Your Work
Alright, you’ve wrestled the old cartridge out and cleaned up the valve housing. Take a breath—the hardest part of fixing your leaky single-handle shower faucet is officially behind you. Now, it’s all about careful reassembly. Every piece needs to go back exactly where it came from to create that perfect, lasting seal. Don't rush this stage; this is where precision separates a temporary fix from a permanent solution.
Think of it as simply reversing the steps you took to get it apart. Start by gently sliding the new cartridge into the valve body. You'll want to make sure it's aligned correctly—most have a small notch or tab that only lets it fit one way. Once it feels snug and properly seated, pop that retaining clip back in to lock the cartridge firmly in place.
Next up is the faceplate, or escutcheon. Position it back over the valve and secure it with its screws. Finally, slide the handle back onto the valve stem and tighten the set screw you removed earlier.
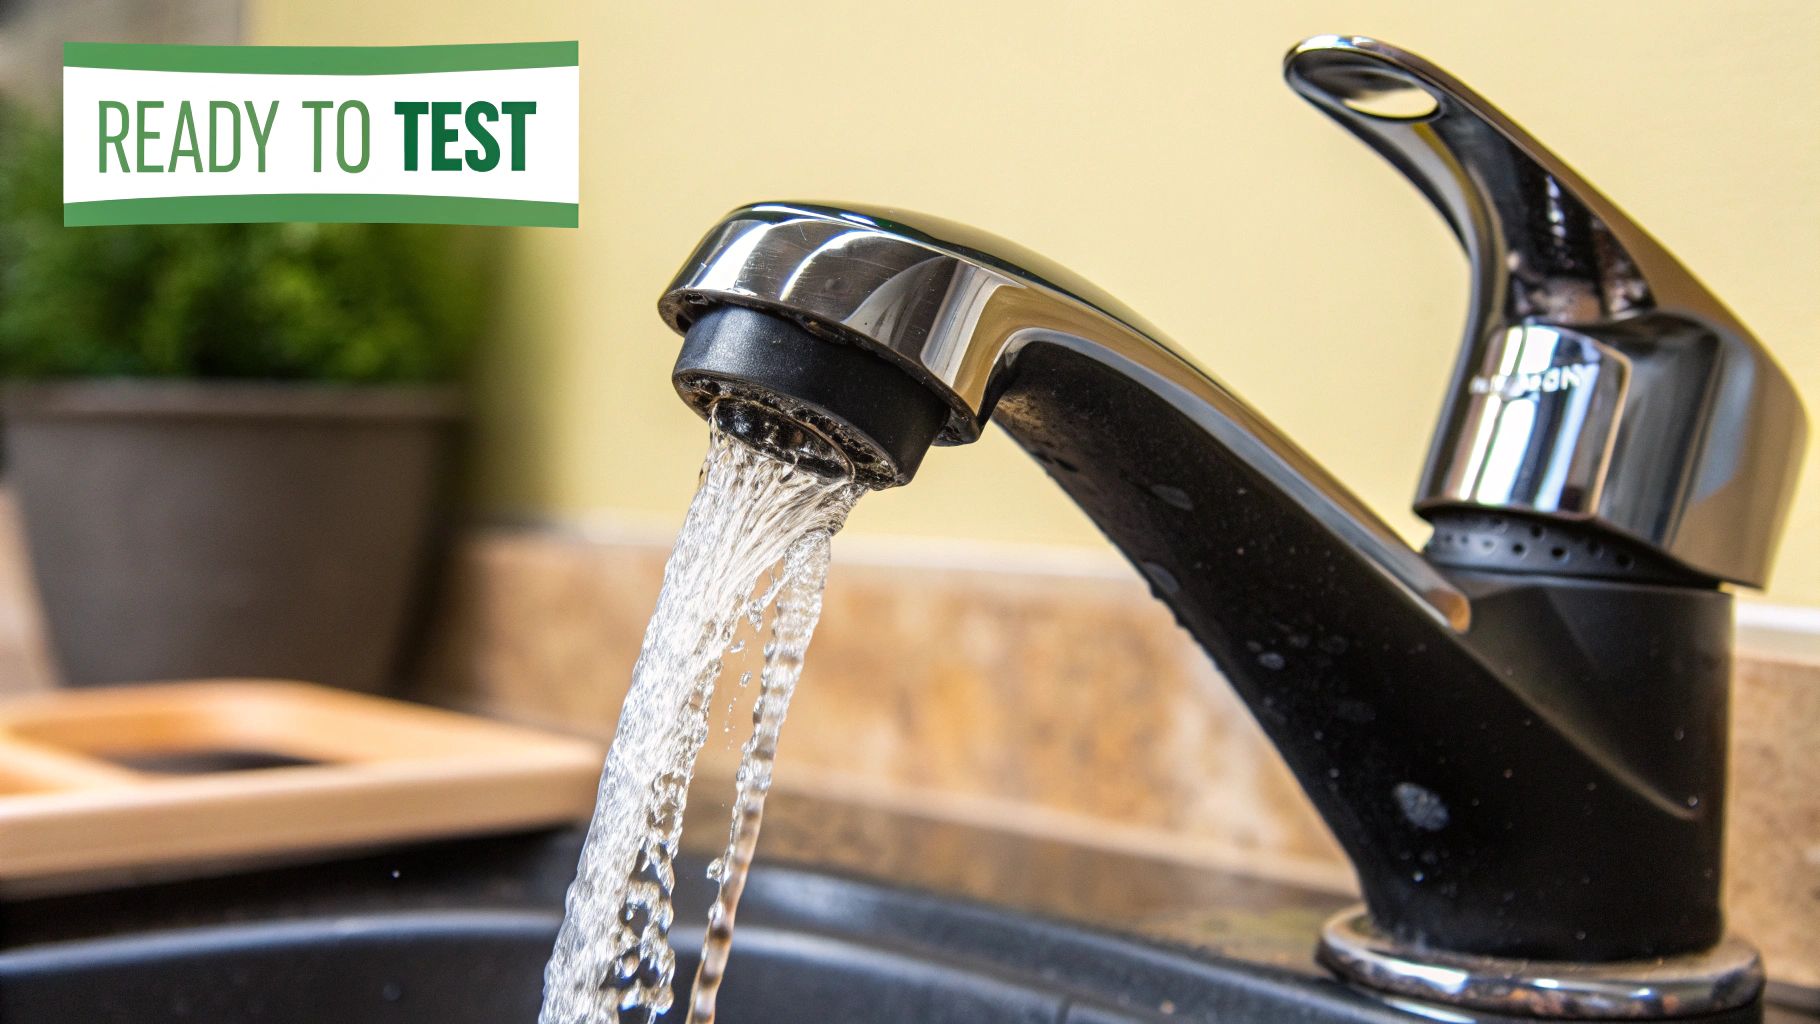
The Final, Critical Test
Before you pack up your tools and call it a day, we've reached the moment of truth. Head to your main shut-off valve and turn the water back on, but do it slowly. This is key. Easing the water on gradually prevents a sudden jolt of pressure, known as water hammer, which can actually damage the new seals you just installed.
With the water supply restored, it's time to put your handiwork to the test.
- Temperature Check: Turn the handle all the way to hot, then sweep it over to full cold. Make sure the movement is smooth and unrestricted.
- Leak Inspection: Now, turn the handle to the "off" position. This is the big one. Watch the spout and the base of the handle very closely for at least a few minutes. You should see absolutely zero drips.
A successful, drip-free test means you've officially solved the problem. But what if the flow seems a little weak after your repair? That could be a separate issue entirely. Our guide on how to increase water pressure in a shower has some useful pointers that can help you diagnose and fix it.
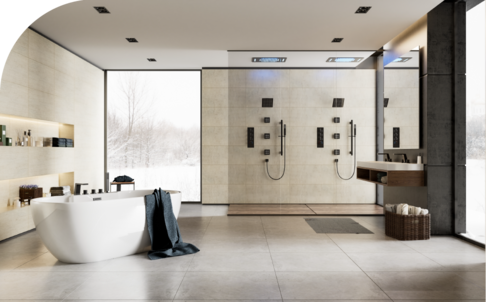
When to Upgrade to a Modern Shower System
So you've fixed the leak. That’s great! But if you find yourself tackling the same drip every few months, that old faucet might be trying to tell you something. Instead of putting another bandage on a recurring problem, think of this as a perfect opportunity to upgrade your entire shower experience with a modern shower system.
This isn't just about fixing a leak anymore; it's a long-term investment in your home's comfort and value. A complete CRANACH shower system, for instance, offers features that go way beyond a simple faucet. We're talking precise thermostatic controls that prevent those surprise temperature shocks, better water efficiency, and premium materials engineered to stop leaks before they even start.
A modern shower system can completely transform the look, feel, and functionality of your bathroom. Explore the full range of options available in our shower system collection.
It’s clear how a full system can completely transform the look and feel of your bathroom.
Upgrading isn't just about solving one problem—it's about enhancing daily life with better performance and aesthetics. For more details on tackling persistent drips, our guide on how to fix a leaky shower faucet offers additional insights.
Beyond the Faucet
While you're planning a major upgrade, why stop at the fixture? You can complete the bathroom's transformation with other aesthetic touches. Adding new Glass Shower Doors, for example, can modernize the entire space. It creates a sleek, open feel that beautifully complements a new shower system. Taking this kind of holistic approach ensures every part of your shower works together to create a cohesive, updated design.
Common Questions About Faucet Repairs
Even with the best instructions, any DIY project can throw you a curveball. When you're figuring out how to fix a leaky single-handle shower faucet, a few common headaches tend to pop up. Don't worry—most of them have pretty simple solutions.
It Still Leaks After I Replaced the Cartridge
This one is frustrating, I get it. You do all the work, turn the water back on, and… drip, drip, drip. If you're still seeing a leak after swapping in a new cartridge, there are three likely culprits.
- Incorrect Part: This is the most common reason, by far. Faucet cartridges can look almost identical, but even a tiny difference will prevent a perfect seal. Double-check that you bought the exact replacement for your specific faucet model.
- Debris in the Valve: Over the years, sediment and mineral scale can build up inside the valve body. If any of that gunk is left behind, the new cartridge can't seat properly. Take a soft cloth and give the inside of the brass housing a thorough wipe-down.
- Damaged Valve Body: This is the least common but most serious issue. Take a close look at the valve housing itself. See any tiny cracks or deep scratches? If the metal is damaged, the O-rings on the cartridge can't seal against it, and the entire valve will need to be replaced. That's usually a job best left to a professional plumber.
The Handle Is Completely Stuck
A handle that absolutely refuses to budge is almost always a victim of mineral buildup fusing it to the valve stem. First, make sure you've completely removed the set screw. If you have, and the handle still won't move, grab a penetrating oil designed to dissolve mineral deposits. Apply it around the base and let it sit for about 20 minutes to work its magic.
If it's really seized up, your last resort is a specialized faucet handle puller. This tool applies even pressure to safely pop the handle off without risking damage to the valve behind it.
While you're working on the faucet, it’s a great time to tackle other parts of the shower. A clean fixture always looks and works better. Learning how to clean your shower head is a great next step to keep your whole setup flowing perfectly.
Thinking about a bigger upgrade? A brand new CRANACH shower system can completely elevate your bathroom, adding advanced features and a modern, sleek aesthetic. Feel free to explore our collection of premium shower systems.
Leave a Reply