


Your Quick Guide to a Leaking Shower Head
Before you start unscrewing things, it helps to narrow down the possibilities. To give you a head start, here’s a quick rundown of the most frequent reasons a shower head starts to leak.
Common Causes for a Leaking Shower Head
| Reason for Leak | What to Look For | DIY Repair Level |
|---|---|---|
| Worn-Out Seal or Washer | Water dripping from the connection point between the shower head and the pipe. | Easy |
| Mineral & Limescale Buildup | Water spraying unevenly or leaking from the faceplate of the shower head. | Easy |
| Loose or Damaged Threads | A leak at the connection that persists even after tightening the shower head. | Easy to Moderate |
Let’s dive a bit deeper into what these common issues really mean.
What’s Behind the Drip?
- Worn-Out Washer or Seal: This is, by far, the most frequent offender. Think of the small rubber ring inside the shower head connection. Over hundreds of heat cycles, that little washer can become brittle, crack, or flatten out, which means it can no longer create a watertight seal.
- Limescale and Mineral Buildup: If you have hard water, this is a likely suspect. Mineral deposits (limescale) build up over time and clog the tiny nozzles on your shower head. This blockage forces water pressure to build up inside the head, and that water has to go somewhere. It will find the weakest point—usually the seams or the connection threads—and force its way out. You can find helpful tips on how to clean your shower head with vinegar to solve this.
- Loose or Damaged Threads: Sometimes, the fix is as simple as re-tightening a connection that has worked itself loose. But in other cases, the threads on either the shower arm or the shower head itself can get damaged or stripped, making a secure, leak-proof fit impossible.
By simply observing where the leak is coming from, you can save yourself a ton of time and effort. A drip at the connection almost always points to a bad seal, while water spraying from the face often means it’s time for a deep clean.
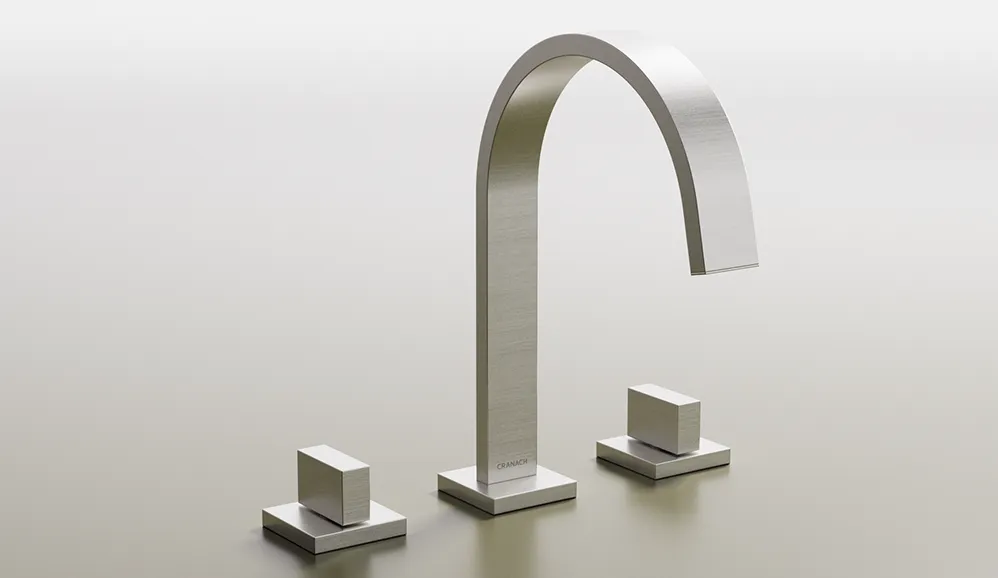
Of course, upgrading to a well-designed fixture, like a CRANACH shower head, helps prevent these issues from the start. Superior materials and engineering mean you spend less time troubleshooting and more time enjoying a perfect shower.
Understanding Your Shower’s Key Components
Before you can confidently stop a leak, you’ve got to know the hardware you’re working with. A shower system might look a little intimidating, but it’s really just a few simple parts doing their jobs. Knowing what they are and what they do is the first step to becoming your own weekend plumbing hero.
Think of it like a small team. Each player has a specific role, and when one of them isn’t pulling their weight, the whole system starts to falter—and that’s when you hear that maddening drip, drip, drip. Let’s meet the key players.
The Foundation: The Shower Arm and Threads
The most obvious part, besides the head itself, is the shower arm. This is the metal pipe jutting out from your wall, acting as the bridge that carries water to the shower head. It’s the sturdy foundation of your entire shower experience.
At the very end of this arm, you’ll find the threaded connections. If you’ve ever screwed the lid on a jar, you know exactly what these are. They let you screw the shower head on nice and tight, making the physical connection. But here’s a surprise: a snug fit here is important, but it’s not actually what stops the water.
The Real Seals: Washers and O-Rings
The real magic behind a leak-free shower happens thanks to two tiny but powerful parts: washers and O-rings. These are the unsung heroes responsible for creating a watertight barrier.
- The Washer (or Gasket): This is usually a flat, black rubber ring that sits right inside the shower head’s connecting nut. As you tighten the head onto the arm, the washer compresses, squishing into every tiny gap to block water from squeezing through. Over time, this little piece can get brittle and crack, which is one of the top reasons a shower head starts leaking.
- The O-Ring: Some shower heads, especially the ones that pivot or swivel, use small, round O-rings. These seals stop water from seeping out around the moving parts. If you’ve got a leak coming from that swivel ball joint, a worn-out O-ring is almost always the culprit.
Think of a washer like the little seal inside a water bottle cap. You can crank that cap on with all your might, but if that thin seal is damaged or missing, the bottle is going to leak. Your shower head works on the exact same principle.
Once you understand this simple anatomy, the problem becomes much less mysterious. A leak isn’t a sign of some plumbing catastrophe; it’s often just one of these small, cheap parts telling you it’s time for a replacement. High-quality fixtures, like those from CRANACH, are designed with durable seals that are built to last far longer than standard parts, giving you peace of mind right from the start.
Diagnosing The Most Common Leak Causes
Most of the time, that annoying drip-drip-drip falls into just a few common categories. It’s really just a process of elimination, and you can almost always start with the simplest, most likely culprits first.
Worn-Out Washers: The Primary Suspect
Think of the small rubber washer, or gasket, tucked inside your shower head’s connection. It’s a tiny, hardworking gatekeeper with one simple job: to create a perfect, watertight seal between the shower arm pipe and the head itself. But over years of hot showers and cold rinses, that rubber starts to break down. It gets hard, brittle, and eventually cracks.
Once that little washer loses its flexibility, it can no longer hug the connection tightly. Water pressure easily exploits those tiny gaps and imperfections, forcing its way out and creating that persistent drip right where the shower head meets the arm. It’s the number one cause of leaks, and luckily, it’s also the easiest fix.
Mineral Buildup and Clogged Nozzles
What if the leak isn’t at the connection point, but spraying sideways from the face of the shower head? The problem is likely internal, and the villain is usually hard water. Hard water is full of minerals like calcium and magnesium, and over time, these minerals form a crusty buildup called limescale.
This buildup acts like a series of tiny dams inside your shower head, blocking the nozzles where water is supposed to exit. With its path obstructed, the water pressure builds up and forces its way out through weaker points, such as the seams around the faceplate or other small crevices.
This is a good way to gauge how serious your leak might be.
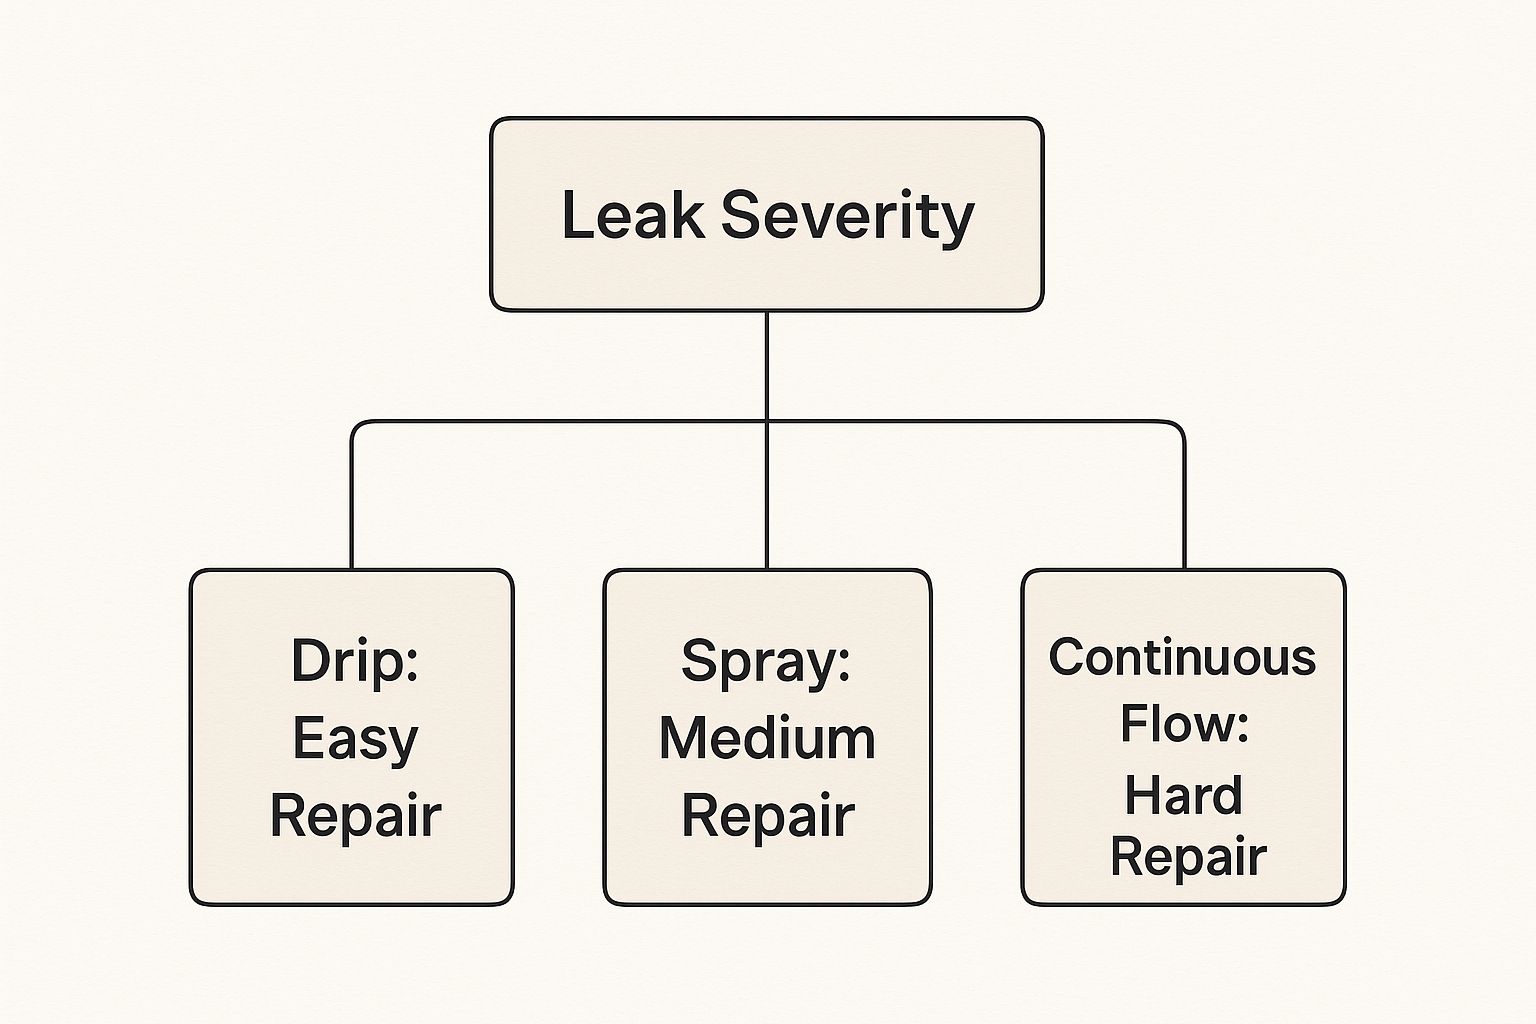
As you can see, a few stray drips are one thing, but a constant flow points to a bigger issue, maybe one that’s deeper in your plumbing.
Damaged Threads or Cracks
Sometimes, the problem is just plain old physical damage. The metal threads that screw the shower head onto the arm can get stripped or cross-threaded if they weren’t installed just right. This damage makes a secure fit impossible, leaving a gap for water to escape no matter how much you tighten it.
On top of that, older plastic shower heads can develop tiny, hairline cracks in the body, creating brand new paths for water to leak out. If you’ve tried the other fixes and you’re still getting dripped on, it’s time to take a close look at the threads and the shower head itself for any visible damage.
Leaky shower heads are an incredibly common problem, and it’s no surprise when you look at the numbers. The global shower head market was recently valued at USD 13.31 billion and is still growing, partly because more people are focused on saving water. As we all become more conscious of waste, we’re looking for fixtures that are built well enough to prevent leaks in the first place.
This is where investing in quality from the start really pays off. CRANACH shower systems are engineered with superior materials and advanced designs that actively resist mineral buildup and use durable, long-lasting seals. We take a proactive approach to design, building our products to prevent the very issues that cause common leaks. It means you get a more reliable and enjoyable shower experience, day after day.
If your leak seems to be coming from the faucet handles instead of the head, that’s a different issue entirely. You can explore our guide on how to fix a leaky shower faucet for more targeted advice.
Your Step-by-Step Guide to Fixing the Drip
Alright, you’ve figured out what’s causing that annoying drip. Now it’s time to roll up your sleeves and put a stop to it for good. This guide will walk you right through the most common fixes, from getting your tools together to the final tweaks for a perfect, leak-free seal.
Honestly, fixing a leaky shower head is one of the most satisfying little DIY jobs you can do. With just a handful of basic tools and a bit of patience, you can tackle this yourself and save the money you’d spend on a professional call-out.
Gathering Your Essential Tools
Before you jump in, having the right tools on hand makes everything go so much smoother. You don’t need a massive toolbox for this, just a few key items.
- Adjustable Wrench or Channel-Lock Pliers: This is your main tool for loosening and tightening the connection nut. A great tip is to wrap the jaws in a soft cloth to keep from scratching up that nice finish.
- Plumber’s Tape (Teflon Tape): This thin white tape is your secret weapon. It’s absolutely essential for creating a fresh, watertight seal on the shower arm’s threads.
- Replacement Washers or O-Rings: These are cheap and you can find them at any hardware store. It’s always a smart move to have a few extra in your kit.
- Soft Cloth or Rag: Perfect for cleaning parts and protecting finishes from scratches.
Step 1: Safely Remove the Old Shower Head
First things first, turn off the water supply to your shower. You might have a valve right there at the shower, or you may need to shut off the main supply for the house.
Next, drape your cloth over the connection nut where the shower head meets the arm. Use your adjustable wrench to turn it counter-clockwise. Once it’s loose, you should be able to finish unscrewing it by hand. Just be ready for a little bit of water to spill out—that’s normal.
Pro Tip: Grab a small bowl or container and keep all the parts you remove in it. The absolute last thing you want is for a tiny, critical washer to take a dive down the drain.
Step 2: Inspect and Clean the Components
With the shower head off, take a look inside the connecting nut. You’ll spot the rubber washer or gasket. Gently pry it out with a small flathead screwdriver and check it for any signs of cracking, brittleness, or being flattened out. If it looks worn, you’ve likely found your culprit.
While you have it apart, this is the perfect opportunity for a deep clean. Mineral buildup can throw off the pressure and cause leaks all on its own. Our detailed guide on how to clean your shower head has some simple, effective tricks for getting rid of even the most stubborn gunk.
Step 3: Replace and Reinstall for a Perfect Seal
Start by wiping down the threads on the shower arm with your cloth to get rid of any old tape or grime. Now, grab your new plumber’s tape and wrap it clockwise around the threads 3 to 4 times. Wrapping it clockwise is key—it ensures the tape tightens up as you screw the head on, instead of bunching up and unraveling.
Next, pop the new washer into the shower head’s connector. Finally, screw the head back onto the arm. Hand-tighten it until it feels snug. Give it one last quarter-turn with the wrench to secure it, but be careful not to over-tighten. Cranking it down too hard can damage the new washer or even crack the connector itself.
The handheld shower head market, which is now valued at around $2.5 billion, has seen a huge boom in innovation. Newer models often have much better sealing mechanisms and are designed for easier installation, which helps cut down on the chances of leaks from the very beginning.
How to Prevent Future Shower Head Leaks
More often than not, the culprit behind a leak is the slow, silent buildup of limescale and other mineral deposits. These blockages crank up the internal water pressure, putting stress on seals and gaskets until water is forced to find another way out. Your number one defense is regular cleaning.
Establish a Proactive Cleaning Routine
You don’t need to dedicate your weekend to scrubbing. A little consistent effort goes a long way in preventing leaks and keeping your shower performing like new.
- Weekly Wipe-Down: After you shower, just give the face of the shower head a quick wipe with a soft cloth. It’s a simple two-second task that stops water spots from hardening into stubborn mineral buildup.
- Monthly Nozzle Check: Once a month, take a closer look at the nozzles. See any of that white, crusty stuff? Gently scrub it away with an old toothbrush. This keeps the water flowing where it’s supposed to.
Perform a Deep Clean Soak
Every few months—or more often if your home has particularly hard water—it’s time for a deep clean. This is your secret weapon for dissolving all the gunk building up inside where you can’t see it.
- Remove the Shower Head: Gently unscrew the shower head from the shower arm.
- Soak in Vinegar: Find a container and submerge the shower head in plain white vinegar. Let it soak for at least 30 minutes, but if you’re dealing with some serious buildup, a few hours won’t hurt.
- Rinse and Scrub: Once the soak is done, rinse the head thoroughly with warm water. Use that toothbrush again to clear out any leftover debris from the nozzles.
- Reinstall Carefully: Reattach the shower head. Make sure the washer is still in good shape and that you tighten the connection until it’s snug, but don’t go overboard.
Think of regular maintenance like changing the oil in your car. It’s a small, preventative task that helps you avoid much bigger, more frustrating problems down the road. A little attention now saves you from drips and damage later.
Invest in Quality and Durability
While maintenance is your best friend, the quality of your shower fixtures is the foundation for a leak-free life. When you start with a well-designed, durable shower head, you sidestep many of the common failure points right from the get-go.
This is where CRANACH‘s commitment to top-tier engineering really makes a difference. Our shower heads are built from durable, corrosion-resistant materials designed to naturally resist that pesky mineral buildup. They’re simply made to last. And as you’re choosing, it’s good to know that the market for high-pressure models is growing significantly, driven by innovations in filtration and durable materials that deliver a better experience.
Frequently Asked Questions About Leaky Showers
Even after figuring out the main problem, you might still have a few questions floating around about why your shower head is misbehaving. Let’s tackle some of the most common ones I hear from homeowners to clear things up and help you make the right call.
Why Does My Shower Head Drip After I Turn It Off?
This is a classic, and most of the time, it’s perfectly normal. Think of it this way: your shower head and the shower arm are holding onto a bit of water even after you’ve shut off the valve. Gravity takes over, and that trapped water slowly drips out. If it stops after a minute or two, you have nothing to worry about.
But if that drip is steady and just keeps going for several minutes—or never stops at all—then you’ve got a genuine leak on your hands. This usually points right back to one of our main culprits: a worn-out washer or, more seriously, a faulty valve hiding inside the wall.
How Often Should I Replace My Shower Head Washer?
There’s no hard-and-fast rule, but a great habit to get into is checking the washer at least once a year. A perfect time to do this is when you’re giving the shower head a deep clean anyway. If you live in an area with hard water, that mineral buildup can cause the washer to wear out even faster, so you might want to check it more often.
You’ll want to replace it right away if you spot any signs of trouble, like:
- Cracking or a brittle, dried-out feel
- Obvious flattening or looking squished out of shape
- Any visible tears or chunks missing
Washers are incredibly cheap. Seriously. Replacing one is one of the smartest and easiest preventative fixes you can do to stop a leak before it even has a chance to start.
Can Using Too Much Plumber’s Tape Cause a Leak?
Yes, absolutely! It might seem counterintuitive, but this is a classic case where “less is more.” Going overboard with plumber’s tape is one of the most common mistakes I see people make.
When you wrap too many layers of tape around the threads, it actually prevents the shower head from screwing on far enough to make a tight seal with the washer inside. You end up creating an artificial gap, which completely defeats the purpose and lets water sneak out. As a rule of thumb, 3 to 4 wraps around the threads in a clockwise direction is all you need for a secure, leak-free connection.
When Is It Time to Call a Plumber?
It’s time to call in a professional if you’ve tried all the basic fixes and that drip just won’t quit. If you’ve replaced the washer, cleaned the head, and retaped the threads correctly but the leak is still there, it’s a sign the problem is bigger than the shower head itself.
Specifically, you should call a plumber if you see water coming from:
- Behind the wall plate (the big metal circle called an escutcheon)
- The main valve handle itself
- The tub spout at the same time the shower is running
These symptoms often mean the internal valve cartridge has failed, which is a much more delicate and complex repair. While some plumbing tasks share principles, like learning how to replace a bathroom faucet, valve work is best left to the pros. It’s also interesting to see how home service professionals connect with homeowners facing these exact issues; for those in the industry, understanding digital outreach through resources for Home Service Contractors is becoming key.
For a lasting solution that blends beautiful design with performance you can count on, think about upgrading your fixtures. At CRANACH, we engineer our shower systems and faucets to provide a therapeutic, healthy experience, so you don’t have to deal with the frustration of leaks. Check out our collection at https://cranachhome.com and see what a difference quality can make.