


Essential Tools and Materials for Successful Installation
Having the right tools and materials before starting your kitchen faucet installation is key. Good preparation can make the difference between a smooth project and a frustrating one. Gathering everything upfront minimizes interruptions and extra trips to the hardware store.
Must-Have Tools for a Smooth Installation
These are the essential tools experienced DIYers use for kitchen faucet installations:
- Basin Wrench: This special wrench is essential for reaching those tough nuts securing the faucet to the sink. Its long shaft and swiveling head are perfect for tight spaces.
- Adjustable Wrench: Use this versatile tool for various tasks, from tightening supply lines to adjusting the faucet’s position.
- Channel-Type Pliers: These pliers provide a firm grip on pipes and fittings, essential for tightening connections securely.
- Screwdrivers: Keep both Phillips and flathead screwdrivers on hand for securing different parts of the faucet.
- Plumber’s Putty: This sealant is crucial for creating a watertight seal at the faucet’s base.
Essential Materials You’ll Need
Besides the tools, gather these materials:
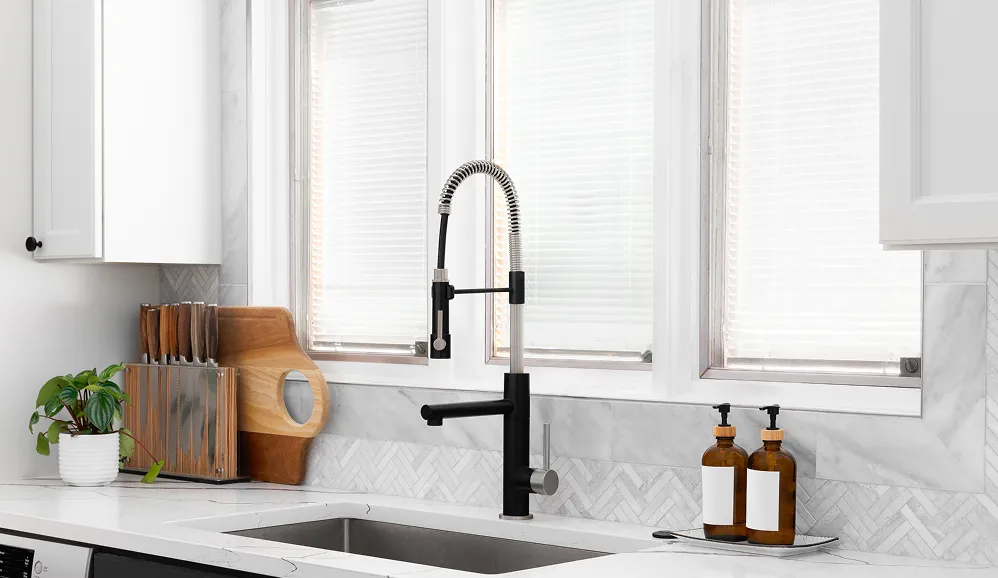
- New Kitchen Faucet: Ensure it’s compatible with your sink’s configuration.
- Supply Lines: Inspect your existing lines and replace them if they’re worn or the wrong size. Flexible braided stainless steel supply lines are a good choice.
- Teflon Tape: Wrap this around threaded connections to prevent leaks and ensure a watertight seal.
- Bucket or Towels: Place these under the sink to catch drips during the old faucet removal.
Tips for Working in Tight Spaces
Under-sink areas can be challenging. These tips can help:
- Use a Headlamp or Work Light: Improve visibility in dark, cramped spaces.
- Organize Your Tools: Keep tools within easy reach to avoid awkward stretching.
- Take Breaks: If a step proves difficult, a short break can reduce frustration and improve focus. For more helpful information, check out our guide on water flow rates for kitchen faucets.
Preparing these tools and materials will streamline your faucet installation, increasing your chances of a successful and less stressful experience.
Installing Your Kitchen Faucet: The Actual Step-by-Step
So, you’ve got your tools assembled and the perfect faucet picked out. Great! Let’s walk through the installation process step by step. This guide is designed for everyone, whether you learn best by watching, by reading detailed instructions, or by understanding the reasoning behind each action.
Preparing For Installation
Before you start, good preparation is essential. This avoids surprises mid-installation and makes the whole process smoother.
- Turn Off the Water Supply: Find the shutoff valves under your sink. Turn them clockwise to shut off the water. Turn on the faucet to release any remaining water pressure.
- Clear the Area: Remove everything from underneath the sink. This gives you plenty of room to work. Put a bucket or some towels under the sink to catch any drips.
- Disconnect the Old Faucet: Disconnect the supply lines from the old faucet with your basin wrench. Loosen the nuts holding the faucet to the sink.
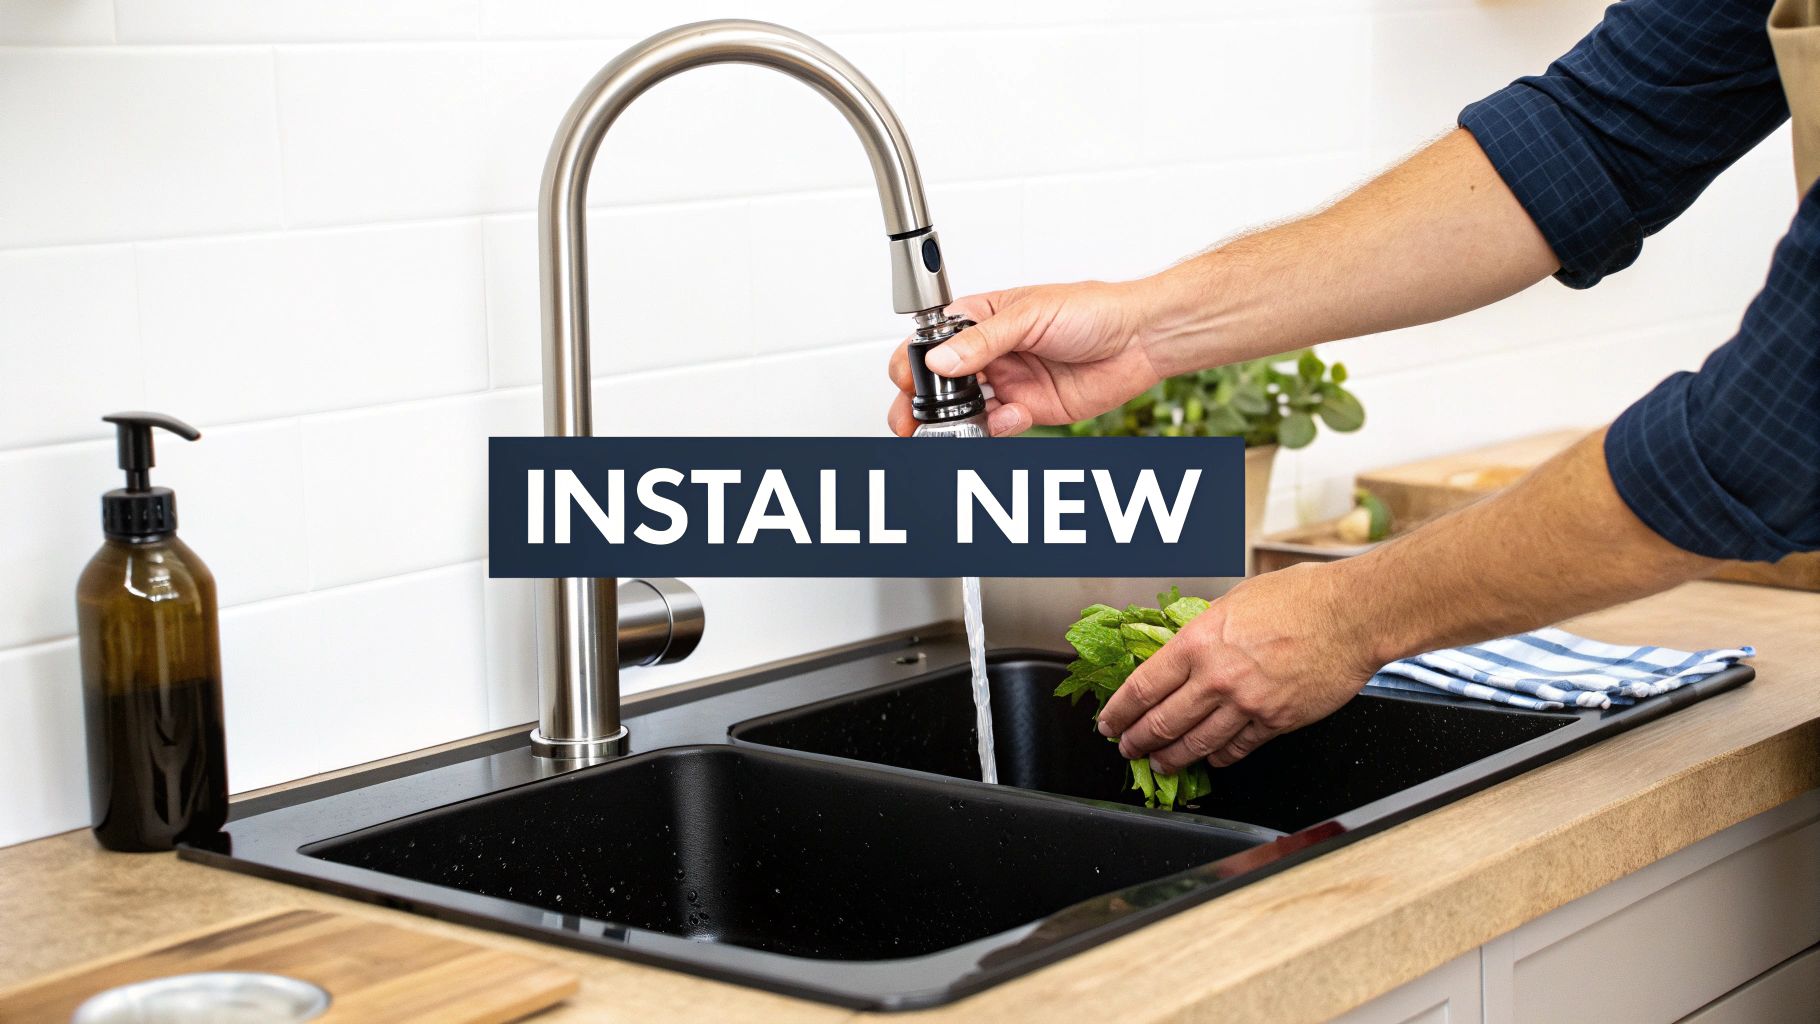
Installing the New Faucet
Now that the prep work is complete, it’s time to install the new kitchen faucet. Follow these steps carefully:
- Install the Mounting Hardware: This depends on your faucet. You might need to insert the faucet through holes already in the sink or mount a bracket on the wall.
- Secure the Faucet: From under the sink, tighten the nuts that hold the faucet in place. Use your basin wrench to ensure a tight fit.
- Connect the Supply Lines: Attach the supply lines to the faucet inlets. Hand-tighten first, then tighten further with an adjustable wrench. Don’t overtighten.
- Connect the Sprayer Hose (if applicable): If your faucet has a sprayer, attach the hose to the appropriate port on the faucet.
- Apply Plumber’s Putty: Create a seal around the faucet base using plumber’s putty. This prevents leaks around the base.
Testing and Finalizing the Installation
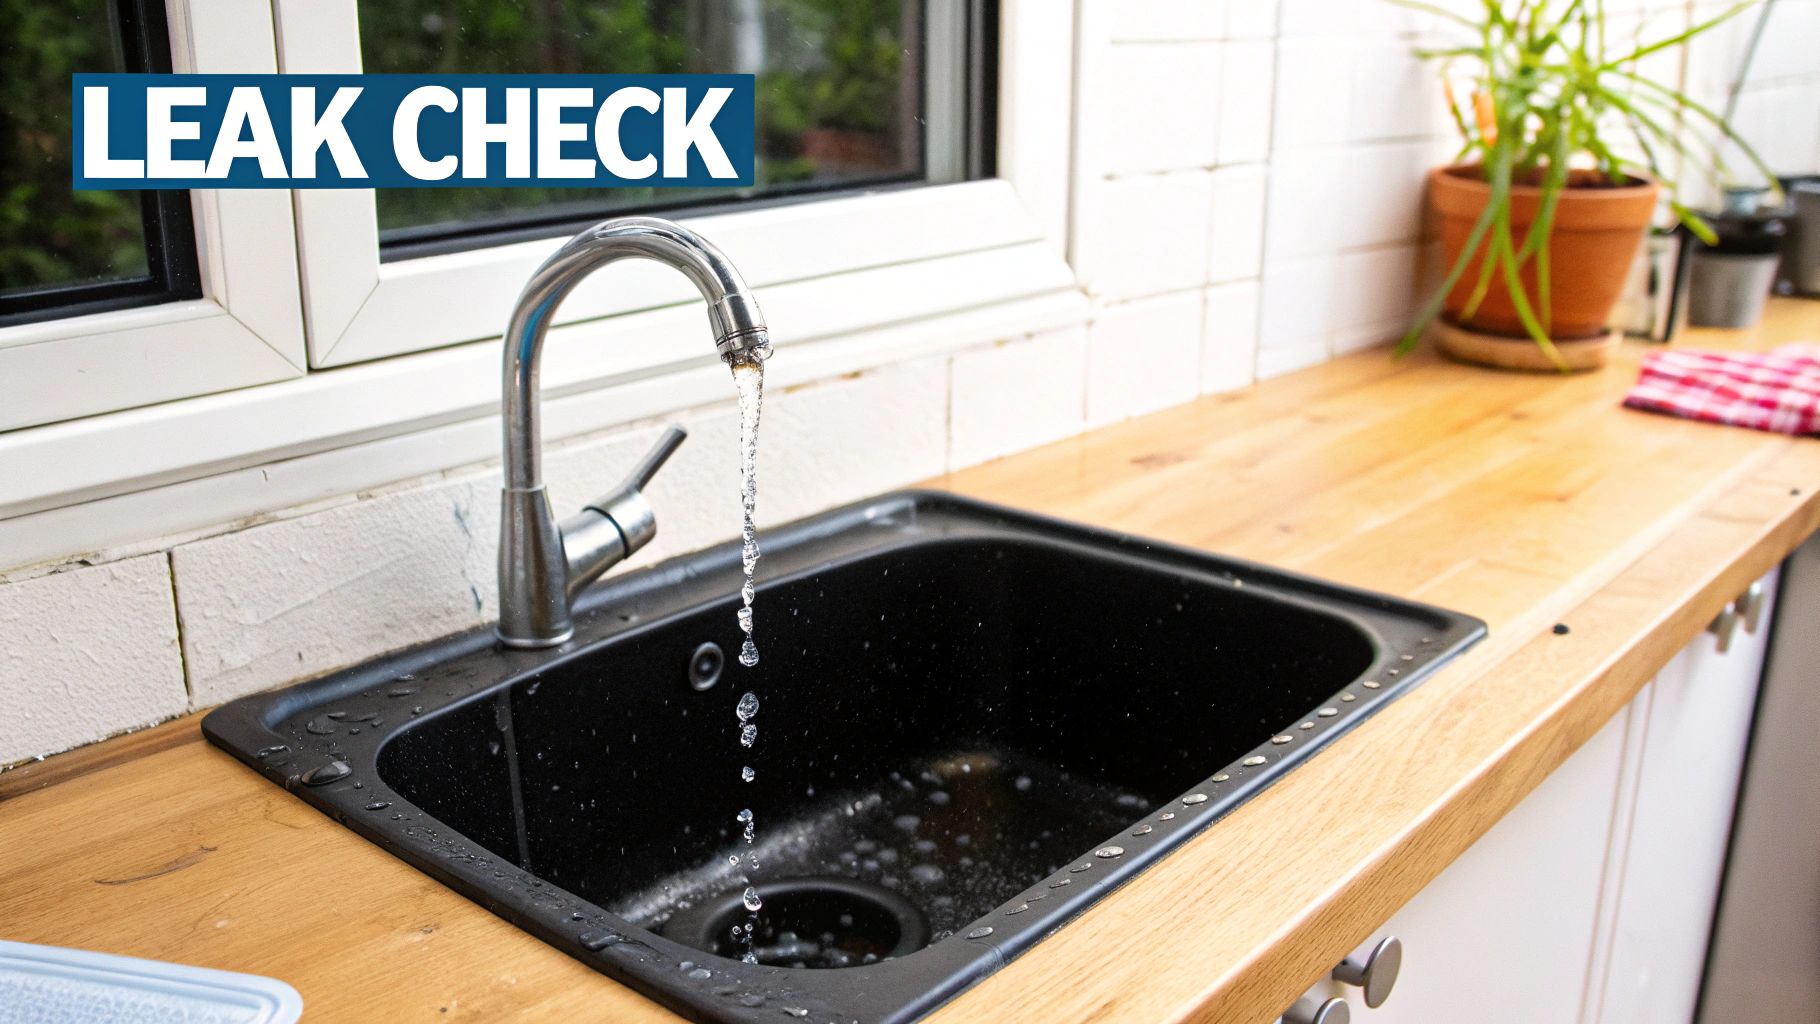
After installation, check for leaks and make sure everything functions properly.
- Turn the Water Supply Back On: Slowly turn the shutoff valves counterclockwise to turn the water back on.
- Check for Leaks: Inspect all connections thoroughly for leaks. If you see any, tighten the connections or reapply plumber’s putty if needed.
- Test the Faucet: Turn the faucet on and off, testing both the hot and cold water. Test the sprayer as well, making sure the water pressure and temperature control work correctly.
The installation time for a kitchen faucet depends on how complex the project is. Simple installations, where the new faucet is similar to the old one, usually take one to two hours. More complicated installations, like those requiring plumbing changes or moving the faucet location, can take up to eight hours or more. For instance, if you’re installing a faucet on a kitchen island, you might need additional plumbing work, such as running pipes under the floor. This can add significantly to the time and cost. It’s always a good idea to evaluate the complexity of the project beforehand to make sure you have enough time and resources.
Addressing Common Installation Challenges
Even with careful planning, problems can sometimes arise. Here’s how to deal with a few common issues:
- Corroded Connections: If the old supply lines are corroded, use penetrating oil to loosen them before trying to remove them.
- Awkward Sink Access: A basin wrench is invaluable for tight spaces. A small adjustable wrench can sometimes work too.
- Confusing Water Line Configurations: Check your faucet’s instruction manual for specific directions on connecting the supply lines.
By following these detailed steps and being prepared for potential challenges, you can successfully install your new kitchen faucet and enjoy the satisfaction of a DIY project done right.
Troubleshooting Like a Pro When Things Get Tricky
Even with a step-by-step guide, installing a kitchen faucet can sometimes bring unexpected hiccups. This section will help you troubleshoot common problems, saving you time and potential frustration. We’ll cover everything from leaks and low water pressure to handle misalignment, offering practical solutions based on real homeowner experiences.
Diagnosing and Addressing Leaks
Leaks are probably the most frequent issue after installing a new faucet. Often, the fix is simple. A leak under the sink usually points to a loose connection at the supply lines. Try tightening these connections with an adjustable wrench.
If the leak continues, you might need new supply lines. Leaks around the base of the faucet often mean there isn’t enough plumber’s putty. Removing the faucet, cleaning the area, and carefully reapplying the putty should do the trick.
Tackling Low Water Pressure
Low water pressure after installing a kitchen faucet is another common complaint. This could happen for a few reasons. First, check the shutoff valves. Make sure they are fully open; sometimes they are left partially closed, restricting the water flow.
Another culprit could be a clogged aerator. This little screen at the end of the spout is easy to unscrew and clean, often restoring water pressure back to normal.
Fixing Handle Misalignment and Drips
A misaligned handle looks unprofessional and can make the faucet hard to use. This typically happens if the handle isn’t seated correctly on the valve stem. Removing and reattaching the handle carefully, making sure it’s properly aligned, usually fixes this.
A persistent drip from the spout is usually caused by a worn-out O-ring inside the faucet cartridge. Replacing the cartridge is a relatively easy task and solves the dripping problem, saving water in the long run.
Knowing When to Call a Professional
While many issues are DIY-friendly, some situations require a professional. If you find significant plumbing problems like damaged pipes or severely corroded connections, it’s best to call a licensed plumber. This ensures a safe and effective repair. Also, if you’ve tried everything and the problem persists, a plumber’s expertise can pinpoint the underlying issue.
The following table summarizes common installation problems, their causes, and potential solutions.
Common Faucet Installation Problems
| Problem | Possible Causes | Solutions | Prevention Tips |
|---|---|---|---|
| Leak under the sink | Loose supply line connections | Tighten connections, replace supply lines if necessary | Use Teflon tape on threaded connections |
| Leak around faucet base | Insufficient plumber’s putty | Remove faucet, clean, and reapply plumber’s putty | Ensure ample putty is used |
| Low water pressure | Partially closed shutoff valves, clogged aerator | Open shutoff valves fully, clean or replace aerator | Check valves and clean aerator regularly |
| Handle misalignment | Incorrect handle installation | Remove and reinstall handle, ensuring proper alignment | Follow installation instructions carefully |
| Dripping faucet | Worn-out O-ring or cartridge | Replace O-ring or cartridge | Address drips promptly to prevent further wear |
| Significant plumbing issues | Damaged pipes, corroded connections | Call a licensed plumber | Regular plumbing inspections |
By understanding these common troubleshooting tips and solutions, you’ll be ready to handle most challenges during your kitchen faucet installation. This knowledge will empower you to complete the project successfully and enjoy your new faucet.
Maximizing Your Faucet’s Lifespan After Installation
Your new kitchen faucet is an investment in both style and functionality. With the right care, it can serve you well for many years. This section covers simple, effective maintenance tips to keep your faucet in top condition without hours of effort.
Simple Cleaning Techniques That Preserve Your Faucet’s Finish
Different faucet finishes require different cleaning methods. For chrome and stainless steel, a mild soap and water solution is usually sufficient. Rinse thoroughly and dry with a soft cloth to avoid water spots. Abrasive cleaners should be avoided, as they can scratch the surface.
Nickel finishes, however, are prone to fingerprints. A non-abrasive cleaner specifically formulated for nickel is recommended to maintain its shine. For further information, consider exploring various faucet finishes and their care: Learn more about faucet finishes and their care. Remember, a gentle touch is key to preserving any faucet’s finish.
Monthly Maintenance Checks to Prevent Costly Repairs
A few minutes of monthly maintenance can prevent significant problems. Check the supply lines for leaks or corrosion. Also, inspect around the faucet base for any moisture, a possible sign of a loose connection or failing sealant.
Lastly, test the sprayer hose (if you have one) for proper function and smooth retraction. This proactive approach can nip small issues in the bud before they become major repairs.
Early Warning Signs of Potential Faucet Issues
Recognizing early warning signs can save you time and money. Decreased water pressure often signals a clogged aerator. This is an easy fix: simply unscrew the aerator from the spout and clean it.
A dripping faucet usually indicates a worn-out O-ring. Replacing the O-ring is a relatively simple DIY project that can prevent water waste and higher water bills. Addressing these problems promptly saves you money and extends your faucet’s life.
Water Quality Considerations and Hard Water Solutions
Water quality plays a vital role in faucet longevity. Hard water, rich in minerals, can cause buildup and hinder performance. If you have hard water, consider a water softener or a water filter designed for faucets. These can significantly reduce mineral deposits, keeping your faucet flowing smoothly.
Another helpful tip for hard water buildup is to occasionally soak affected faucet parts in a vinegar and water solution. This helps dissolve mineral deposits and restore shine. For particularly stubborn buildup, a specialized hard water cleaner can be effective.
Recommended Replacement Parts to Keep on Hand
Although faucet parts are typically durable, having a few spares on hand can be helpful. O-rings are inexpensive and readily available. An extra aerator is also a good idea, especially in hard water areas.
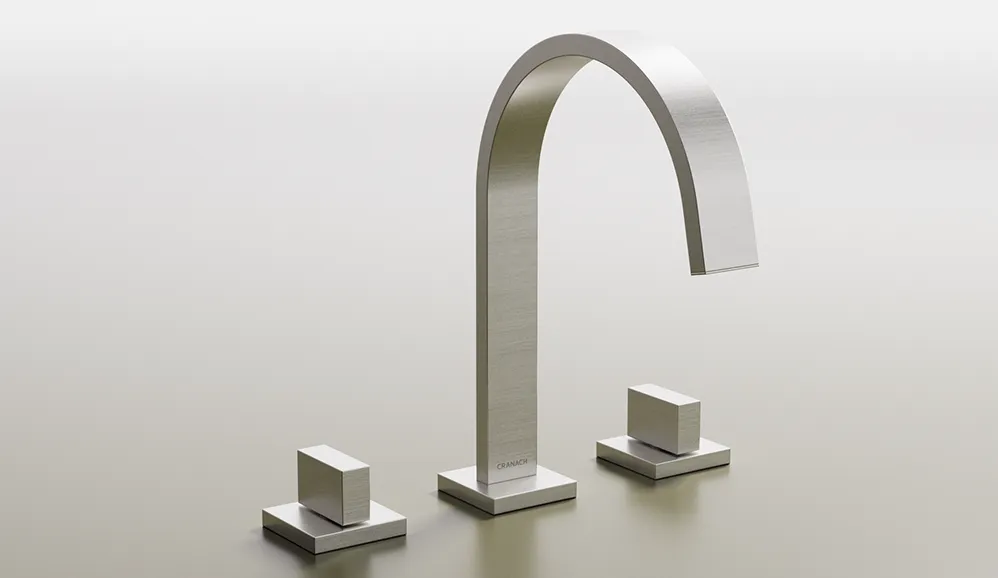
While these parts don’t require frequent replacement, having them available allows you to address minor issues quickly, keeping your kitchen running smoothly and minimizing any downtime. Upgrade your kitchen with Cranach bath and kitchen faucets. Visit https://cranachhome.com to explore our selection.