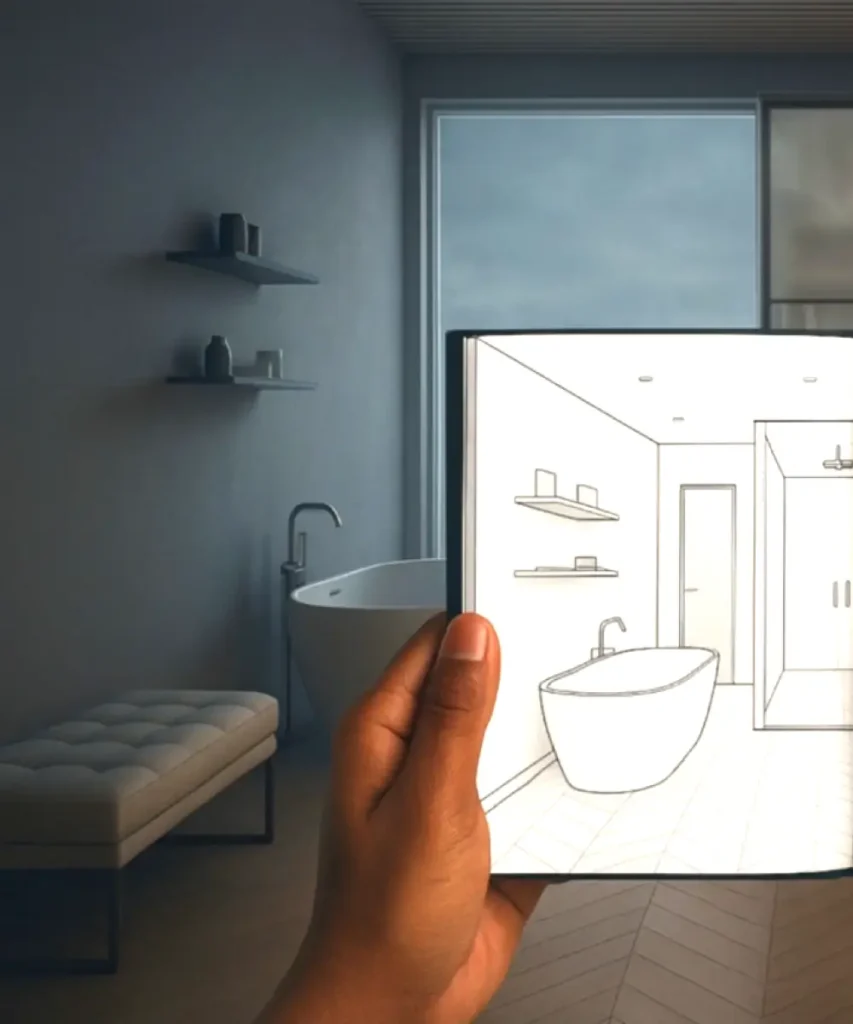


STEP 1: Confirm the Bathroom Layout
Start by identifying the layout of your bathroom. This determines the number of outlets, the type of control system, and the valve configuration.
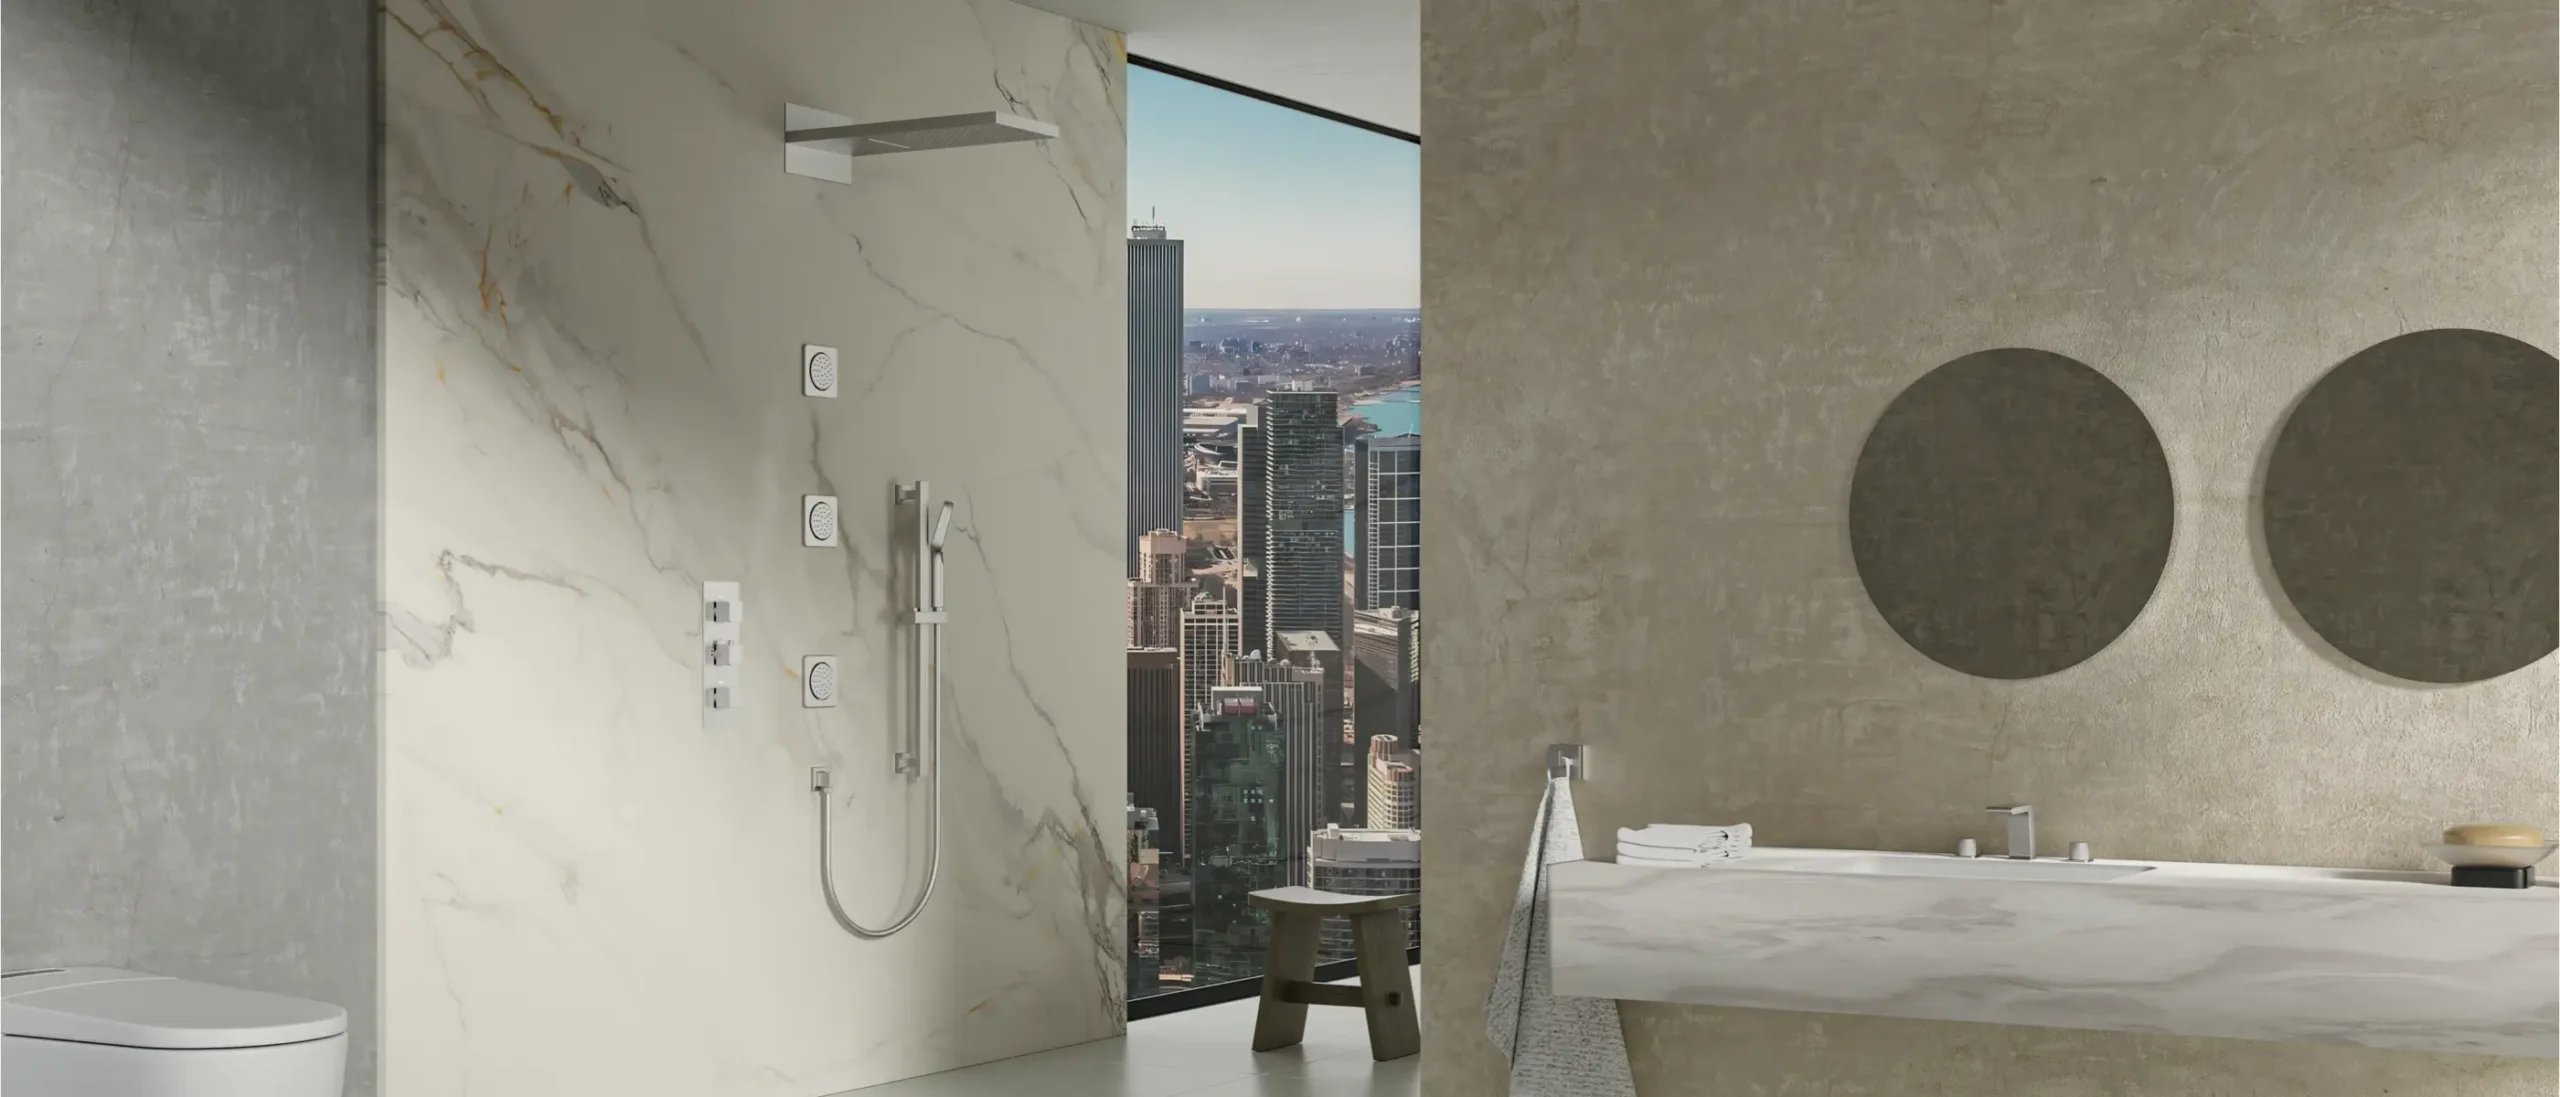
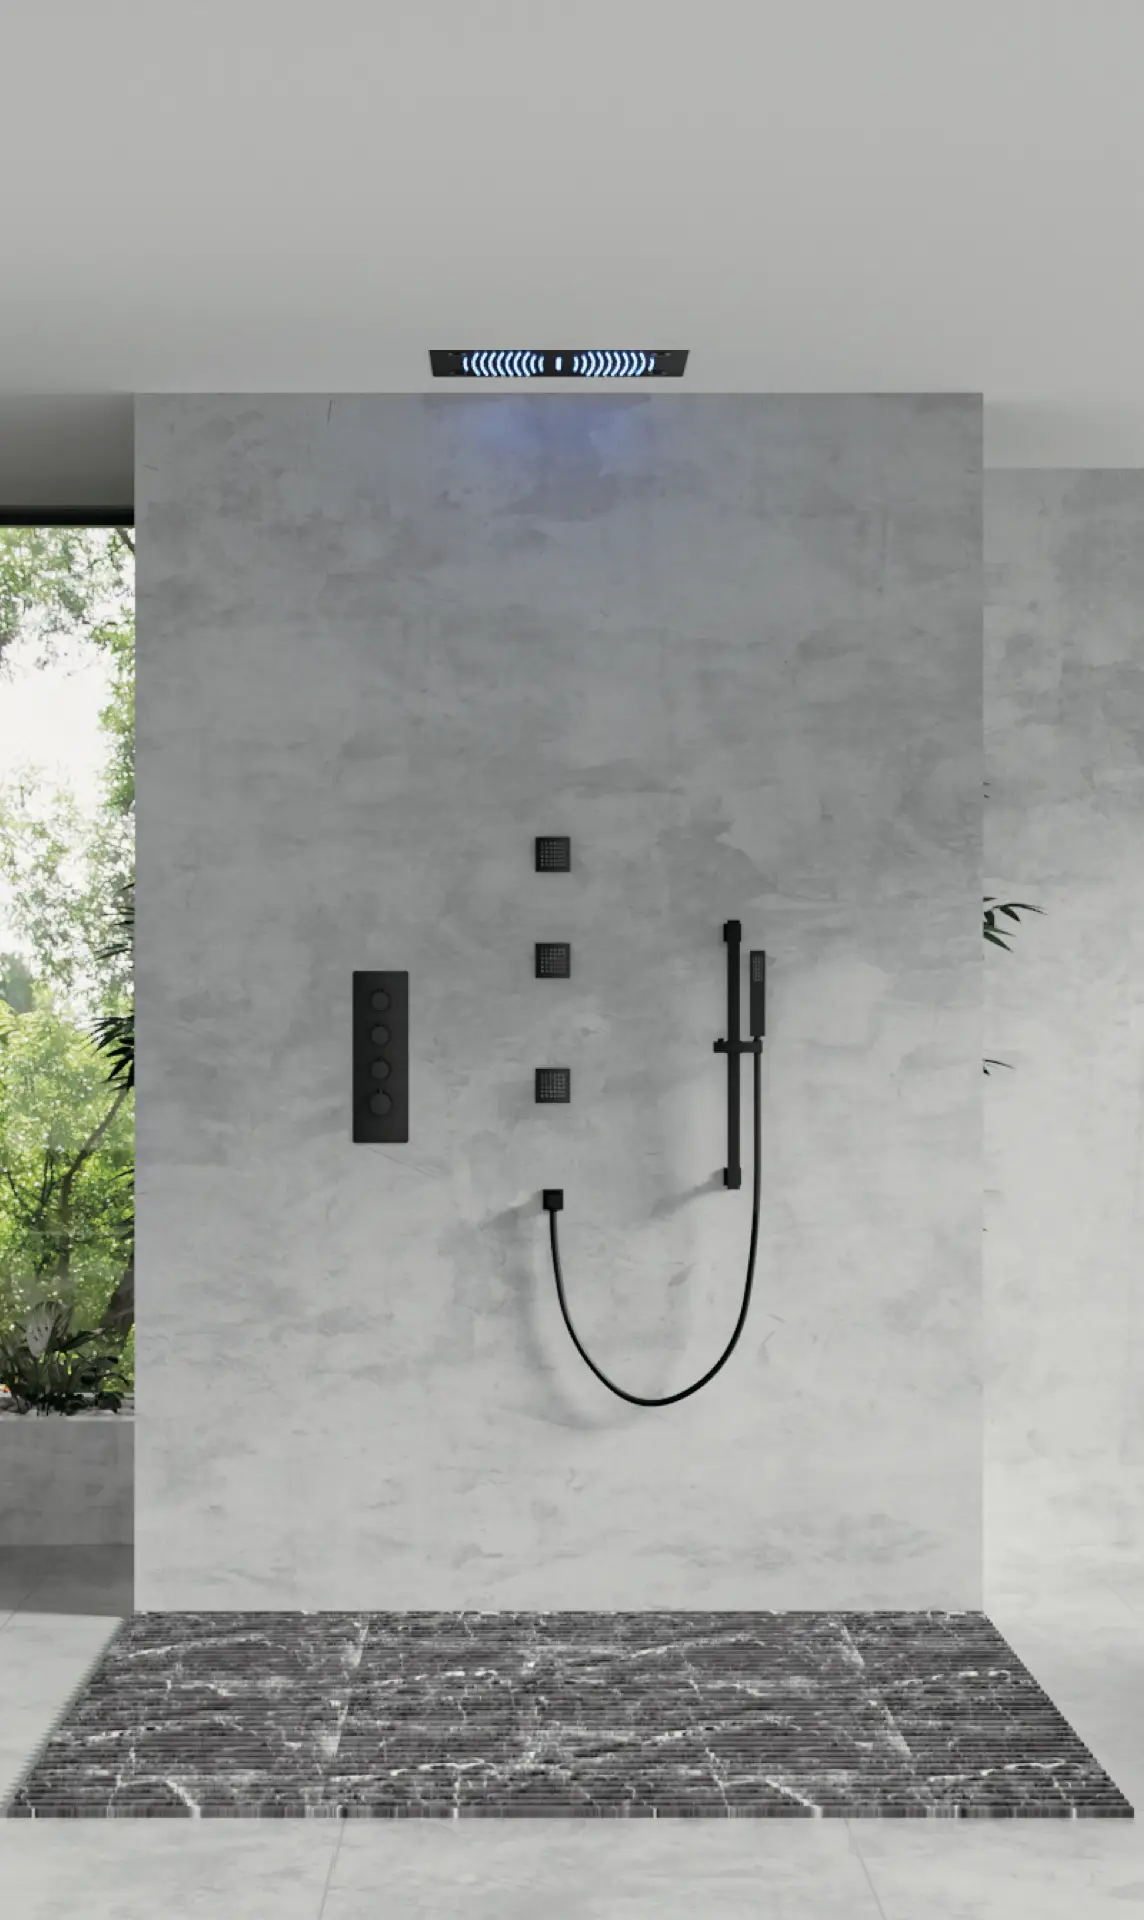
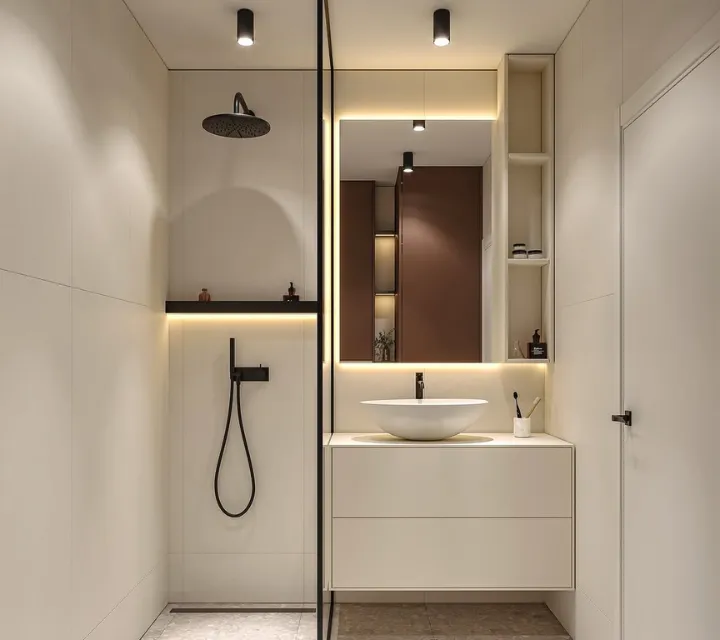
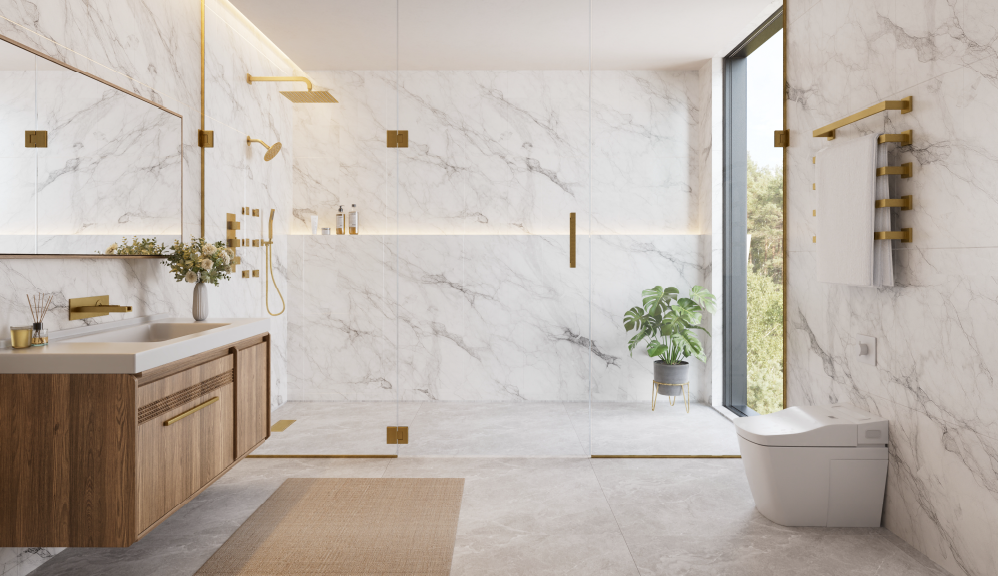
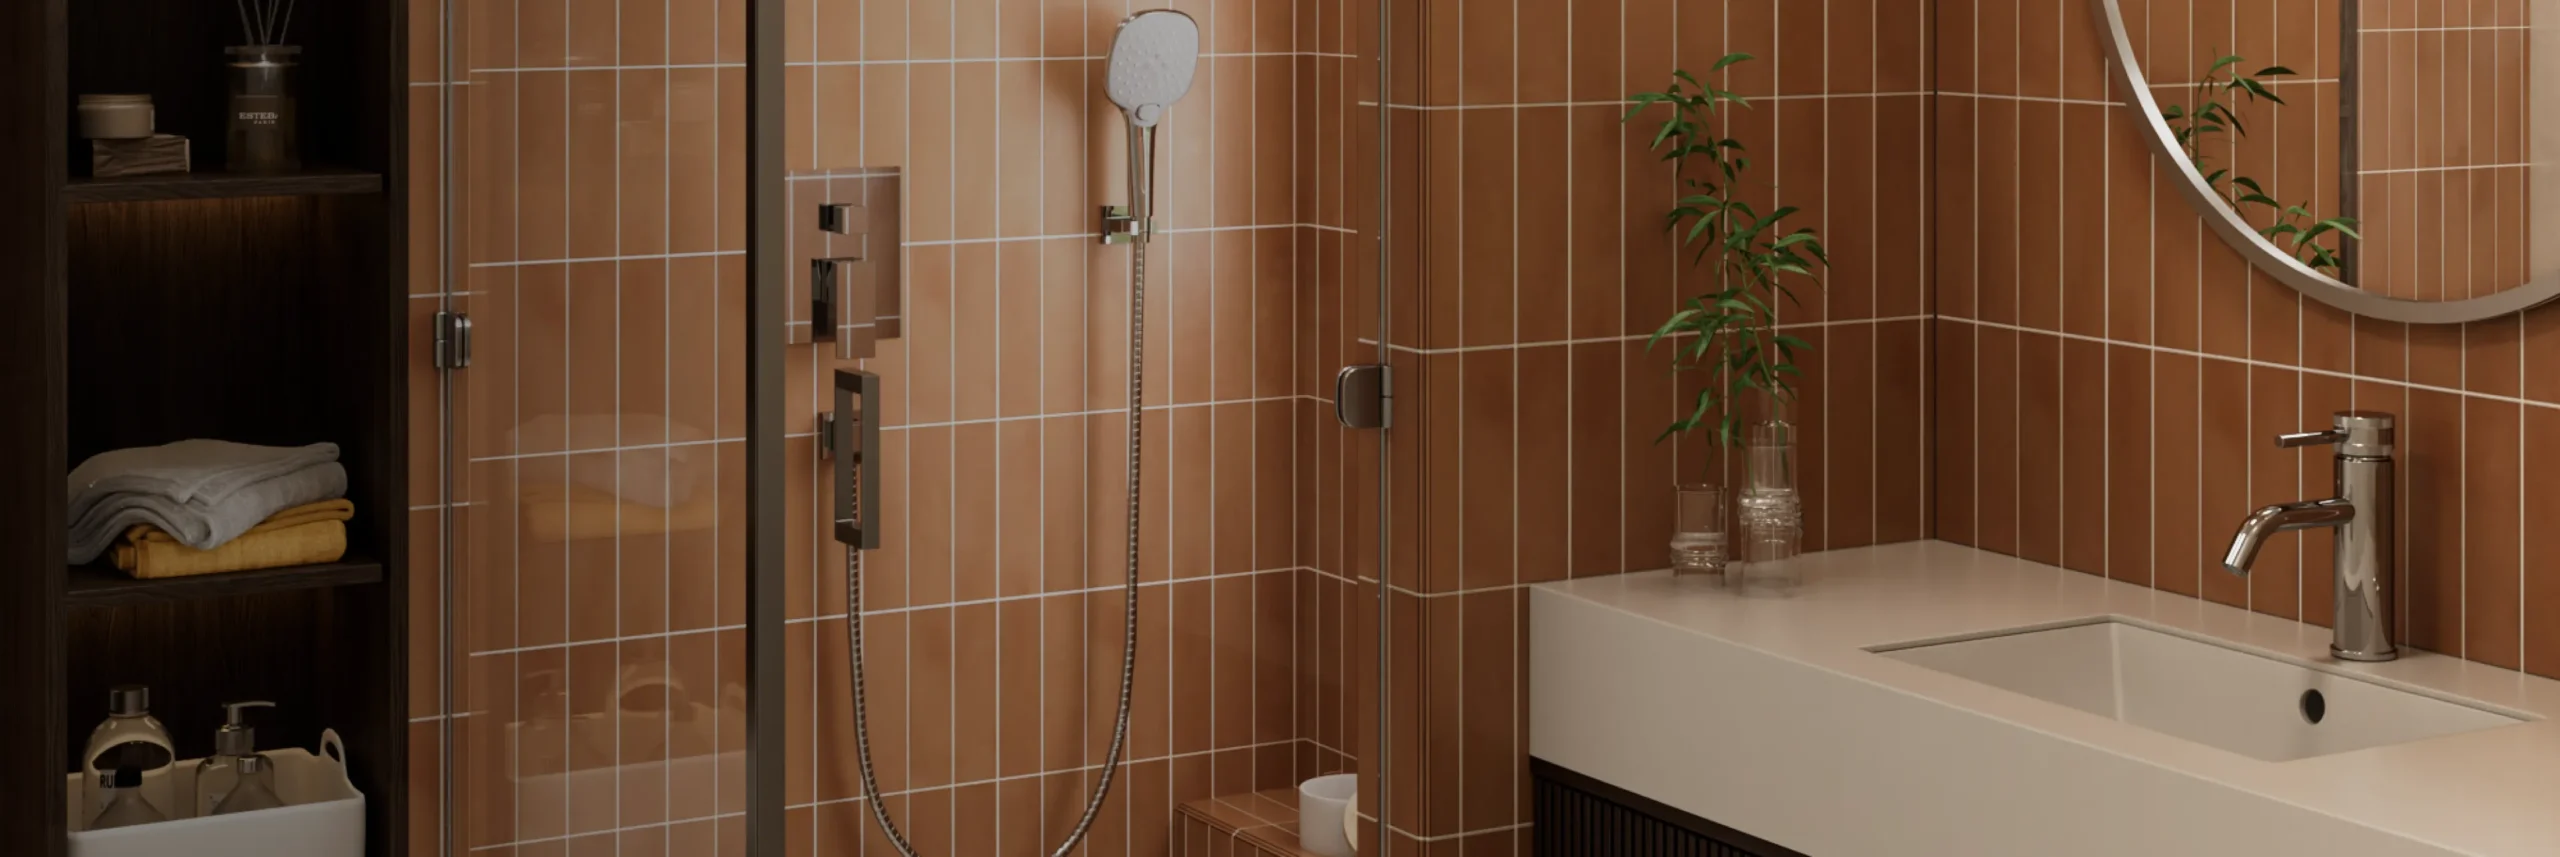
- ● Single Shower Area: One user, standard setup
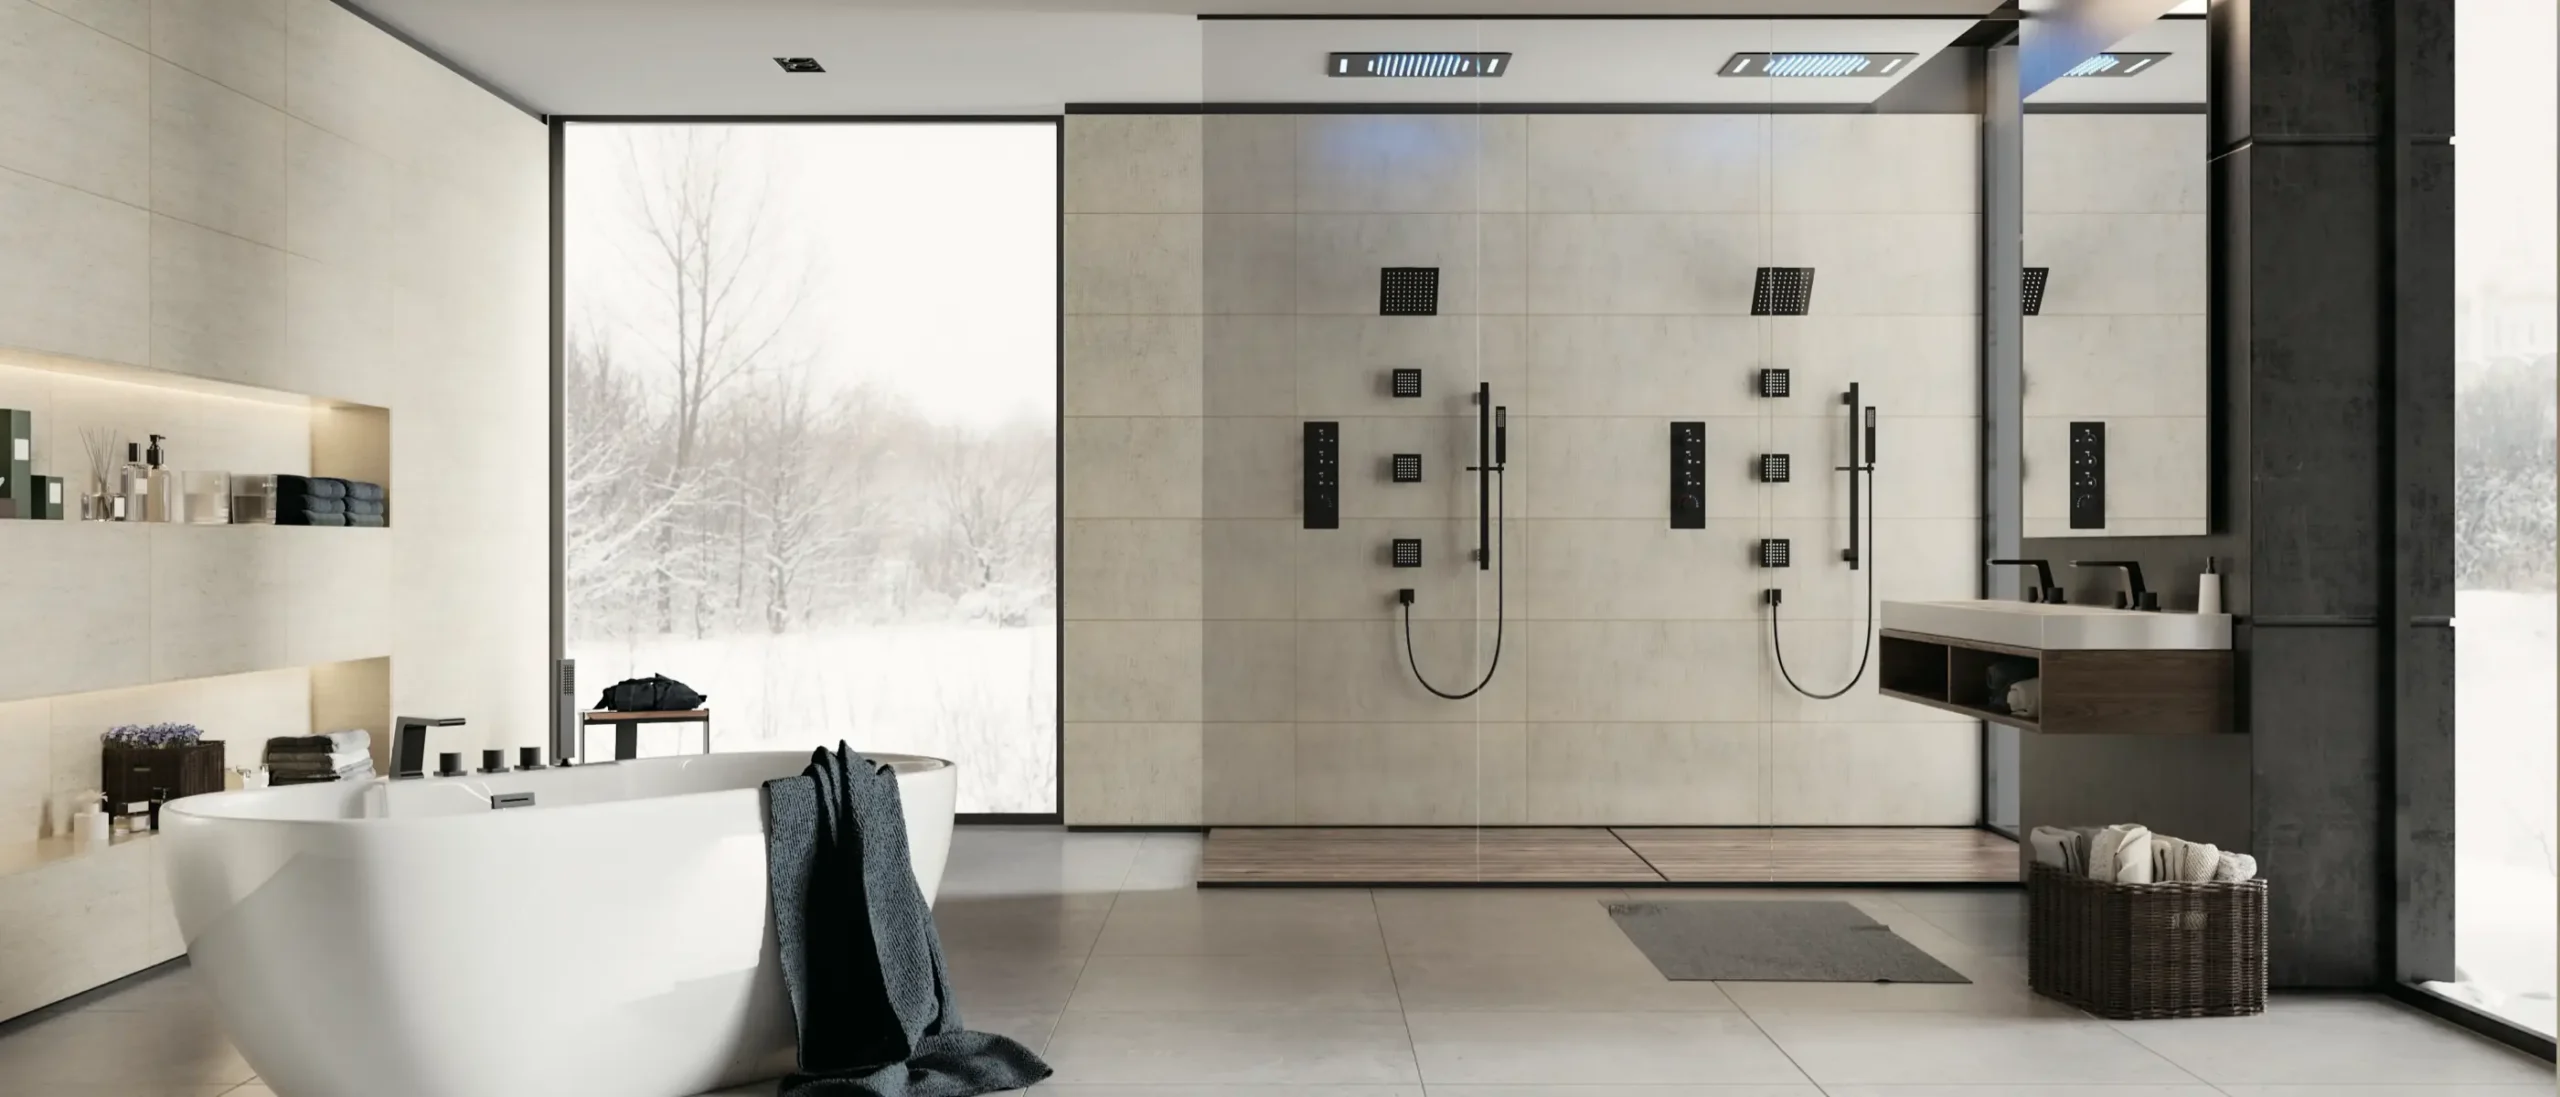
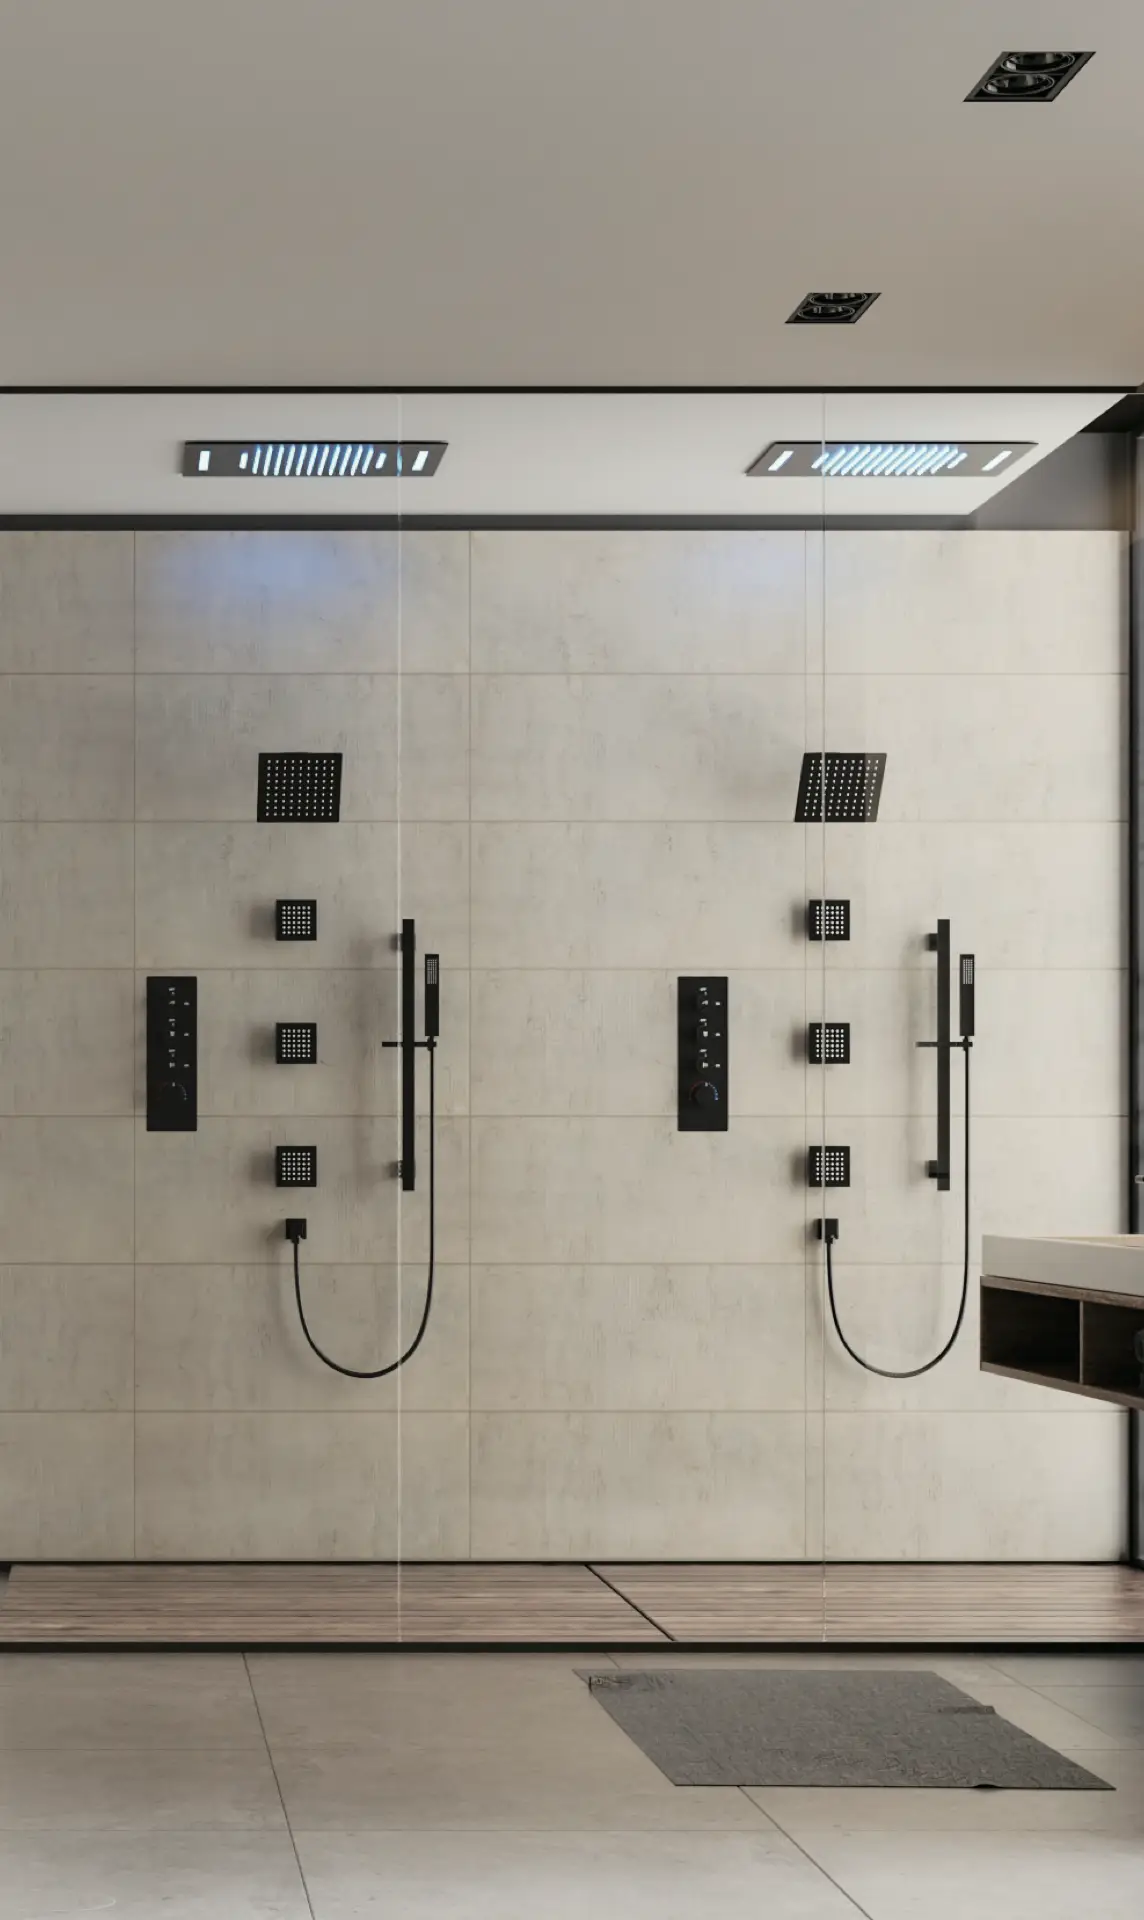
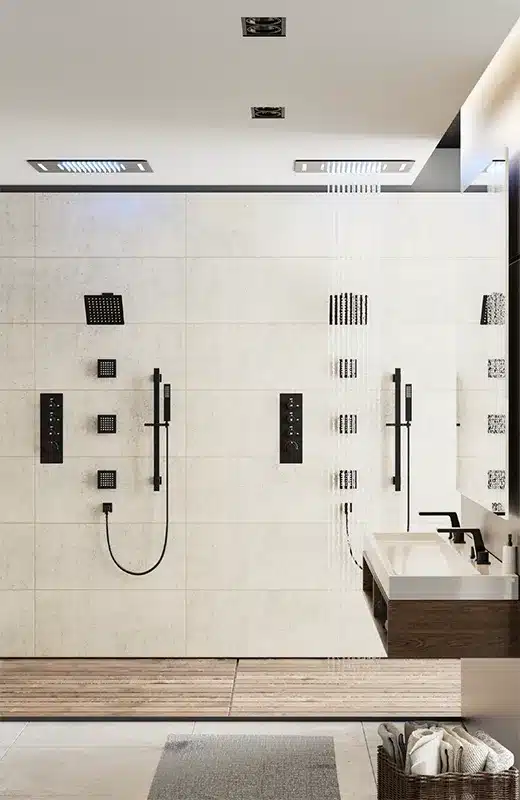
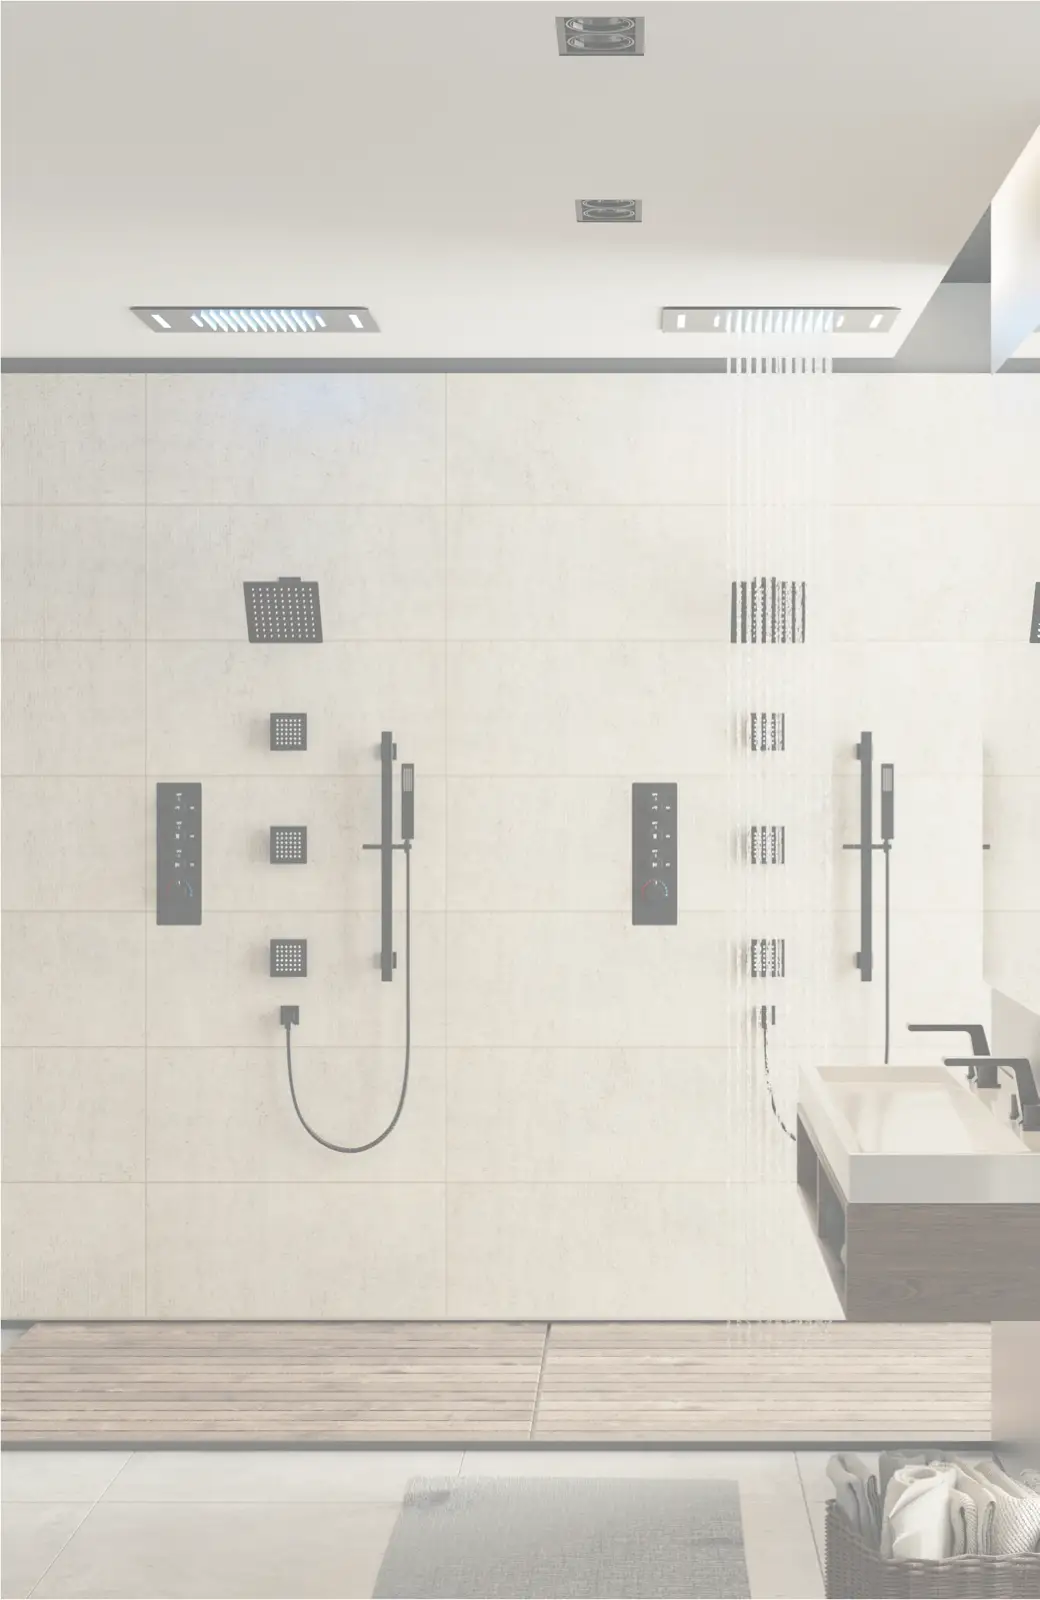
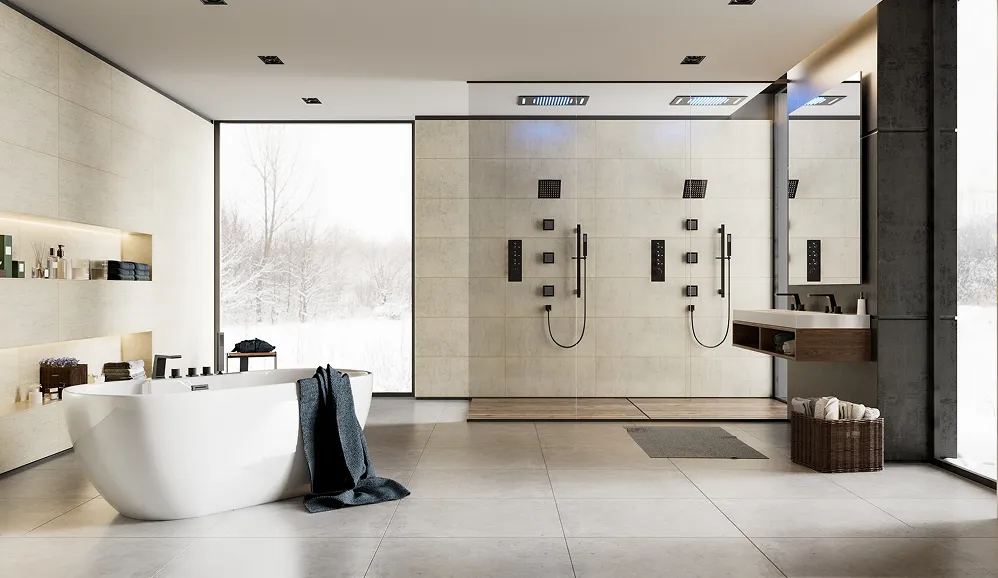
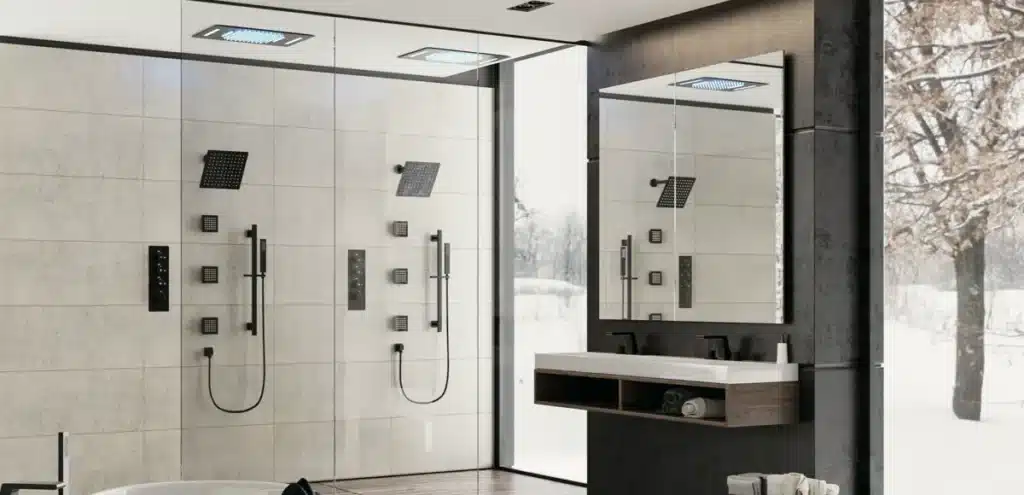
- ● Couple Shower Area: Two users, more capacity and parallel usage
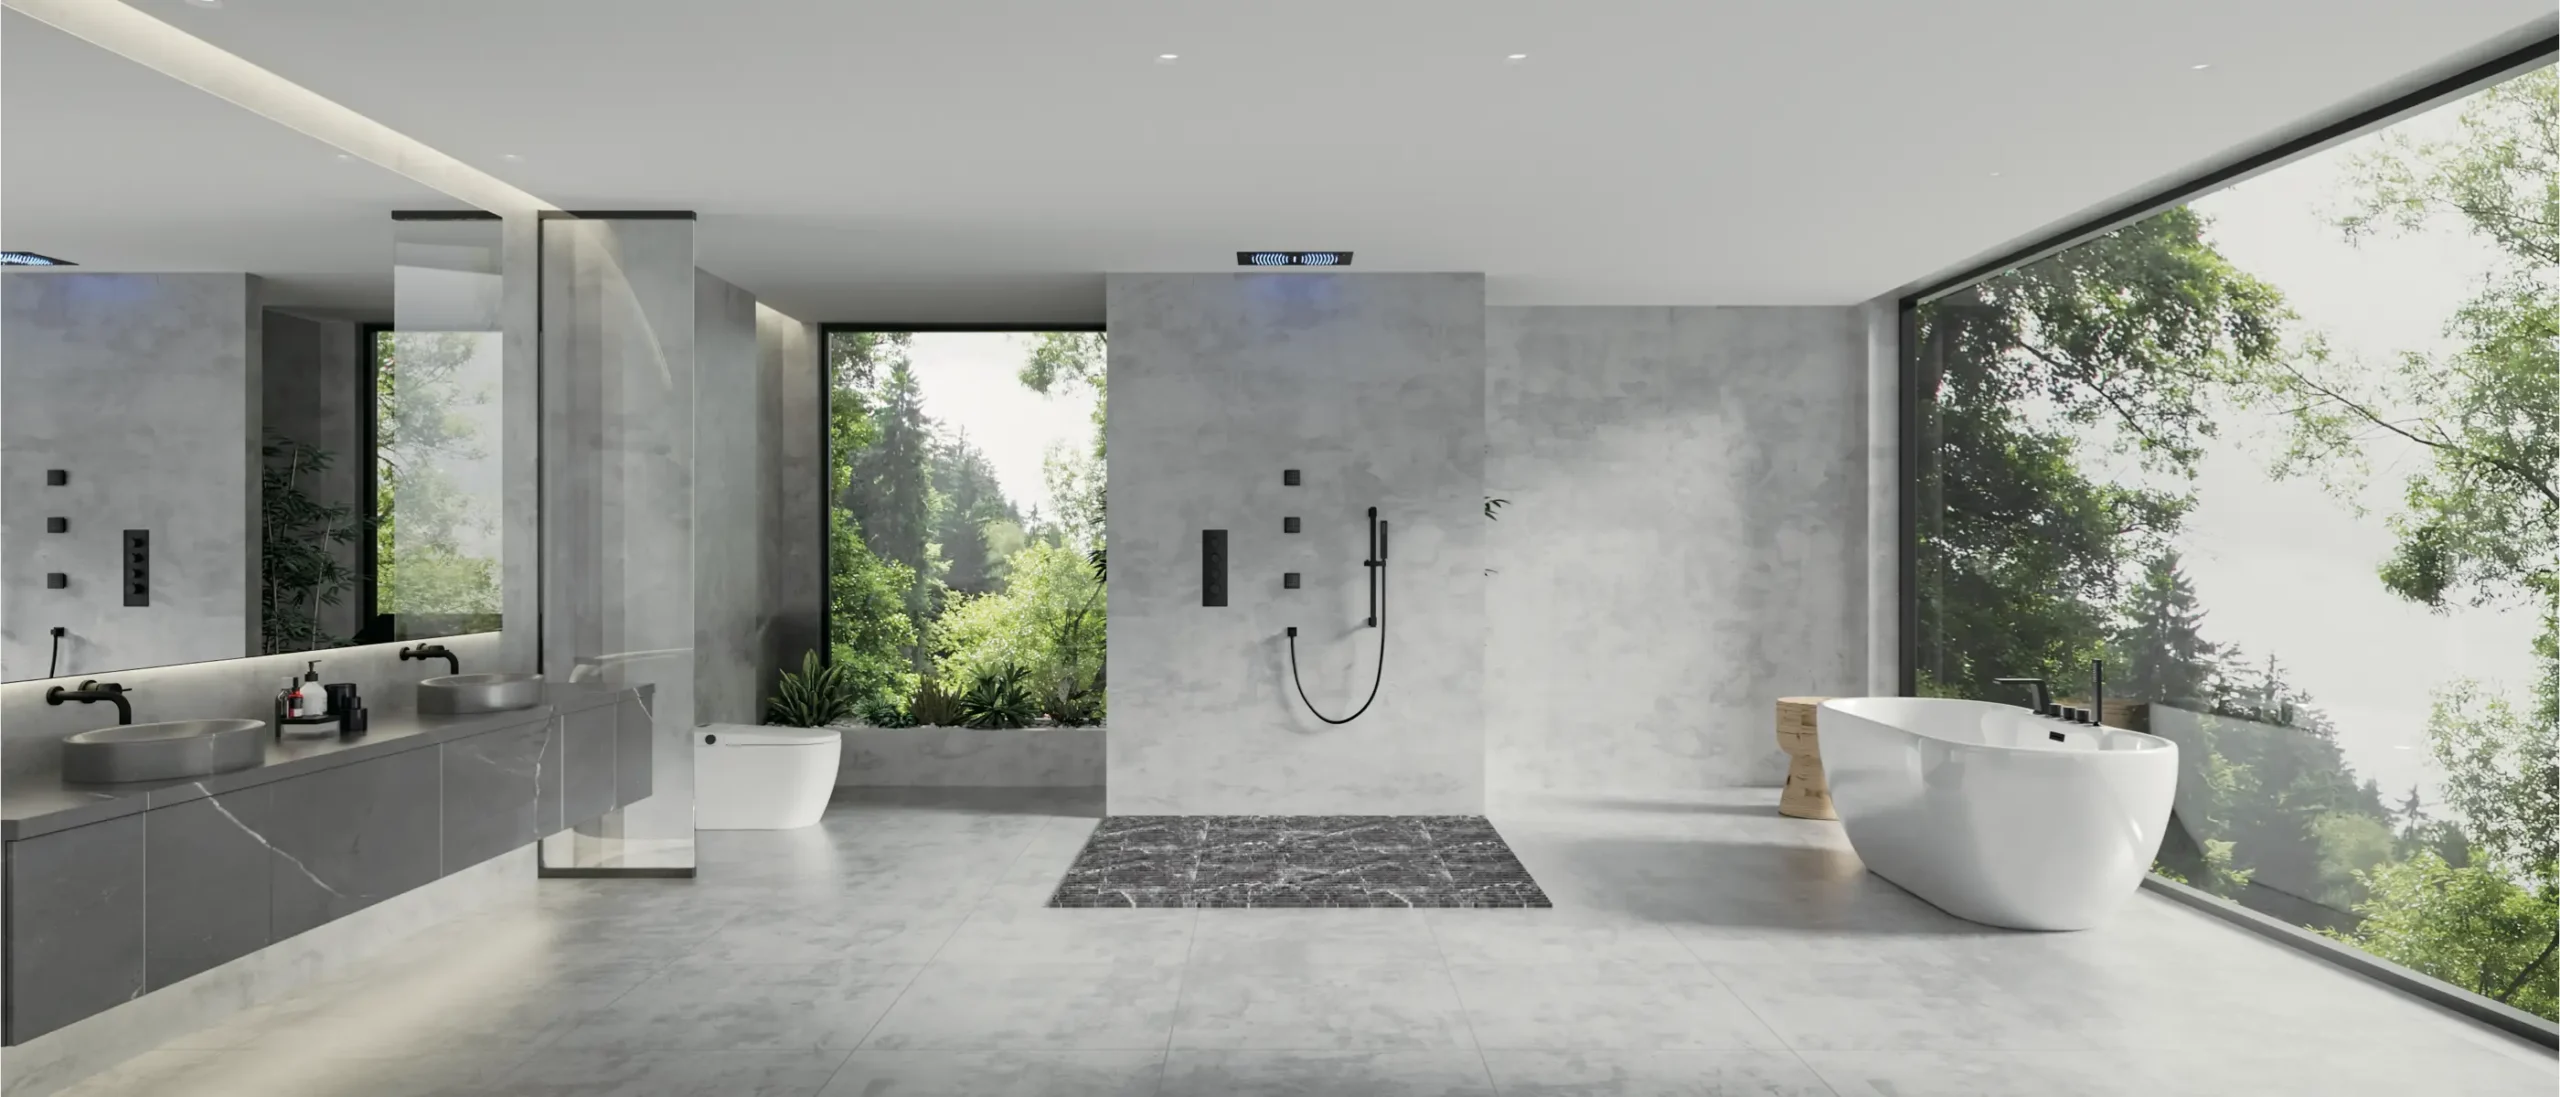
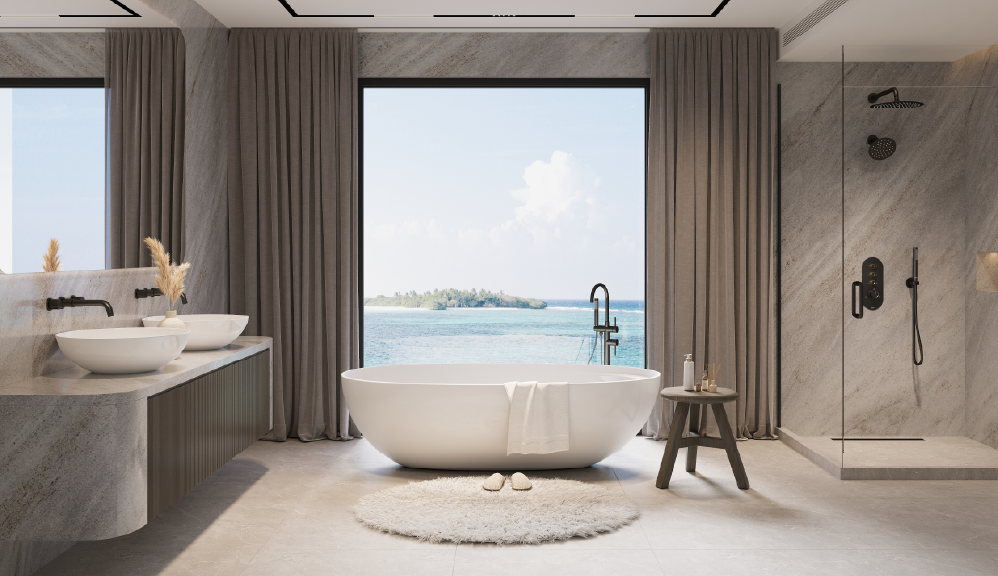
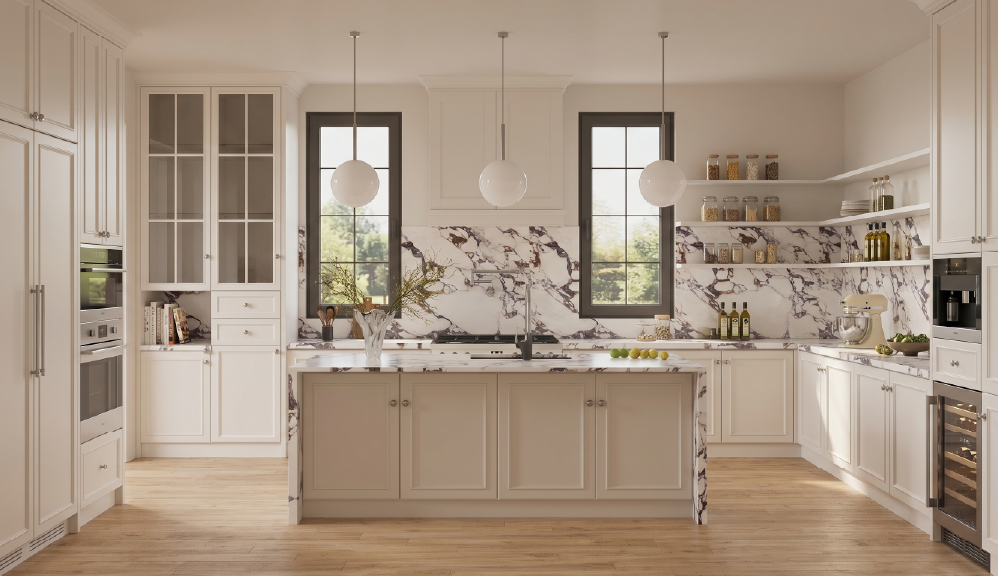
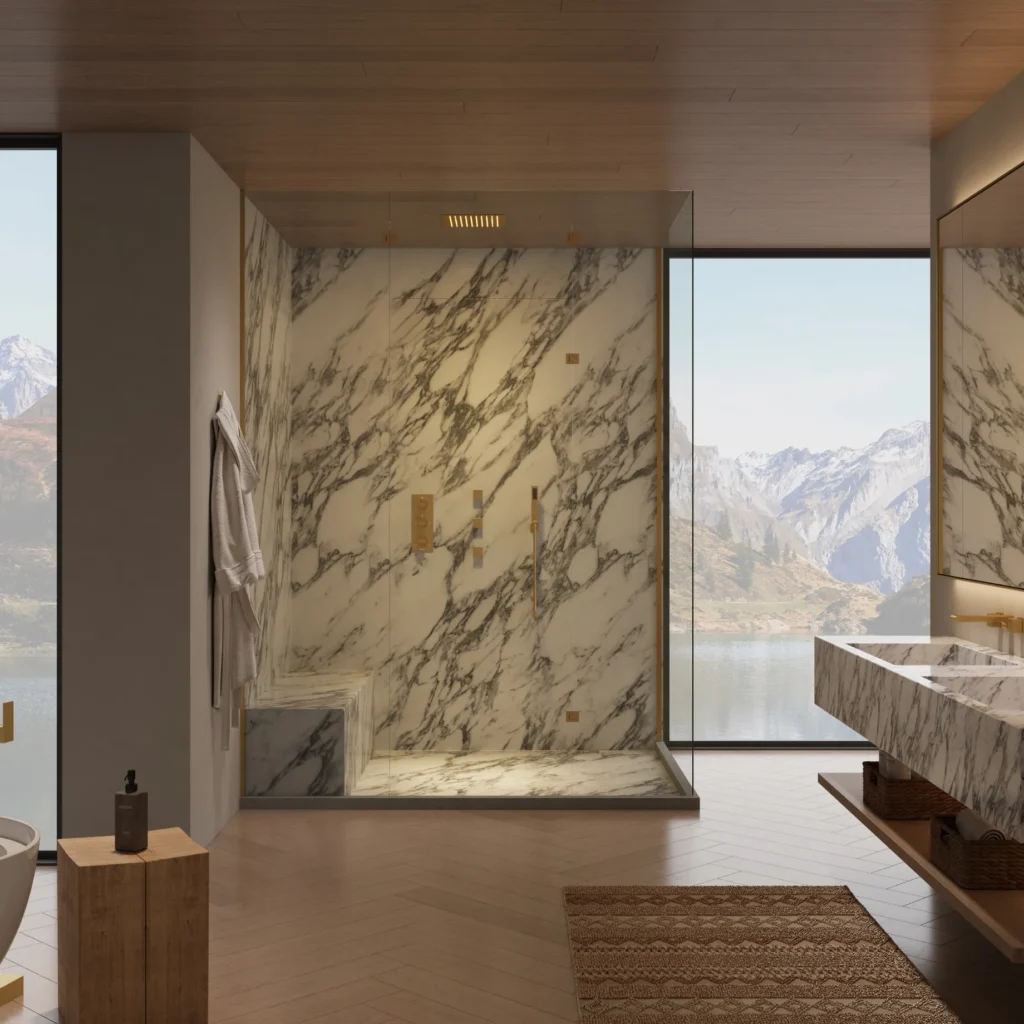
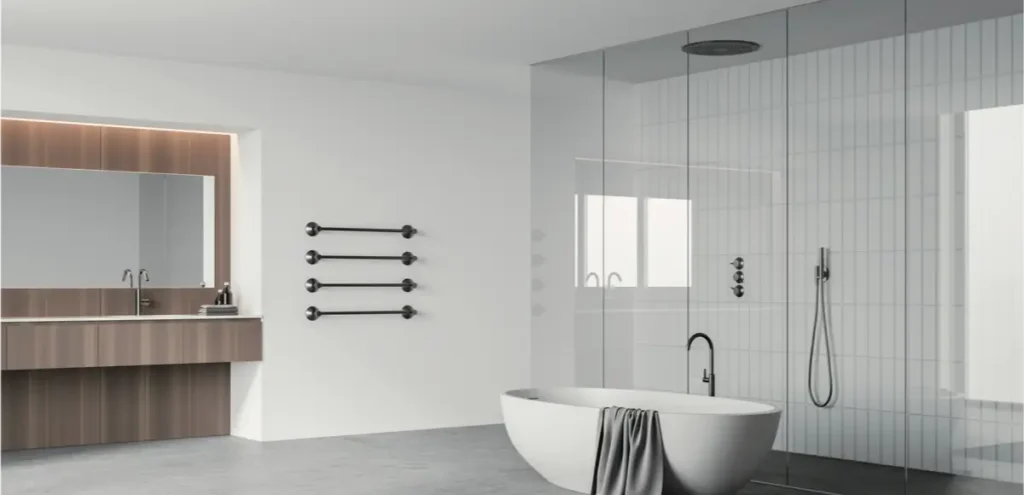
- ● With Bathtub: Requires a tub faucet in your system configuration
Your layout affects component count, valve selection, and control method.

STEP 2: Choose Between Normal vs Wellness System
This step determines whether you'll need a standard or high-capacity valve.
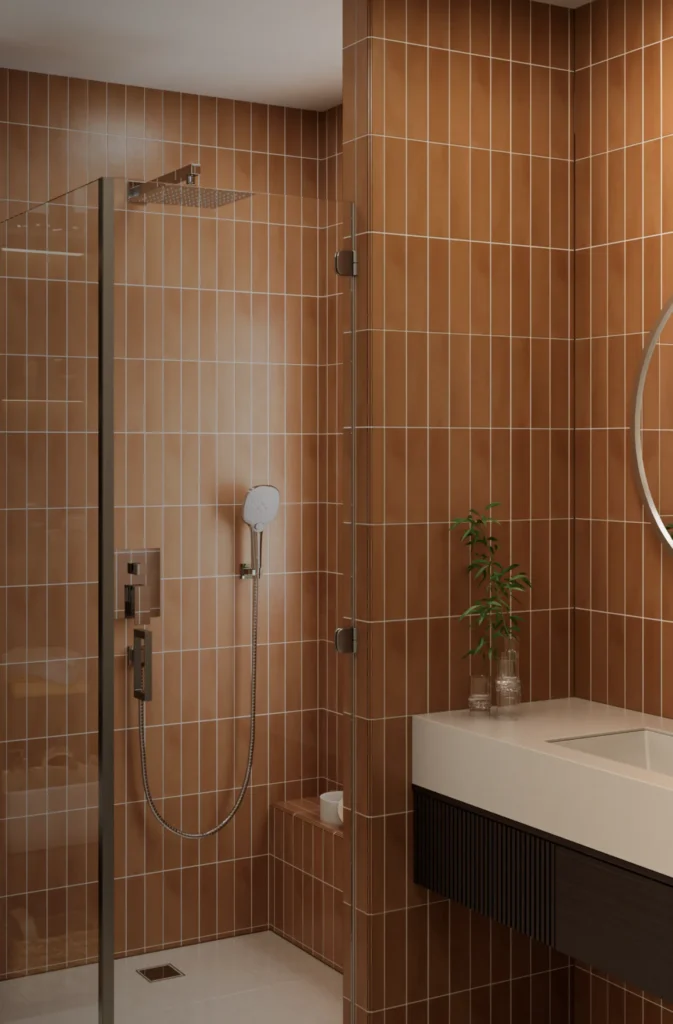
- ● Normal Solutions: Traditional showering experience includes: standard shower head, hand shower, tub spout
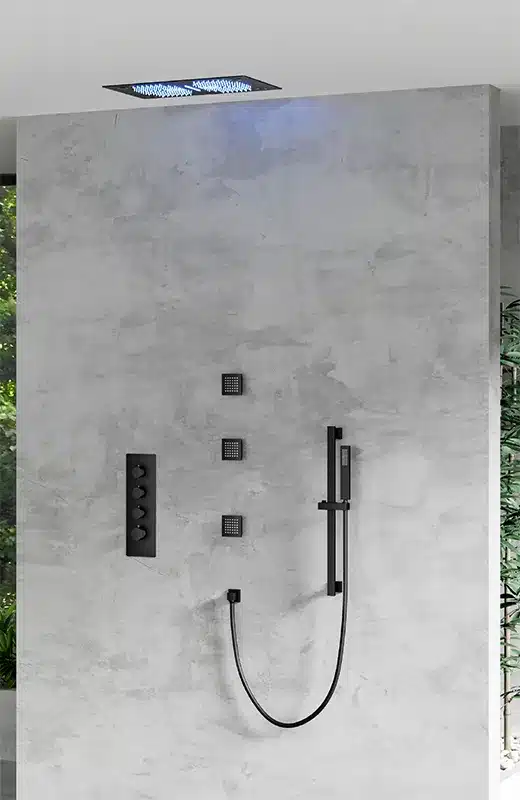
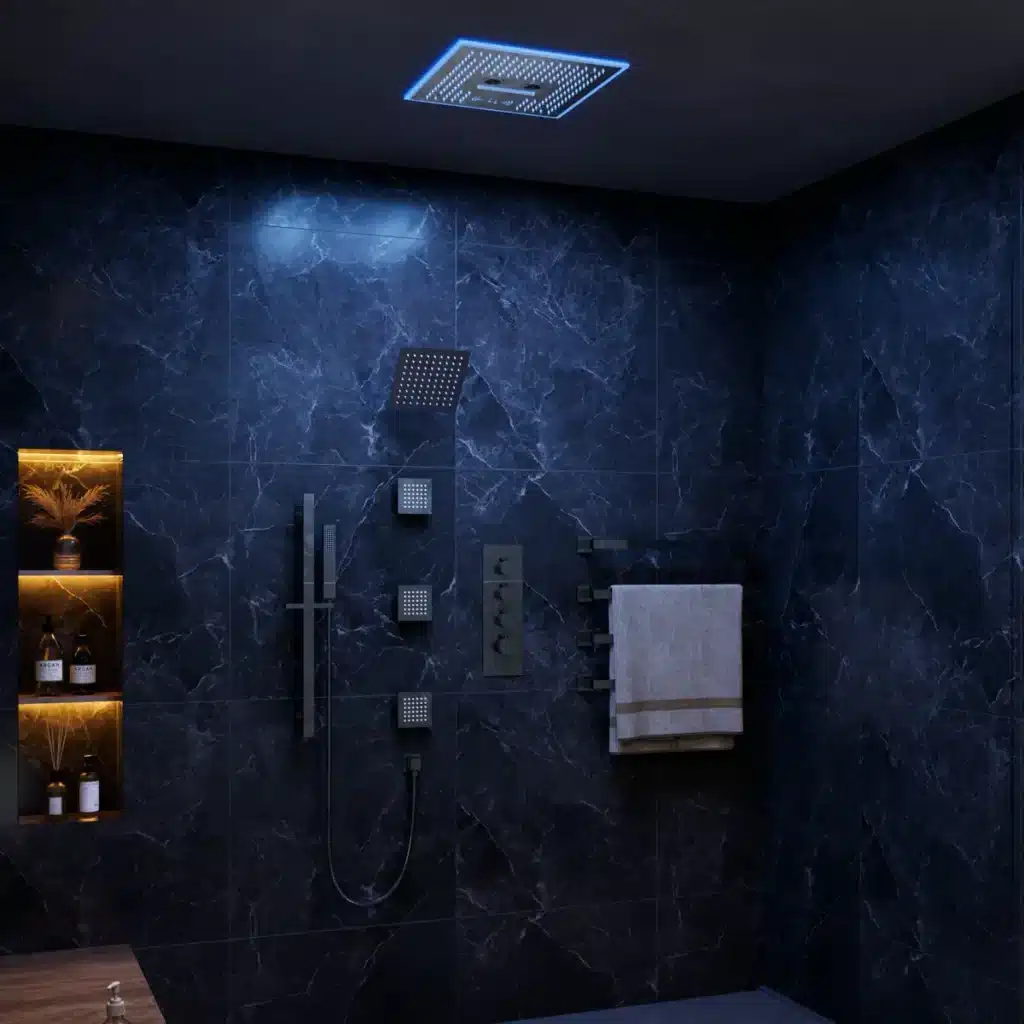
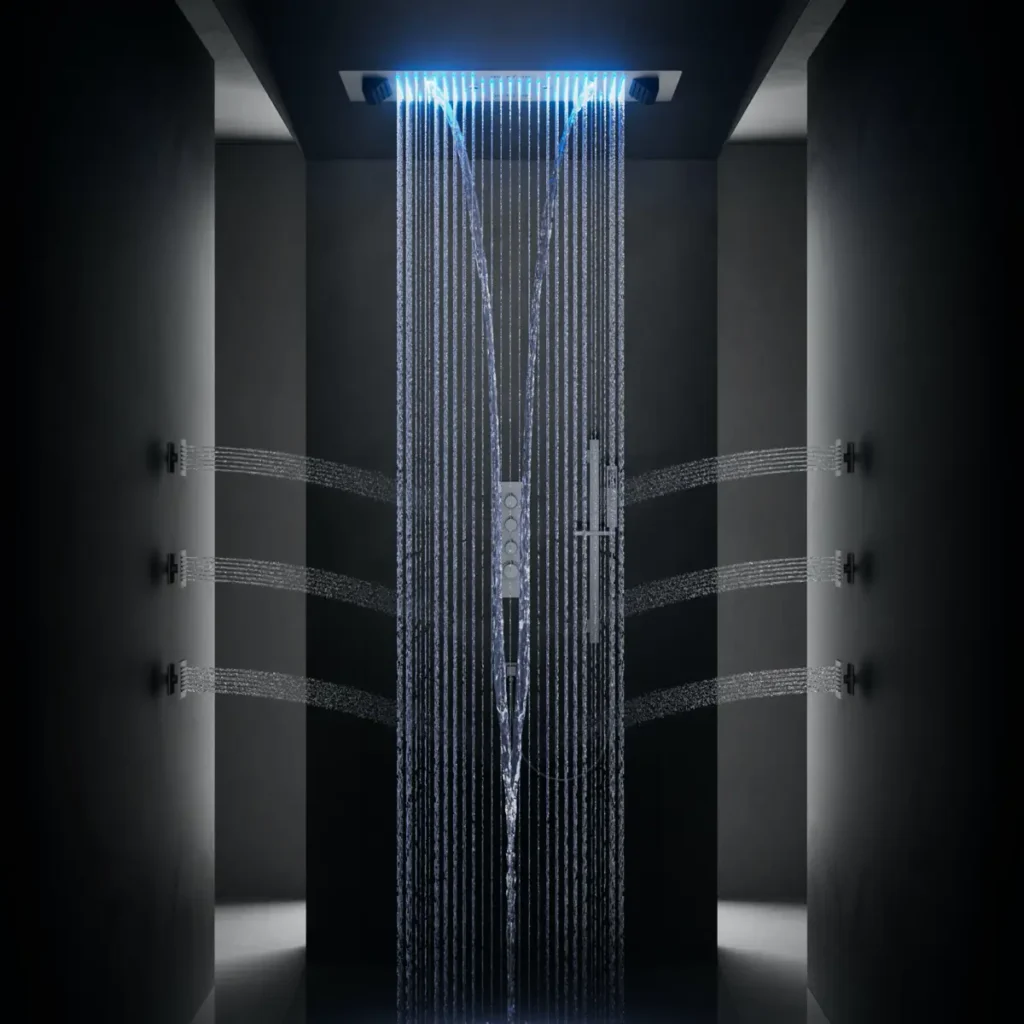
- ● Wellness Solutions: Spa-level experience includes: multiple body jets, rain showers, multifunction heads, high volume output
Requires high-flow rough-in valves and controls
STEP 3: Select Your System Functionality
Decide how many functions or water outlets you want to control. This will determine the diverter or number of volume controls required.
Tip: More components = more volume or diverter controls required.
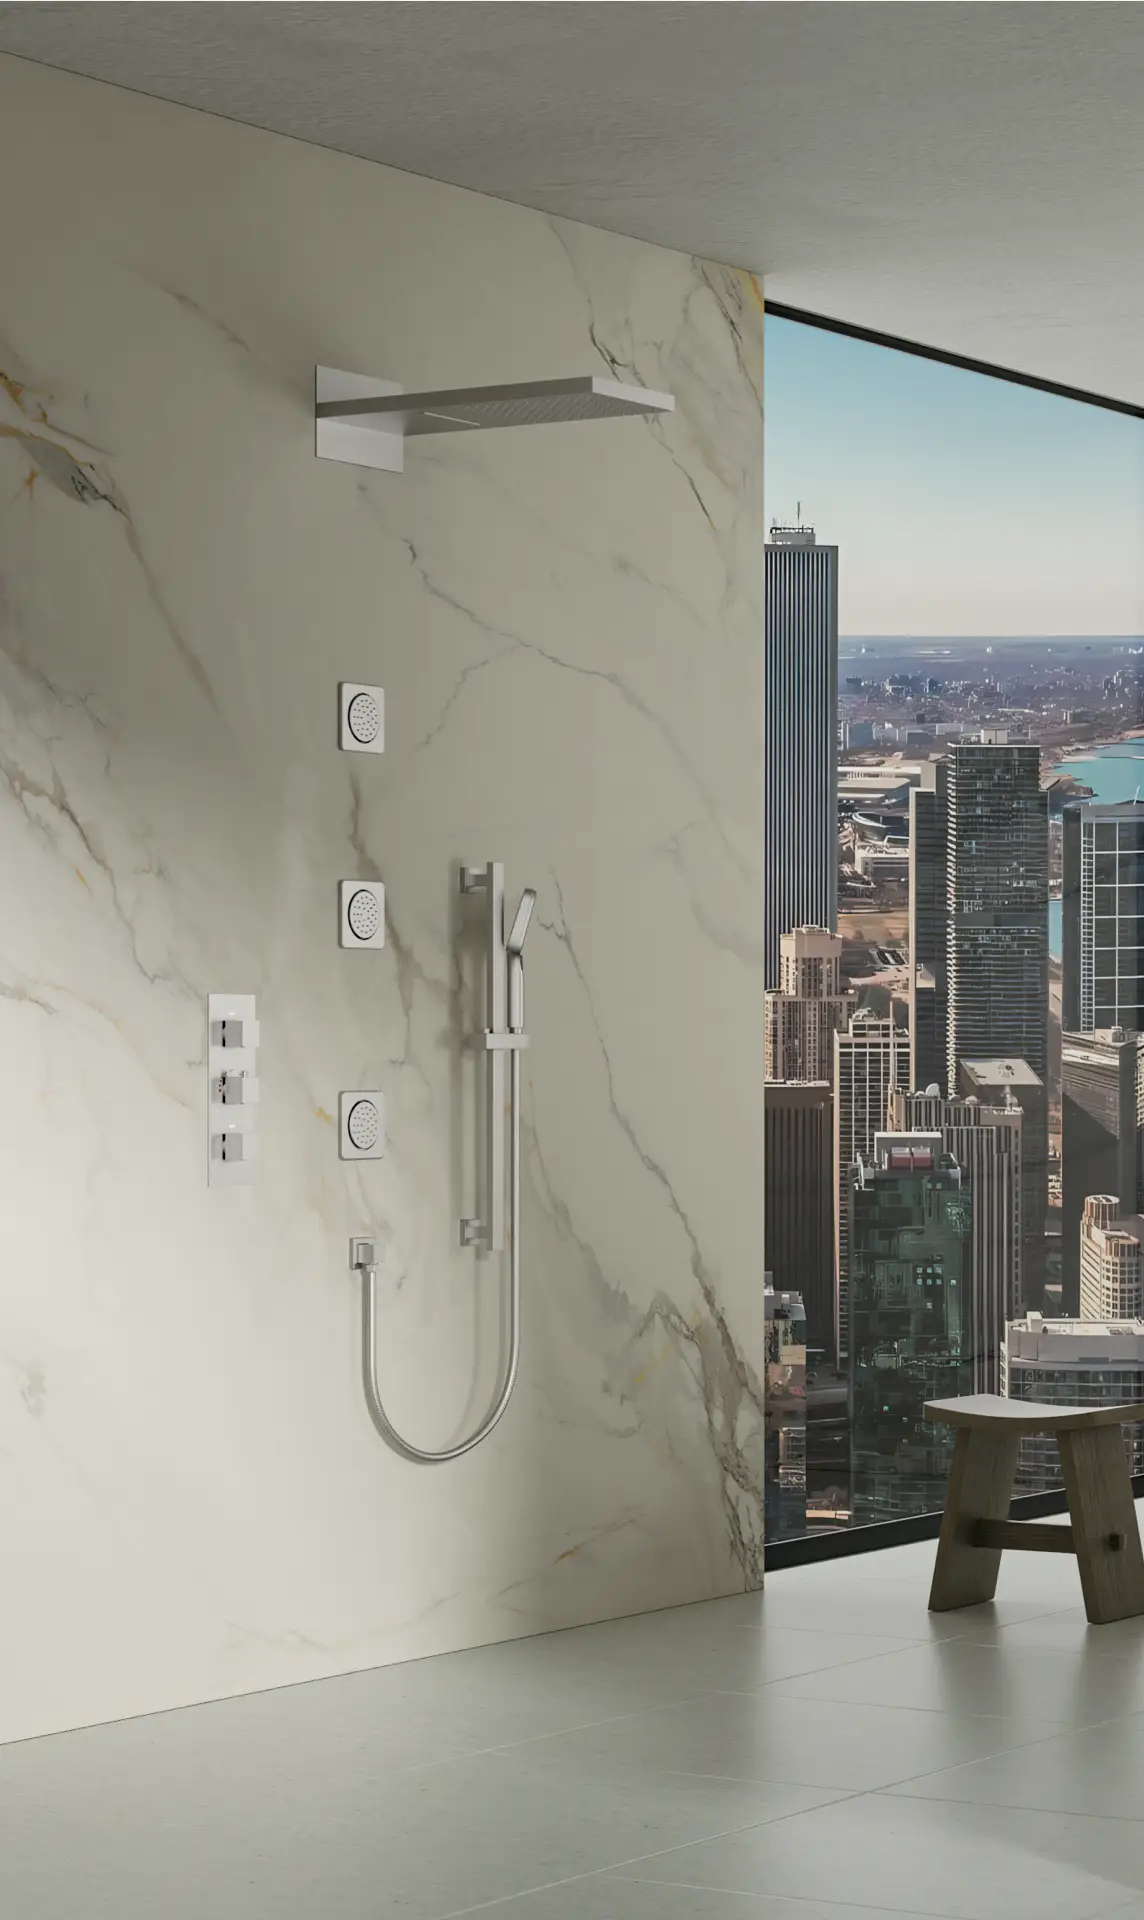
STEP 4: Select Shower Components
Choose the fixtures based on your preferences and the planned functions.
Shower Heads
- ● Wall Mount small shower head
- ● Rain Shower (ceiling or wall mounted)
Hand Showers
- ● Slide Bar
- ● Wall Mount
Body Sprays
- ● Fixed Body Jets
- ● Adjustable Spray Heads
- ● Touch-Clean™ Nozzles
Tub Spouts (if applicable)
Record flow rates (GPM) of each component for the next step.
STEP 5: Calculate and Confirm Total Flow Rate
After selecting your shower components, calculate the total flow rate to ensure your system can support all desired outlets.
- ● Add up the flow rates (GPM) of each component
- ● Consider how many outlets will run simultaneously
- ● Compare the total with the maximum output of your chosen valve
Why It Matters:
- ● Exceeding valve capacity can cause weak water pressure
- ● High-flow systems may require thermostatic valves or multiple volume controls
- ● Helps determine if you need high-flow valves, multiple zones, or separate controls
Tip: Body sprays and rain showers usually have higher GPM – factor them in carefully.

STEP 6: Determine Controls: Diverter or Volume Control
Your control system depends on how you want to manage temperature and water flow.
Pressure Balance System
- ● Single handle for both temperature and on/off
- ● Built-in diverter supports 1-3 outlets
- ● Only one outlet operates at a time
- ● Simple and compact solution
- ● Ideal for small, basic setups
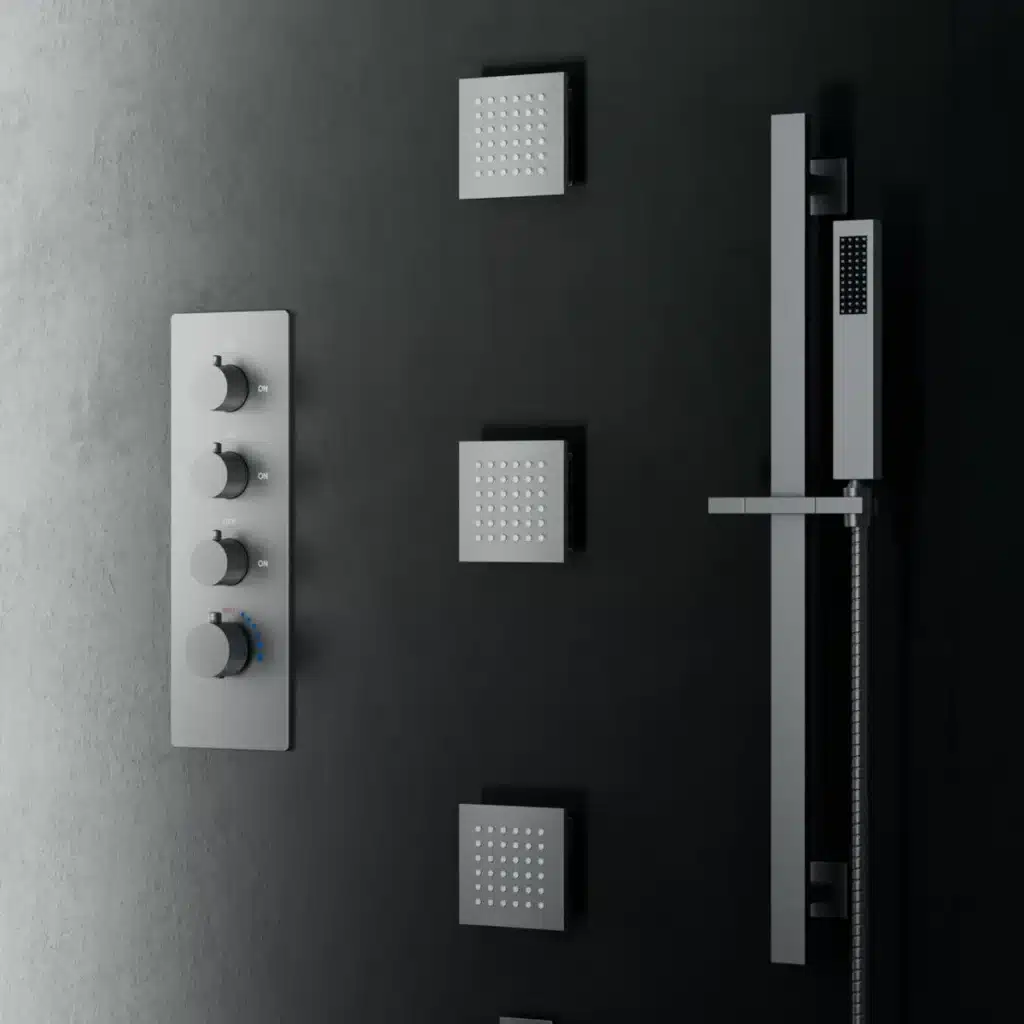
Thermostatic System
- ● Separate temperature control + individual diverters
- ● Each diverter controls up to 2 outlets + OFF (can also control just 1)
- ● Allows multiple outlets to run simultaneously
You can configure:
- ● 1 diverter per outlet → full individual control
- ● 1 diverter for 2 outlets → compact layout
- ● Best for multi-function, spa-style, or high-performance systems
Thermostatic systems are more flexible; diverter trims have flow limits, so check specs carefully.

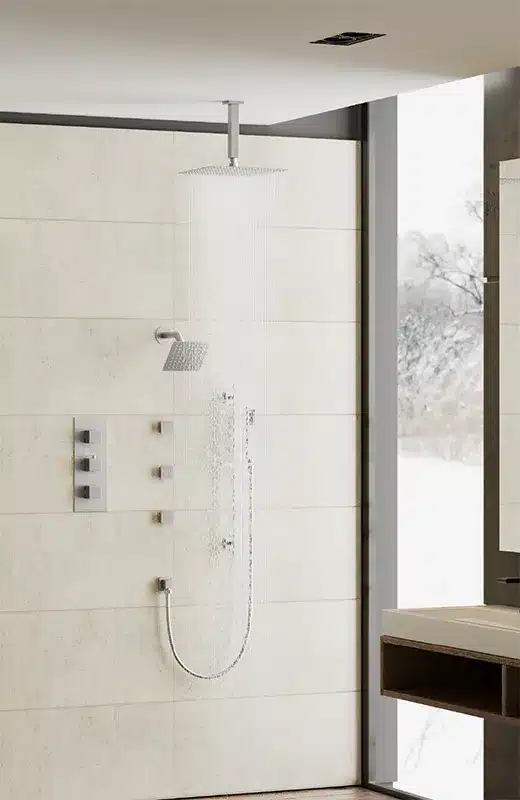
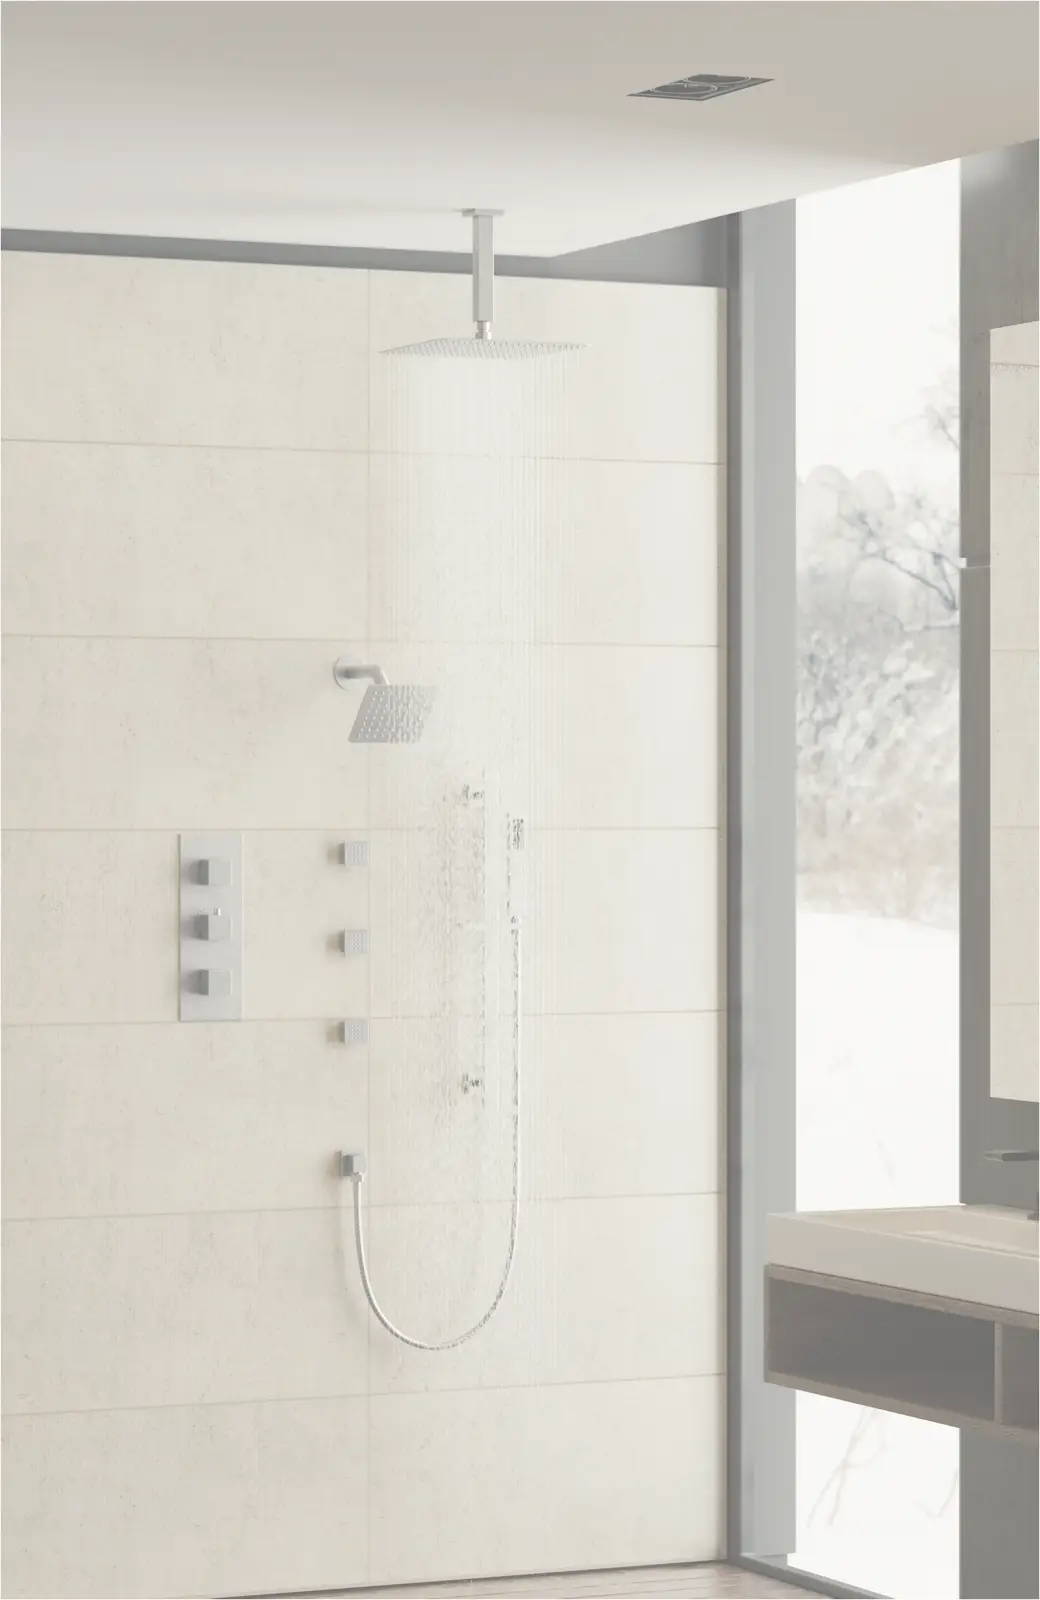
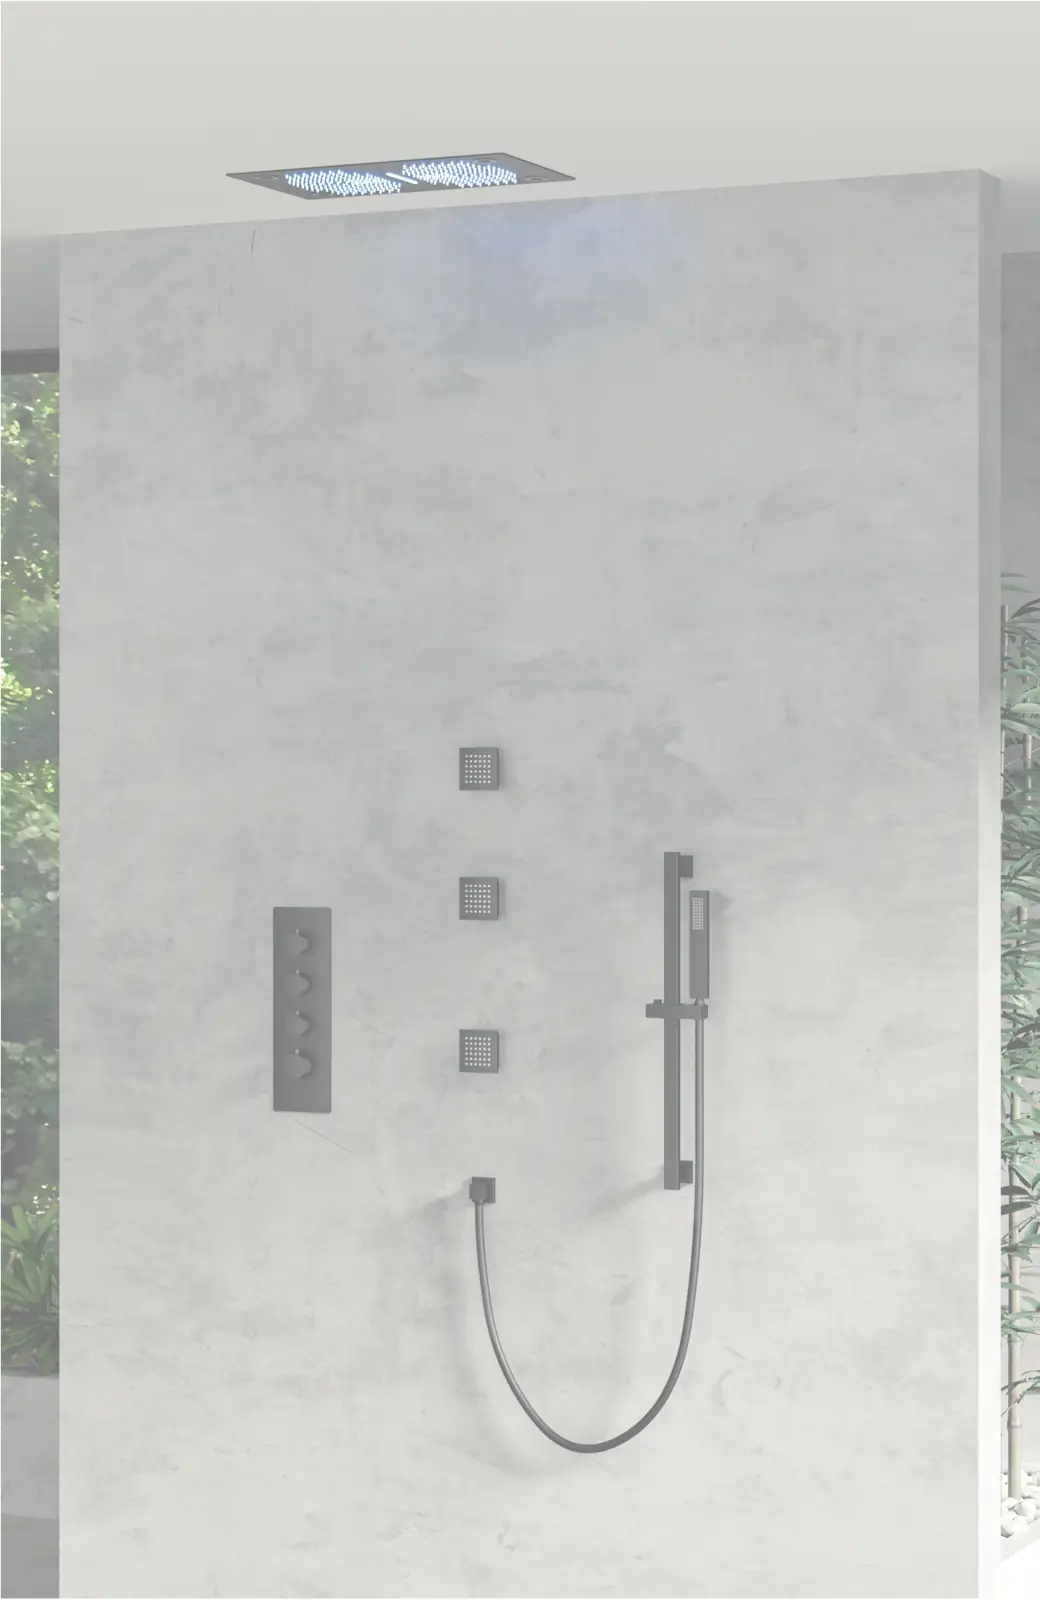
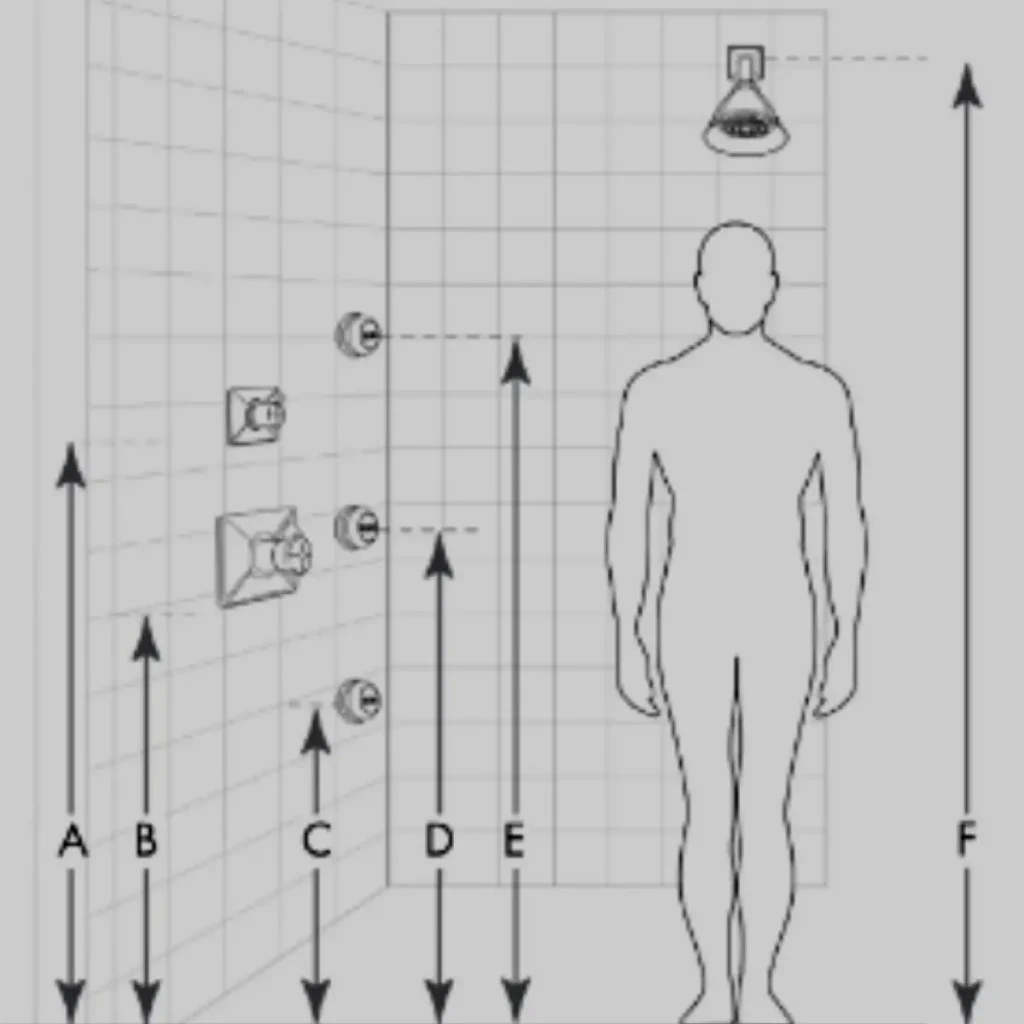
STEP 7: Finalize the Wall Layout
Design your shower layout to ensure optimal usability, spacing, and visual balance.
Mark:
- ● Valve location
- ● Diverter/Volume controls
- ● Showerhead and hand shower positioning
- ● Body jet arrangement
- ● Tub spout (if included)
Use provided layout templates or draw your own.
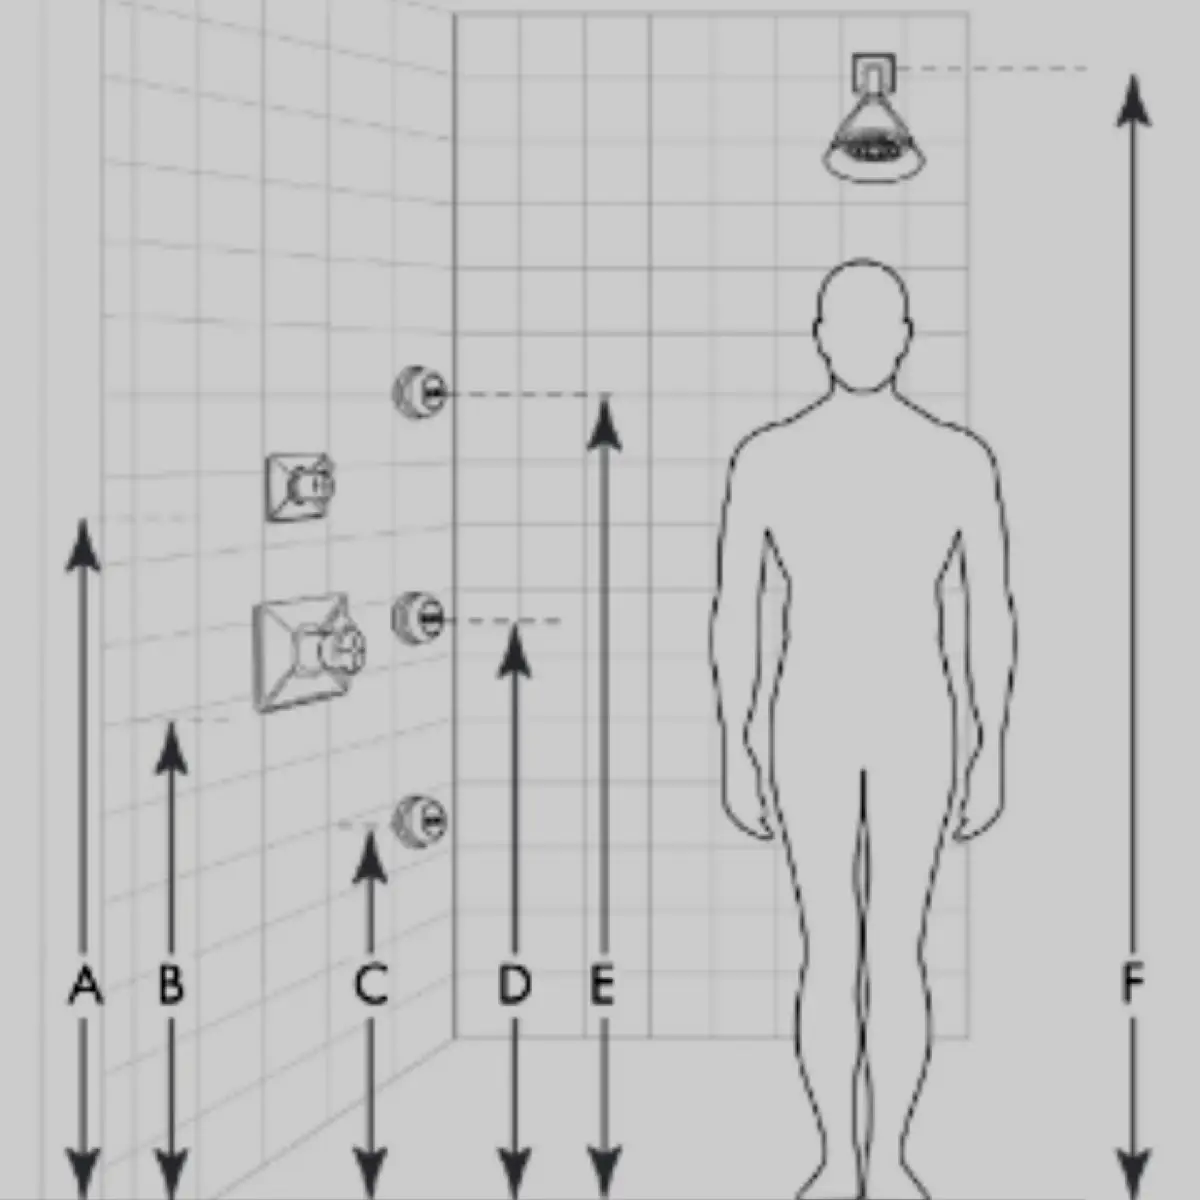
Diverter and volume controls should be conveniently accessible for all users, with flexible positioning for different user heights.
Valve trims are generally mounted around 50" from the floor of the shower, approximately 6" above the user's waist.
A minimum of four body sprays per user is recommended. If more are desired, install at least two per zone.
The placement of handshowers is versatile and can be adjusted based on the main showerhead.
Positioning showerheads at a height that is convenient for the primary user.