


Getting Real About Your Shower Faucet Replacement Project
So, you’re thinking about replacing your shower faucet. You’ve probably seen those YouTube videos where it looks like a piece of cake, right? Well, before you grab your wrench and dive in, let’s chat about what this project really involves. It’s definitely something you can handle, but it’s not always as smooth as those videos make it seem. Trust me, I’ve heard stories.
One thing that often catches people off guard is what they find lurking behind the wall. Corrosion, unexpected pipe sizes, or even some “creative” plumbing from the previous owner. I once helped a friend whose old faucet was literally held together with duct tape! This is why it’s so important to have a realistic timeline. While a simple swap can be a weekend job, unexpected hiccups can add hours, or even days, to the project.
This brings me to another important point: knowing when to call a pro. If you find serious corrosion, water damage, or just feel like you’re in over your head, don’t hesitate to call a plumber. It’s always better to spend a little extra upfront than risk creating a much bigger (and more expensive) problem down the road. It’s interesting to note, by the way, that the popularity of bathroom renovations is driving huge growth in the shower faucet market. It’s projected to jump from $15 billion in 2025 to about $23 billion by 2033. Here’s a look at the market trends if you’re interested.
Assessing Your Current Setup
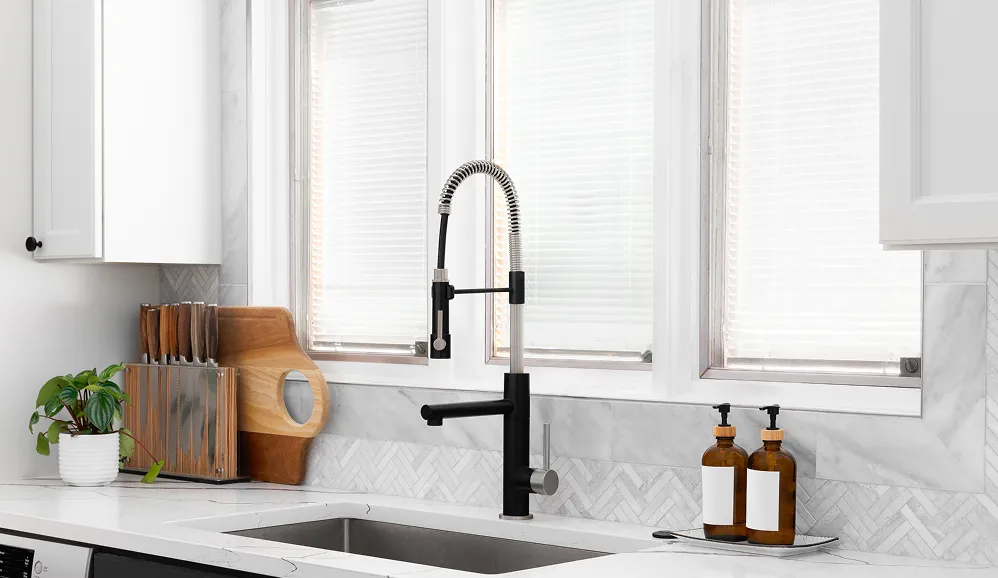
Before you even think about buying a new faucet, take a good look at what you’ve got now. Is it a standard setup or something a bit more unusual? How easy is it to access the plumbing behind the wall? These things play a big role in the overall complexity of the project. Knowing the potential challenges upfront can save you a lot of frustration (and potentially some cash) in the long run.
Thinking about these things ahead of time sets you up for success. It’s all about being prepared! Now, let’s move on to choosing the perfect replacement faucet.
To help you visualize the potential challenges, here’s a handy table:
Faucet Replacement Difficulty by Type
Comparison of different shower faucet types and their replacement complexity levels
| Faucet Type | Difficulty Level | Time Required | Special Considerations |
|---|---|---|---|
| Single-Handle Cartridge | Easy to Moderate | 2-4 hours | Cartridge type must match the valve |
| Two-Handle Compression | Moderate | 3-5 hours | Often requires replacing the entire valve |
| Thermostatic Mixing Valve | Moderate to Difficult | 4-6 hours | Requires careful calibration and understanding of the valve |
| Shower/Tub Combo | Moderate to Difficult | 4-7 hours | Diverter valve can add complexity |
This table provides a general overview. Actual time and difficulty can vary based on your specific situation. The key takeaway here is to realistically assess your project and plan accordingly. Don’t underestimate the importance of preparation! A little planning goes a long way.
Choosing Your New Faucet Without The Headaches
Picking a new shower faucet can be like navigating a maze of shiny finishes and confusing jargon. Let’s cut through the noise and focus on what truly matters. I’ve been through enough bathroom remodels to know that even small choices can have a big impact. I once saw a friend spend a fortune on a designer faucet, only to have it leak constantly because of a complicated installation. Learning from experiences like that, I’ll share some practical advice to make your faucet selection process smoother.
Matching Your New Faucet to Your Plumbing
Compatibility is the first hurdle. Measure your existing valve and the distance between the mounting holes. Seriously, snap a photo of your current setup before you head to the store. This simple step can save you from the frustration of buying a beautiful faucet that simply won’t fit. There’s a surprising amount of variation in valve types and mounting configurations. For a detailed look at the different options, check out our guide on how to choose a bathroom faucet.
Your water pressure is another crucial factor. Some faucets are designed for high pressure, while others perform better with lower pressure. If you have low water pressure, choosing the right faucet can significantly improve your shower experience. It’s all about selecting the right tool for the job.
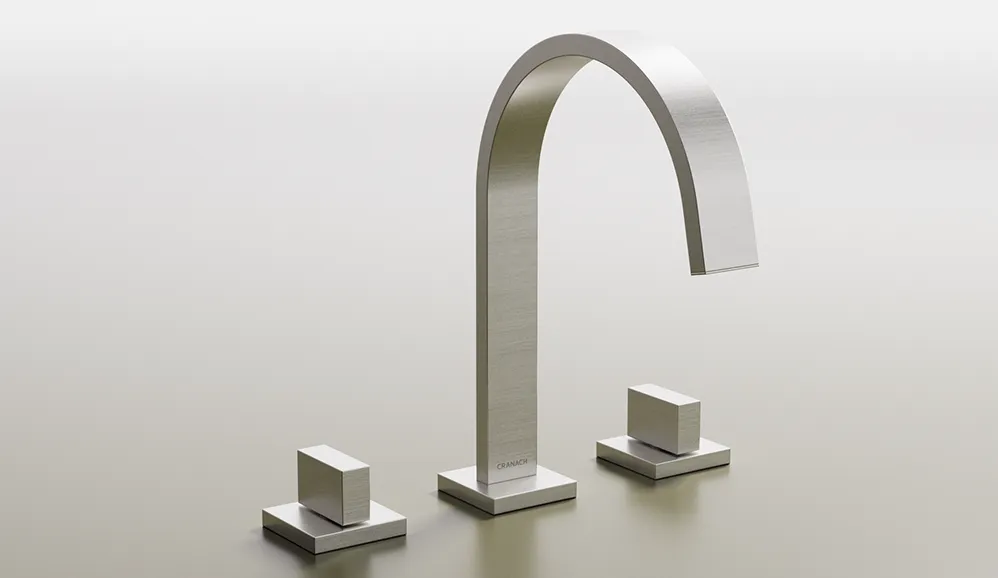
Materials and Finishes That Last
Now, let’s talk durability. That brushed nickel finish might look amazing in the showroom, but how will it hold up against daily wear and tear? In my experience, solid brass construction with a high-quality finish is a worthwhile investment. It might cost a bit more upfront, but it will save you money and hassle in the long run.
The same goes for faucet handles. Single-handle faucets are convenient, especially with soapy hands. However, two-handle designs give you more precise temperature control. Think about your personal preferences and lifestyle. By the way, the faucet market is booming, projected to reach $51.17 billion by 2034. This growth is driven by the increasing demand for modern and efficient faucets.
Building Your Toolkit and Prepping Your Workspace
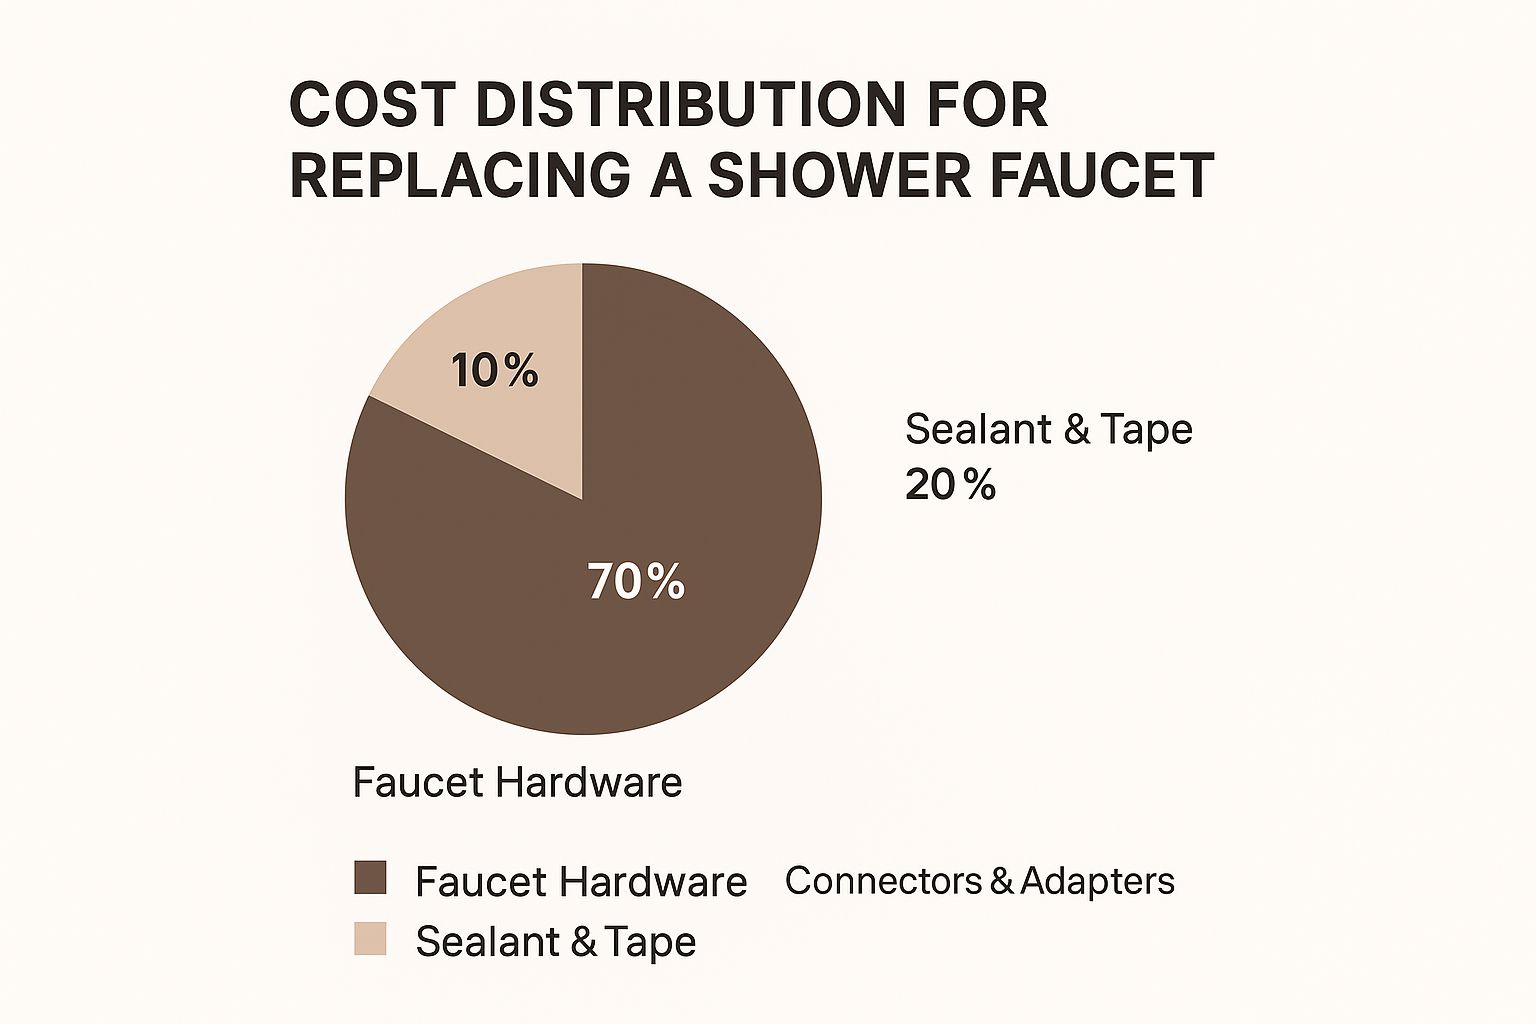
This pie chart gives you a good idea of where your money’s going when replacing a shower faucet. 70% goes to the faucet itself – no surprise there. Connectors and adapters eat up another 20%, and then sealant and tape take the remaining 10%. The faucet is definitely the star of the show, but those little bits and pieces are essential for a leak-free finish. Don’t underestimate them!
Speaking of essential, let’s talk tools. There’s nothing more frustrating than being mid-project and realizing you’re missing that one crucial wrench. I speak from experience – my own bathroom remodel involved multiple frantic trips to the hardware store. Learn from my mistakes!
Gathering Your Arsenal: Must-Have Tools
Besides your usual suspects like screwdrivers and adjustable wrenches, a few specialized tools can be real game-changers. A basin wrench, for example, is invaluable for those hard-to-reach nuts holding the faucet in place. Those nuts are often tucked away in tight spots, making a basin wrench your new best friend. Trust me, it’s worth the investment. Another handy tool is a cartridge puller. If your old cartridge is being stubborn, this little gadget can save you a lot of headache (and maybe a few scraped knuckles).
Before we dive into the nitty-gritty, let’s talk about setting up your workspace. Having the right tools is half the battle; the other half is organization and preparation.
The table below lists the essential tools and materials you’ll need for this project. Having everything ready to go will make the whole process much smoother.
Essential Tools and Materials Checklist
Complete list of tools, materials, and supplies needed for shower faucet replacement
| Item | Purpose | Must Have/Nice to Have | Estimated Cost |
|---|---|---|---|
| Basin Wrench | Reaching nuts in tight spaces | Must Have | $15 – $30 |
| Cartridge Puller | Removing stubborn cartridges | Nice to Have | $10 – $20 |
| Screwdrivers (Phillips and Flathead) | Removing screws and handles | Must Have | $5 – $15 (for a set) |
| Adjustable Wrench | Tightening various connections | Must Have | $10 – $20 |
| Plumber’s Tape | Sealing threaded connections | Must Have | $3 – $5 |
| Silicone Sealant | Waterproofing around the faucet | Must Have | $5 – $10 |
| Penetrating Oil | Loosening stuck valves | Nice to Have | $5 – $10 |
| Drop Cloths/Towels | Protecting your shower/tub | Must Have | Varies |
| New Shower Faucet | The star of the show! | Must Have | Varies depending on style and features |
| Connectors and Adapters | Ensuring proper fit | Must Have (check your existing plumbing) | $10 – $20 |
Having these tools and materials on hand before you start will save you time and frustration. You can pick most of these up at your local hardware store.
Protecting Your Bathroom and Shutting Off the Water
First things first: protect your tub or shower base. A thick towel or drop cloth will prevent any accidental scratches or dings from dropped tools. It also helps prevent small parts from vanishing down the drain! Next, and this is crucial, shut off the water. Find your shut-off valves, usually under the sink or in a nearby access panel. Turn them clockwise. Sometimes, these valves can be a bit sticky, especially in older homes. Don’t force them! Penetrating oil can work wonders – let it sit for a few minutes before trying again. Worst-case scenario, you might need to shut off the main water supply to the house.
Creating an Efficient Workspace
Shower areas can be tight. Creating a dedicated workspace, even a small one, makes a world of difference. A small tray keeps your tools organized and prevents them from disappearing into the tub. A magnetic tray or even some cardboard with double-sided tape can corral small screws and parts. Thinking ahead and anticipating potential issues, like corroded connections or unusual pipe sizes, can save you time and frustration down the line. Check out this helpful resource on faucet installation tools. With your workspace prepped and your toolkit ready, you’re ready to tackle that old faucet!
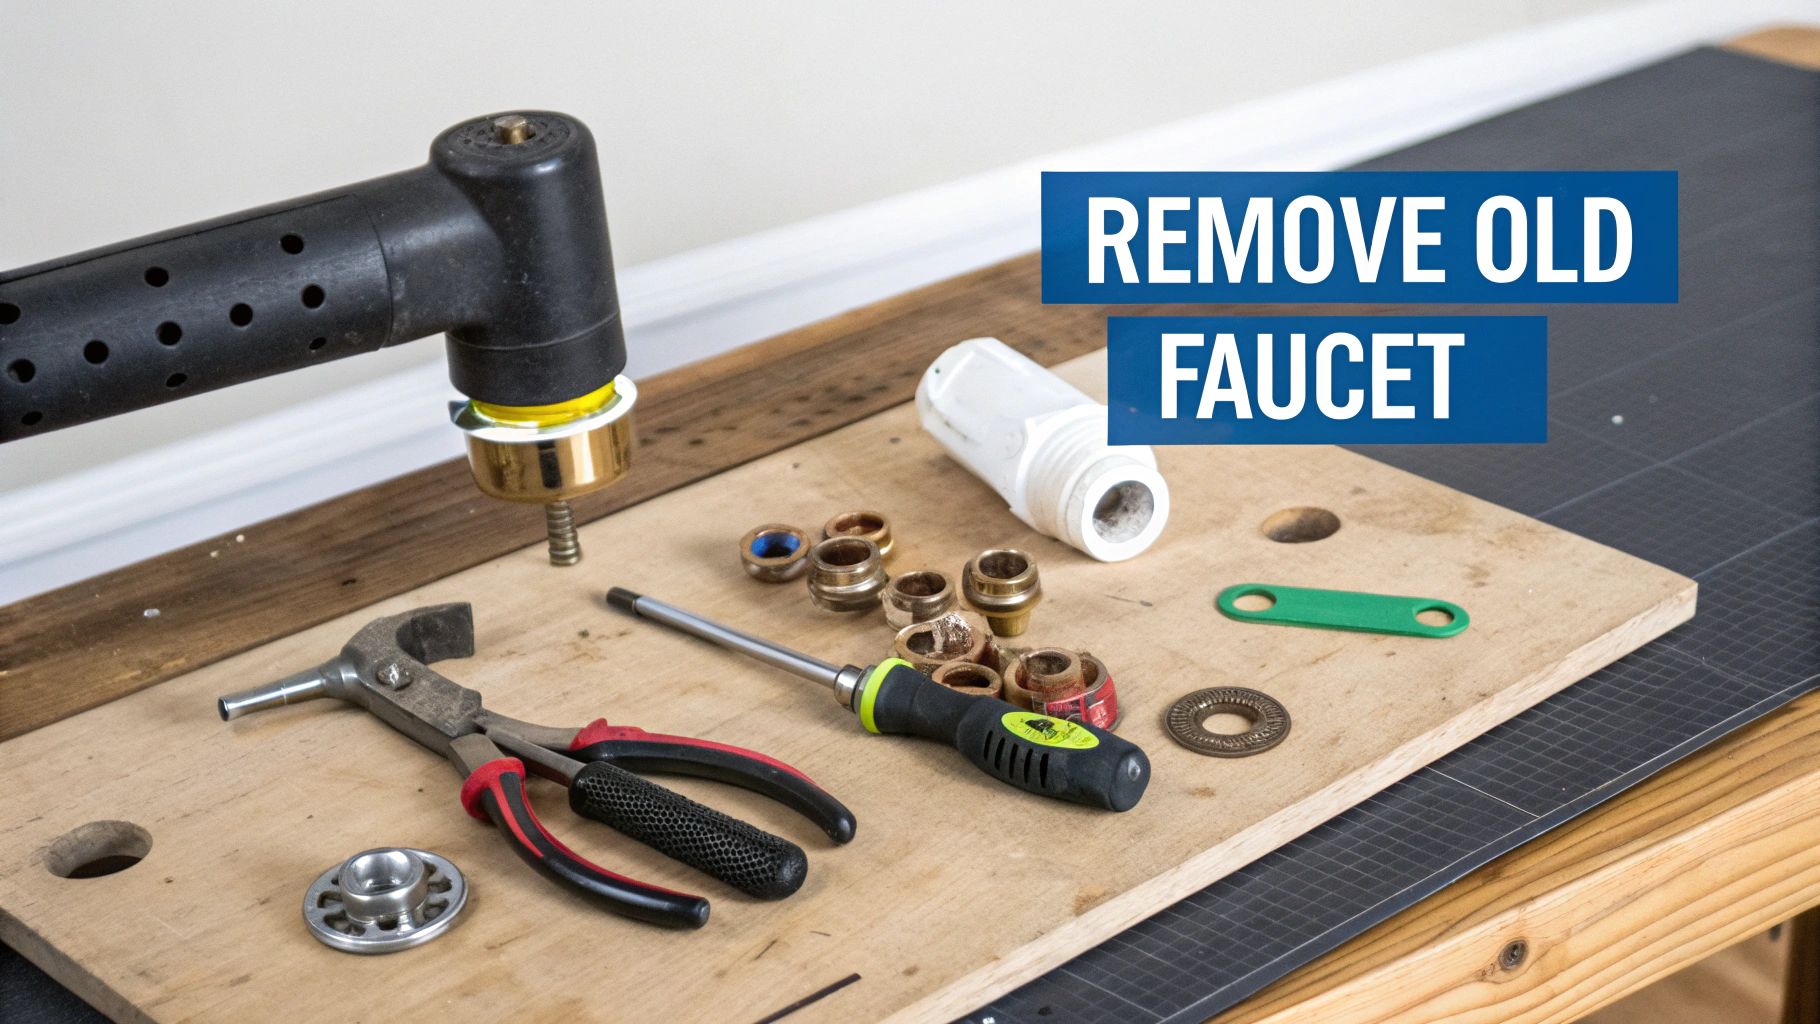
Removing Your Old Faucet Without Breaking Things
Alright, now for the main event. Removing a shower faucet can be surprisingly easy, or it can be like wrestling a greased pig – it really depends on how the previous one was installed (and maybe a little bit of luck). I’ve done enough of these to know that patience is your best friend. Remember that duct-taped faucet I mentioned? Yeah, that one taught me that lesson the hard way.
This part is all about playing detective. You need to figure out exactly how your current faucet is attached and connected. Is it screwed in, held by clips, or some other ingenious method? Understanding the existing setup is the first step to a smooth removal.
Tackling Seized Connections and Corroded Parts
Let’s talk about those stubborn connections that just refuse to budge. Corrosion is the usual suspect, especially in older homes. Penetrating oil is your secret weapon here. Spray it generously on any seized nuts or screws and let it soak in for a while. This can make a world of difference. A little heat can help, too. A hairdryer on a low setting can sometimes do the trick.
Sometimes, though, brute force is just going to make things worse. I learned that from experience when I snapped a faucet stem trying to force a corroded connection. If something feels really stuck, take a breath and rethink your strategy. You might need a different tool or a completely different approach.
Working in Tight Spaces and Dealing with Unexpected Discoveries
Another challenge you might run into is access. Shower walls can be surprisingly tight, making it hard to maneuver tools. A small, adjustable wrench is a must-have. Also, consider a socket wrench with an extension – this can give you the leverage you need in those cramped quarters.
And be prepared for surprises. You might find anything from old newspapers to truly bizarre plumbing behind the wall. I once found a bird’s nest tucked behind a shower valve! These little discoveries can be entertaining, but they can also add some unexpected time to your project.
Minimizing Water Damage and Staying Flexible
Even with the water shut off, there’s always a possibility of some residual water in the pipes. Keep a towel handy to catch any drips. And remember, things don’t always go exactly as planned. You might encounter stripped screws, broken parts, or other unforeseen obstacles. Knowing when to keep going and when to change tactics is key. Sometimes, calling a professional is the smartest thing to do. Replacing a shower faucet yourself can be a rewarding project, but it’s important to know your limits. With a little patience and a bit of ingenuity, you can conquer this stage and move on to the fun part: installing your shiny new faucet.
Installing Your New Faucet The Right Way
With the demolition phase done, it’s time for the fun part: bringing your new shower faucet to life! This is where your careful prep work pays off. Trust me, there’s nothing quite like the satisfaction of seeing that shiny new fixture gleaming in your bathroom. I still remember the first faucet I replaced – pure DIY bliss!
This part of the process is all about getting that perfect, leak-free installation that’ll last for years. We’ll cover all the important details, from precise positioning and secure connections (no gorilla-grip tightening!) to those little nuances that make a professional difference.
Ensuring Proper Positioning and Solid Connections
Getting the faucet positioned correctly from the get-go is absolutely essential. Even a tiny misalignment can cause leaks or make the handles difficult to use. So, take a deep breath, and double-check everything lines up perfectly before you start tightening anything.
Speaking of tightening, remember this: snug is good, over-tight is a recipe for disaster. Over-tightening can wreck the connections, leading to leaks and a whole lot of frustration. I’ve been there, and it’s not fun. Aim for a secure seal, not a stress test.
For some extra helpful tips and tricks, check out this article: how to replace a bathroom faucet. It’s a great resource with some valuable insights.
Handling Common Fitting Challenges and Ensuring Water Flow
Let’s be honest, sometimes things don’t go exactly according to plan. You might run into a few fitting challenges. Maybe the connections aren’t lining up perfectly, or the pipe sizes are slightly different. That’s where having a few adapters on hand can be a lifesaver. They’re like the universal translators of plumbing, helping you bridge the gaps and create secure connections.
Once the faucet is in, it’s time to test the water flow and temperature control. Turn the water back on slowly, watching carefully for any leaks. Test the hot and cold water separately, then give the mixing valve a try. Adjust it until you find that perfect Goldilocks temperature – not too hot, not too cold, just right.
Final Adjustments and Testing for a Flawless Finish
It’s the final adjustments that really elevate a DIY project to a professional-looking installation. It’s all about the details. Make sure the handles move smoothly and that the faucet spout is aligned correctly. These small tweaks make all the difference.
Before you celebrate, do a thorough leak test. Check all the connections for drips or any signs of moisture. Run the shower for a few minutes, observing the water pressure and making sure the temperature stays consistent. This last check is crucial – it catches those annoying drips before they become a headache. And now, with your faucet installed and working perfectly, you can finally stand back and admire your handiwork! You’ve conquered the shower faucet – a victory worth celebrating.
Exploring Smart Faucet Technology and Future Options
Technology is everywhere these days, even in our showers. If you’re thinking about replacing your shower faucet, you might be wondering about those “smart” options. Are they worth the hype, or just a bunch of bells and whistles you’ll never use? Let me tell you what I’ve learned.
Beyond the Hype: What Smart Faucets Really Offer
Smart faucets boast features like precise temperature control and water conservation settings. Some even have voice activation or smartphone integration. Starting your shower at the perfect temperature with a voice command sounds amazing in theory. But does it actually work well in practice?
Some people swear by the convenience of pre-setting their shower temperature. Others find the novelty wears off, and they go back to using the manual controls. It truly depends on your personal preferences and how you use your shower. You might find some helpful insights by exploring current bathroom faucet trends.
Installation and Compatibility: Real-World Considerations
Installing a smart faucet can be trickier than a standard one. You’ll need to think about power requirements, connectivity options (Wi-Fi or Bluetooth), and whether your existing plumbing is even compatible. I’ve seen installations where the wiring and plumbing just didn’t work together. Do your research and make sure your chosen faucet will play nice with your current setup.
On the subject of technology, the whole industry is moving toward smarter solutions. Touchless operation, precise temperature control, and water-saving features are changing the faucet game. The COVID-19 pandemic accelerated this trend, putting more emphasis on hygiene in homes and businesses.
Reliability, Maintenance, and the Cost-Benefit Equation
Now for the nitty-gritty: reliability and maintenance. Smart faucets can be more prone to glitches and may require specialized maintenance. Is that extra hassle worth the added convenience? And then there’s the cost. Smart faucets often come with a higher price tag. Are the features worth the extra expense? It’s something to consider.
Deciding on a smart faucet is a personal decision. Weigh the potential benefits against the added complexity and cost. Think about your lifestyle, your comfort level with technology, and your budget. Once you understand what smart faucets offer, you can make an informed choice that works for you.
Troubleshooting Issues and Perfecting Your Installation
So, you’ve installed your new shower faucet. Great job! But even the smoothest projects sometimes need a little fine-tuning. It’s those finishing touches that turn a good DIY job into something you’ll genuinely be proud of. Let’s talk about some common hiccups you might run into – like wonky water pressure, temperature swings, or those tiny, annoying leaks. I’ve been there, and I’m happy to share some fixes you can likely handle yourself, no plumber needed.
Identifying and Addressing Common Issues
First up, water pressure. If it’s weaker than expected, take a look at the aerator on your showerhead. I’ve found that these often get clogged with debris from the pipes, especially after any plumbing work. Unscrewing it and giving it a quick clean often does the trick. Another common culprit is a partially closed shut-off valve. Make sure those valves underneath the sink are fully open.
Now, if you’re dealing with temperature fluctuations, the cartridge inside the valve could be the issue. This little guy is the heart of your faucet, controlling the mix of hot and cold water. Sometimes, it just needs a slight adjustment, or it might need replacing if it’s damaged.
What about those pesky leaks? Usually, a simple fix. Check all the connections – between the faucet and the pipes, and the showerhead and the arm. Are they snug? Remember, don’t over-tighten! A little plumber’s tape on the threads can work wonders for creating a watertight seal. I always keep a roll handy for these situations. You might be interested in learning about faucet installation costs to get an idea of expenses.
Testing, Adjusting, and Fine-tuning Your Work
Once you’ve tackled any immediate issues, it’s time for the real test. Run the shower for a good few minutes at different temperatures. Pay attention to the water pressure and how the temperature holds steady. This can help catch any lingering issues before they become bigger problems down the line. Trust me, it’s better to catch them now!
Adding the Finishing Touches and Long-Term Maintenance
The finishing touches are what make your bathroom look polished. Wipe down the new faucet and remove any leftover plumber’s putty or caulk. A sparkling new faucet can instantly elevate your bathroom’s appearance. I also recommend documenting your work—jot down the faucet model and installation date. This is super helpful for future maintenance or warranty claims.
Speaking of maintenance, regular cleaning can prevent mineral buildup and keep your faucet looking and working its best. A bit of preventative care goes a long way.
Now, step back and admire your work! Replacing a shower faucet isn’t a small feat, so give yourself a pat on the back. Ready to explore more options? Check out the great selection at Cranach bath and kitchen.