

Let’s be honest, staring down a grimy shower is nobody’s idea of a good time. But getting that sparkling, like-new shine is less about brute force and more about having a smart plan. Turning this dreaded chore into a quick, satisfying task is easier than you think.
It’s about more than just looks, too. A clean shower is a healthy shower, preventing the buildup of mold and mildew that can impact your home’s air quality. Plus, when your fixtures are clean, they simply work and look better. A beautiful Rugen shower set, for instance, keeps its stunning appeal and flawless function much longer with the right care.
Your Guide to a Truly Spotless Shower
The secret to a truly clean shower isn’t scrubbing harder—it’s working with gravity.
Think about it: if you start with the floor, all the gunk you scrub off the walls and glass will just undo your hard work. By starting at the highest point, like the shower head and walls, and working your way down, you’re pushing all the dirt and soap scum downward onto surfaces you haven’t touched yet. It’s a simple change that saves you from the frustration of re-cleaning spots you just finished.
Get Your Toolkit Ready
Before you even think about turning on the water, get all your supplies in one place. There’s nothing worse than getting halfway through a job only to realize you’re missing a crucial brush or your favorite cleaner. Being prepared makes the whole process faster and smoother.
Here’s a quick rundown of what I always have on hand before I start.
Your Essential Shower Cleaning Toolkit
Gather these tools and supplies before you start for an efficient, effective shower cleaning session.
| Tool or Supply | Primary Use | Expert Tip |
|---|---|---|
| Scrub Brushes | Tackling grout lines, corners, and stubborn soap scum | Have a large brush for walls and a small, stiff-bristled one for getting into tight grout lines. |
| Squeegee | Removing excess water from glass and tile after cleaning | Use it daily after showering to dramatically reduce water spots and soap scum buildup. |
| Microfiber Cloths | Wiping down surfaces and polishing fixtures | They’re great for buffing faucets and handles to a streak-free shine without leaving lint behind. |
| Spray Bottle | Applying homemade or diluted cleaning solutions | A dedicated bottle for a vinegar-water mix is a must-have for tackling hard water stains. |
| Non-Abrasive Cleaner | Cleaning tile, fiberglass, and acrylic without scratching | Always test a new cleaner on a small, inconspicuous spot first to ensure it’s safe for your surface. |
| White Vinegar | Descaling the shower head and cutting through hard water stains | To clean your shower head, fill a plastic bag with vinegar, tie it around the head, and let it soak for a few hours. |
| Baking Soda | Creating a scrubbing paste for tough stains and grout | Mix it with a little water to form a thick paste. It provides gentle abrasion without being harsh. |
Having this kit ready to go means you can just grab it and get to work without any last-minute scrambling.
Empty Everything Out First
Here’s a tip that makes a huge difference: before you spray a single drop of cleaner, clear everything out of the shower. Get all the shampoo bottles, razors, loofahs, and soap bars out of there.
Expert Tip: Wiping around bottles is how grime gets a foothold in corners and on ledges. Clearing the space gives you total access to every single surface, ensuring you don’t miss those hidden spots where mildew loves to grow.
Once you’re done, routine maintenance becomes your best friend. A quick daily wipe-down can drastically cut down on how often you need to do a deep clean. For specific advice on keeping your fixtures looking their best, take a look at our official CRANACH care and cleaning guide.
Cleaning Different Shower Surfaces Like a Pro
Not all showers are created equal, and what works wonders on ceramic tile could seriously damage a natural stone enclosure. The best way to clean a shower always starts with knowing what you’re working with. Using the wrong products can lead to scratches, discoloration, or permanent etching—turning a simple cleaning day into a costly mistake.
Whether you have classic tile and grout, a seamless fiberglass unit, or a luxurious stone shower, each surface needs its own game plan. This targeted strategy not only gets you a deeper clean but also protects your investment for years to come.
Tackling Tile and Grout
Let’s start with the most common shower surface out there: tile. Ceramic and porcelain are pretty tough, but the real headache comes from the porous grout lines that just love to trap soap scum and mildew.
A simple paste made from baking soda and water is a fantastic, gentle abrasive for lifting those stubborn stains without scratching your tile. For a deeper dive into the technique, check out this guide from This Old House; many of the same principles apply right here in your shower.
Once you’ve applied your cleaner, let it sit for a good 10-15 minutes. This is the secret step. That dwell time is crucial—it lets the cleaning agents break down the grime, so you can scrub less and get way better results.
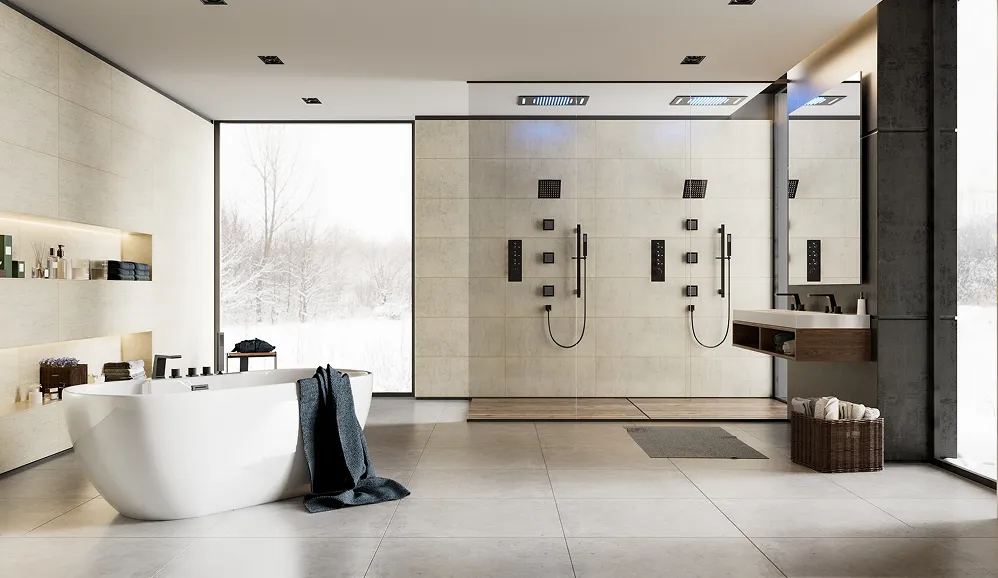
Caring for Fiberglass and Acrylic
Fiberglass and acrylic showers are popular for good reason—they’re affordable and have that sleek, seamless look. Their one big weakness? They scratch easily. You’ll want to avoid abrasive powders or harsh scouring pads at all costs.
Instead, grab a non-abrasive cleaner and use a soft sponge or microfiber cloth. It’s all about gentle but consistent cleaning.
A simple spray of equal parts white vinegar and water can work wonders on soap scum. Let it sit for about 20 minutes before gently wiping and rinsing thoroughly. This method is effective without dulling or scratching the delicate finish.
Keeping up with it prevents the heavy buildup that tempts you to use more aggressive scrubbing later on. This approach isn’t just better for your shower; it’s better for you, too. Gentle cleaning methods avoid harsh chemicals that can irritate the skin.
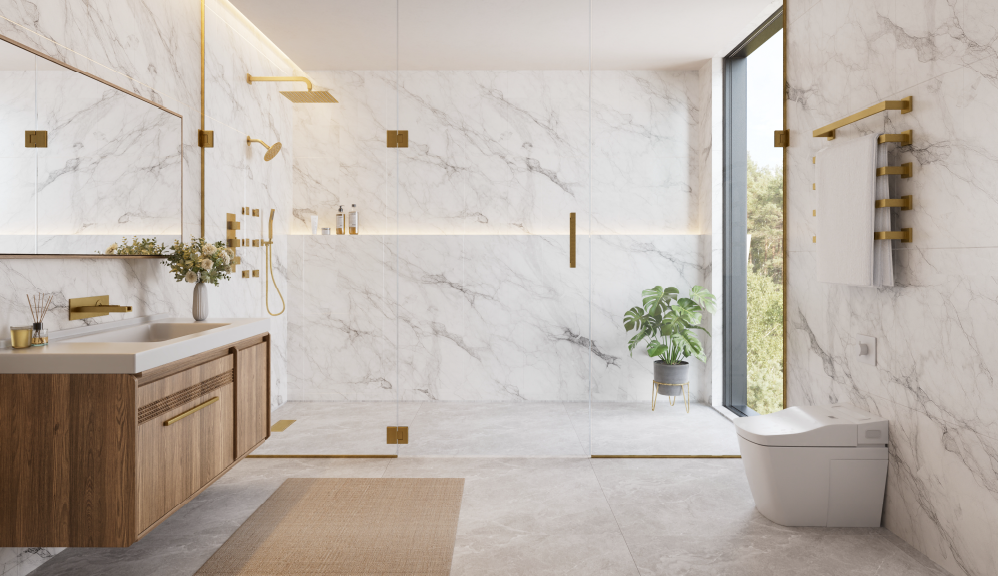
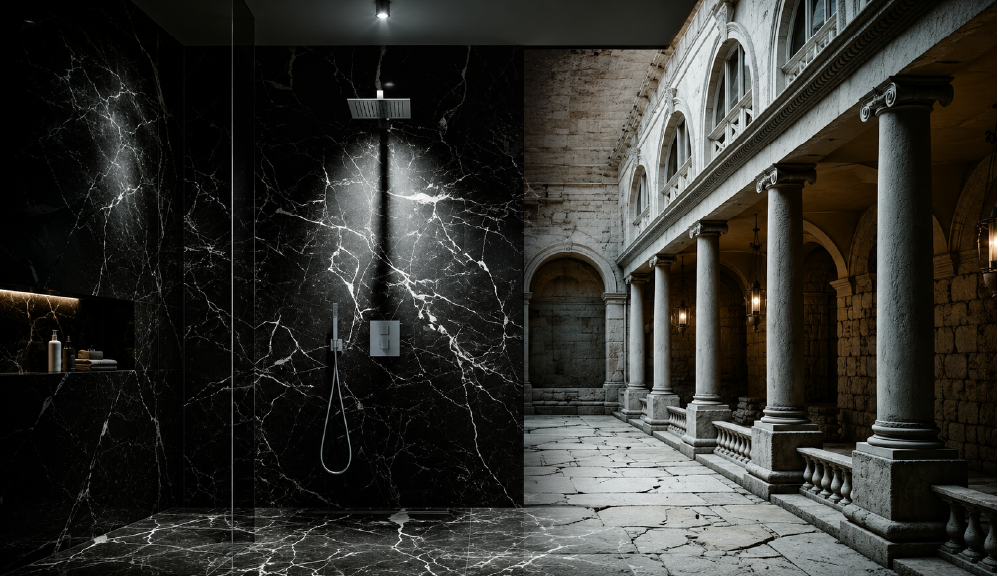
Maintaining Natural Stone Showers
If you have a natural stone shower—think marble, travertine, or granite—you’ve got a touch of luxury that demands special care. These materials are porous and incredibly sensitive to acids. Cleaners with vinegar, lemon juice, or other acidic ingredients will etch the stone, causing irreversible damage.
Always, always use a pH-neutral cleaner specifically made for natural stone. Just like with other surfaces, regular maintenance is everything. Clean your stone shower weekly and make sure it’s sealed periodically (your installer should have given you a schedule) to protect it from water absorption and staining. According to the Natural Stone Institute, proper sealing is the key to longevity.
Proper care ensures these beautiful surfaces last a lifetime, just like a premium CRANACH Rugen shower system. Speaking of which, our guide to cleaning bathroom faucets has more great tips for keeping your fixtures looking brand new.
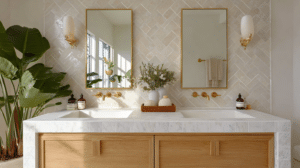
Making Shower Fixtures and Glass Doors Gleam
Sparkling fixtures and crystal-clear glass are the finishing touches that make a clean shower truly shine. It’s one thing to scrub the tiles, but your shower head, faucets, and glass doors are absolute magnets for hard water stains and soap scum. Paying close attention to these areas is what separates a decent clean from a brilliant one.
This isn’t just about looks, either. A clogged shower head, for example, kills your water pressure and can turn a relaxing shower into a frustrating trickle.
Restoring Your Shower Head and Faucets
Over time, mineral deposits from hard water will inevitably build up inside your shower head, blocking those tiny nozzles. You don’t need harsh chemicals, though—the best solution is probably already in your pantry. Plain white vinegar. Its natural acidity is perfect for dissolving all that calcium and magnesium buildup.
You don’t even have to take the fixture off the wall for a deep clean.
Just grab a plastic bag, fill it with white vinegar, and secure it over the shower head with a rubber band. Make sure the head is completely submerged. Let it soak for a few hours—or even overnight if the buildup is really stubborn. Afterward, take the bag off and run hot water through it to flush out all the loosened gunk. For a more detailed walkthrough, check out our guide on how to clean a shower head.
After the soak, I like to take an old toothbrush and give the nozzles a quick scrub. This little step ensures every single jet is clear, bringing your shower’s performance right back to its peak.
This same trick works wonders on your faucets and handles. Just wipe them down with a cloth soaked in a vinegar-water mix to cut through water spots. Then, buff them dry with a microfiber cloth for a brilliant shine that perfectly complements your CRANACH fixtures.
Achieving Streak-Free Glass Doors
Let’s be honest, shower glass is notoriously difficult to keep spotless. Hard water stains are the number one enemy of a pristine shower. If you’re struggling, this advice from Good Housekeeping on removing hard water stains can help. The real secret, however, is using the right technique to avoid those frustrating streaks.
First, spray the glass with your cleaner. A simple mix of equal parts white vinegar and water is a fantastic DIY option. Let it sit for a few minutes; you need to give it time to break down that film of soap scum and minerals.
Now, grab a high-quality squeegee and work from top to bottom. The trick is to overlap each pass by about an inch and—this is key—wipe the squeegee blade with a clean cloth after every single stroke. This stops you from just dragging dirt back across the clean glass. This method is your ticket to that invisible, streak-free finish every time. A beautiful system like the CRANACH Rugen shower set deserves to be seen through crystal-clear glass, after all.
Keeping Your Shower Cleaner for Longer
Let’s be honest, the best way to clean a shower isn’t about scrubbing for hours on end. The real secret? Prevention. By building a few simple habits into your daily routine—habits that take less than a minute—you can save yourself from future battles with soap scum and mildew. This is how you keep your shower looking pristine with surprisingly little effort.
This proactive approach does more than just save you time; it keeps your fixtures and surfaces looking brand new. A premium fixture like the CRANACH Rugen shower, for instance, holds onto its elegant look when it isn’t constantly fighting off hard water deposits and soap residue.
Embrace the Squeegee
If I had to pick the single most effective tool for shower maintenance, it would be a simple squeegee. No question. After every shower, just take 30 seconds to wipe down the glass doors and tiled walls. It’s a tiny action that makes a huge difference.
Why? Because you’re removing those water droplets before they have a chance to evaporate and leave behind mineral deposits. Those deposits are the building blocks of tough hard water stains and that stubborn film of soap scum. Keeping a squeegee hanging right there in the shower is the perfect visual reminder to make it part of your routine.
The Power of a Daily Spray
Right after you squeegee, a daily shower spray can be a total game-changer. These mists are designed specifically to prevent scum and mildew from ever getting a foothold. You can grab a commercial spray, or you can easily make your own. Just mix equal parts white vinegar and water in a spray bottle and add a few drops of your favorite essential oil for a nice scent.
A light mist over all the surfaces helps dissolve any leftover soap residue and makes the environment much less inviting for mold. For a deeper dive into proactive strategies, check out our guide on how to avoid mold in your shower.
Pro Tip: Keep your bathroom well-ventilated during and after you shower. Run the exhaust fan for at least 20-30 minutes afterward, or just crack open a window. Helping that moisture dissipate quickly creates an environment where mold and mildew simply can’t thrive.
This small commitment to daily maintenance ensures your Rugen shower set remains the stunning centerpiece of a clean, healthy bathroom for years to come.
Choosing Your Ideal CRANACH Shower System
The best way to clean a shower actually starts long before you ever grab a sponge. It begins the moment you decide on your fixtures. An upgrade to a premium shower system can totally change your cleaning routine, and at CRANACH, we specialize in fixtures that nail that sweet spot between sophisticated design and practical, durable finishes.
Choosing the right system is an investment in quality that pays off for years. Think about it: systems engineered with surfaces that naturally resist water spots and soap scum simply don’t need to be scrubbed as often. That means less time cleaning and more time actually enjoying the therapeutic experience a great shower is supposed to provide.
The CRANACH Rugen Shower System
A perfect example is the CRANACH Rugen shower set. This isn’t just a shower; it’s a complete experience designed for both luxury and longevity. With features like a thermostatic valve for consistent temperature and durable finishes that resist fingerprints and water spots, the Rugen shower is engineered to be as easy to maintain as it is beautiful. This focus on high-quality, resilient materials means you spend less time scrubbing and more time enjoying a flawless shower, every day. Explore the Rugen shower collection.
Where to Buy CRANACH Shower Systems
Experiencing the solid build quality and flawless finish of a CRANACH fixture firsthand can make all the difference. To find a showroom or dealer near you, simply use our official store locator. Seeing the craftsmanship in person helps you choose the perfect system for your home with confidence.
For Our Professional Partners
We are dedicated to supporting designers, builders, and contractors who share our passion for quality. The CRANACH Pro program offers exclusive benefits, trade pricing, and dedicated support to help bring your projects to life. Join Cranach Pro or request a wholesale price book to discover how our premium fixtures can elevate your next build or remodel.
Answering Your Top Shower Cleaning Questions
Even with the best cleaning routine, you’re bound to run into a few tricky situations. Knowing the right way to clean your shower often comes down to having quick answers for those stubborn problems that just don’t seem to go away.
Think of this as your personal troubleshooting guide. I’ll walk you through some of the questions I hear most often, from tackling mold to figuring out the perfect cleaning schedule. With these tips, you’ll be able to keep any shower, especially a beautiful fixture like a CRANACH Rugen shower set, looking brand new.
How Often Do I Really Need to Deep Clean My Shower?
This is a big one, and the honest answer is: it depends on how you use it. As a solid starting point, I recommend a deep, thorough cleaning every 2-4 weeks.
But here’s the thing—if you’re good about daily upkeep, like a quick squeegee after you shower and using a daily cleaning spray, you can easily stretch that to once a month. The key is to just pay attention. As soon as you see soap scum starting to build up, a bit of mildew creeping into the corners, or the grout looking a little dingy, that’s your cue. It’s time for a deep clean.
What’s the Best DIY Cleaner for Nasty Soap Scum?
When it comes to cutting through stubborn soap scum, you don’t need a harsh chemical cleaner. One of my favorite homemade solutions is incredibly simple but shockingly effective.
Just grab a spray bottle and mix equal parts white vinegar and a good quality dish soap. The vinegar’s acidity is perfect for dissolving the mineral deposits that make soap scum so tough, while the dish soap slices right through the greasy, oily residue.
Expert Tip: To give this mixture an extra punch, warm the vinegar in the microwave for a few seconds before adding the soap. Spray it all over the scum, let it sit and work its magic for 20-30 minutes, then give it a good scrub with a non-abrasive sponge and a hot water rinse.
Should I Use Bleach to Kill Shower Mold?
This might surprise you, but bleach isn’t the silver bullet for mold that many people think it is. While it’s great at killing surface mold on non-porous tile, it’s not very effective on porous materials like grout. Mold can grow deep roots into the grout, and bleach often just whitens the surface, leaving the core problem untouched.
A much safer—and often more effective—alternative is a spray of undiluted hydrogen peroxide or white vinegar. If you’re dealing with a serious mold issue, it’s worth checking out resources from the U.S. Environmental Protection Agency on how to handle it safely. And no matter what you use, always, always make sure the bathroom is well-ventilated. Open a window or turn on that exhaust fan.
How Can I Stop Hard Water Stains on My Fixtures and Glass?
When it comes to hard water stains, an ounce of prevention is worth a pound of cure. Seriously. Those chalky white spots are just mineral deposits left behind when water evaporates. The best way to stop them? Don’t let the water dry there in the first place.
Get into the habit of wiping down your glass doors and fixtures—like the ones on your stunning Rugen shower—with a squeegee or a microfiber cloth right after you shower. It’s a simple, one-minute task that makes a world of difference and will drastically cut down on how often you need to scrub.
For a shower that brings together gorgeous design with surfaces that are a breeze to clean, take a look at the CRANACH collection. The smart design of the Rugen shower set doesn’t just elevate your bathroom’s style; it actually simplifies your entire cleaning routine, leaving you with a beautiful space that’s wonderfully low-maintenance.