


Why Your Shower Head Is Secretly Sabotaging Your Morning
That weak, sputtering spray isn’t just a bad way to start your day; it’s your shower head crying for help. When the water pressure drops and the jets start spraying in every direction but at you, it’s a sure sign of a blockage. This turns what should be a powerful, refreshing rinse into a disappointing trickle.
Blame Your Water, Not Your Cleaning Habits
The main offender here is something you can’t even see: limescale. It’s that chalky, crusty buildup of calcium and magnesium that hard water leaves behind. If you’re in a hard water area, you’re constantly fighting this battle inside your pipes.
This is why you might have to descale your shower head every few months, while a friend who lives just one town over barely has to touch theirs. It has nothing to do with how clean your bathroom is—it’s all about the invisible minerals that accumulate in the tiny nozzles, slowly choking off the water flow.
Design Plays a Bigger Role Than You Think
While you can easily wipe away surface grime, the real performance-killer is the scale building up on the inside. The design of your shower head plays a huge part in how quickly this happens. Sometimes, simpler is actually better.
For example, fixed shower heads made up 35.3% of sales in 2024, and part of their appeal is their straightforward design, which often makes them easier to clean. Because these manual fixtures are less complex, there are fewer nooks and crannies for minerals to get trapped in. You can see how maintenance impacts other market trends and find your model type. Knowing whether you have a complex rainfall model or a basic fixed head is the first step to figuring out the best way to get it clean and flowing like new again.
The Plastic Bag Method That Beats Expensive Solutions
Forget those expensive descaling sprays. The most effective tool for reviving a sputtering shower head is probably already sitting in your kitchen pantry. This simple technique has saved countless fixtures from being replaced, using just a few household items to dissolve the stubborn mineral buildup that causes those weak, erratic spray patterns.
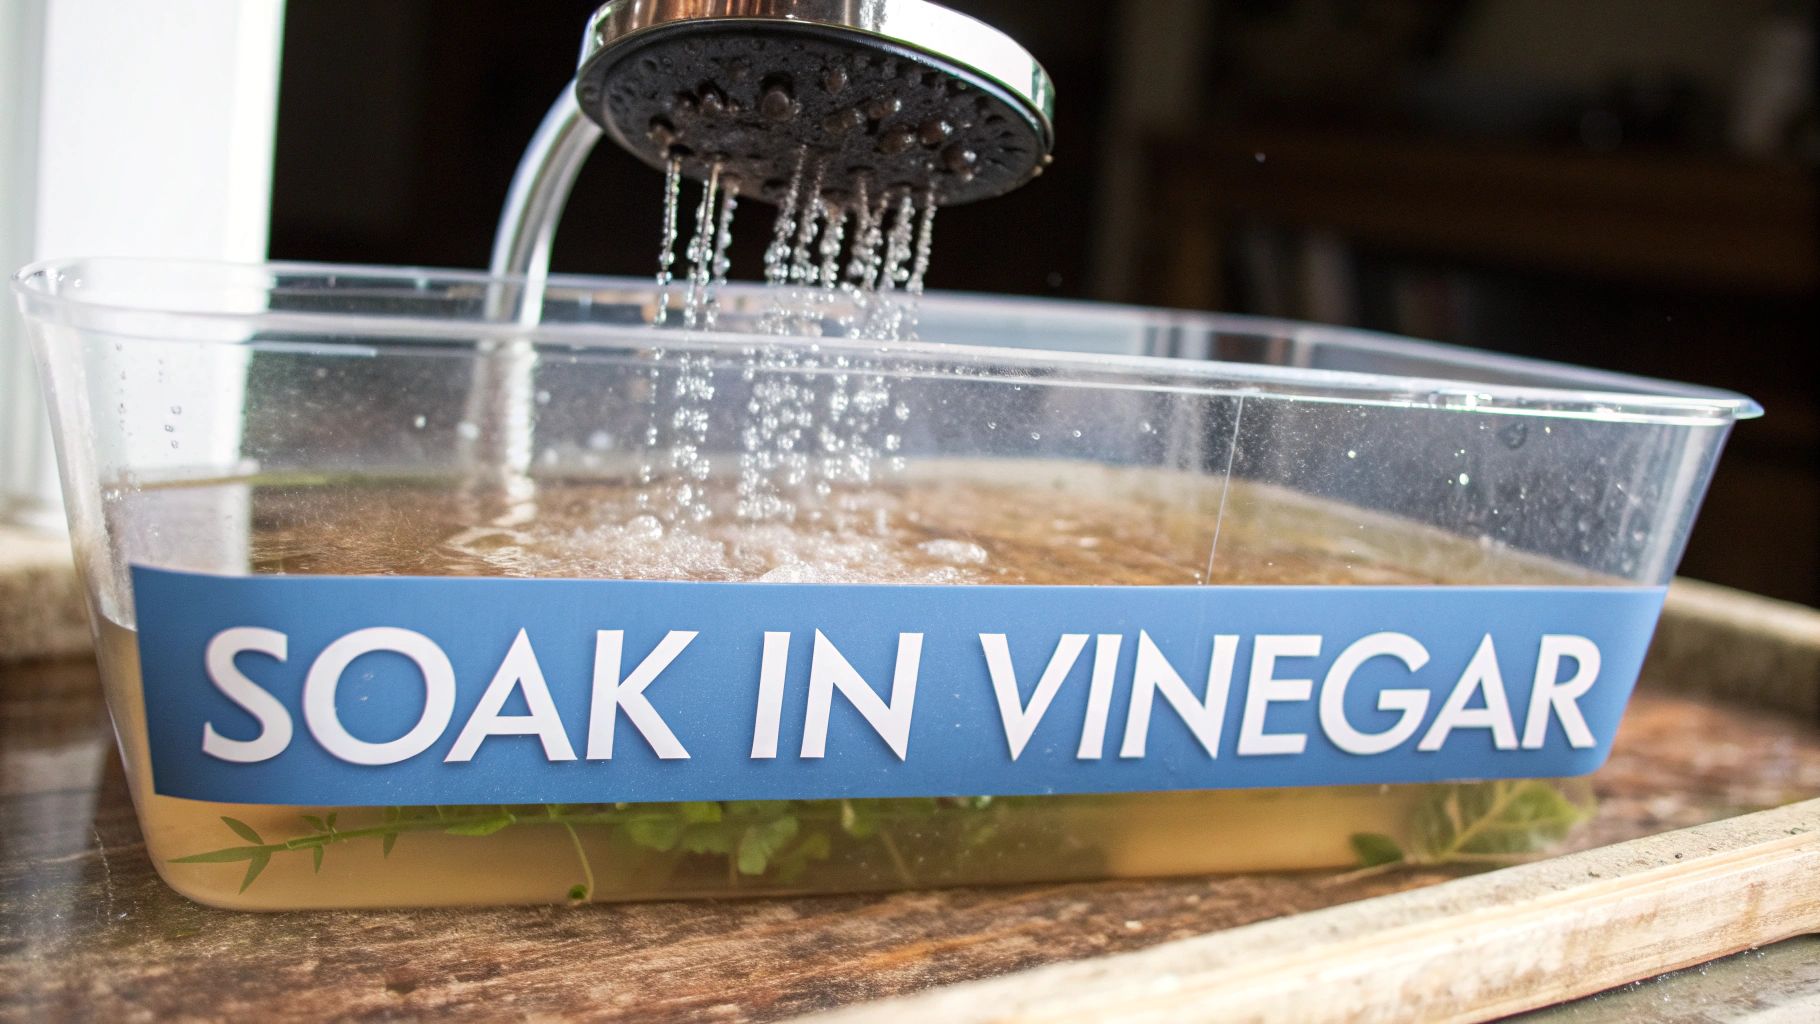
Preparing Your Soaking Solution
For most run-of-the-mill limescale, a simple 50/50 mixture of white vinegar and warm water will do the trick. If you’re dealing with a serious clog that has reduced your water pressure to a sad dribble, you can use straight white vinegar for more cleaning power. Pour your chosen solution into a sturdy plastic bag—I always recommend a freezer bag because they’re thicker and less likely to leak.
Next, carefully submerge the entire shower head in the vinegar solution within the bag. Pull the top of the bag up and secure it tightly around the shower arm with a strong rubber band or a hair tie. Wrap it a few times to get a good seal. Trust me, this is crucial for preventing a midnight vinegar puddle on your shower floor.
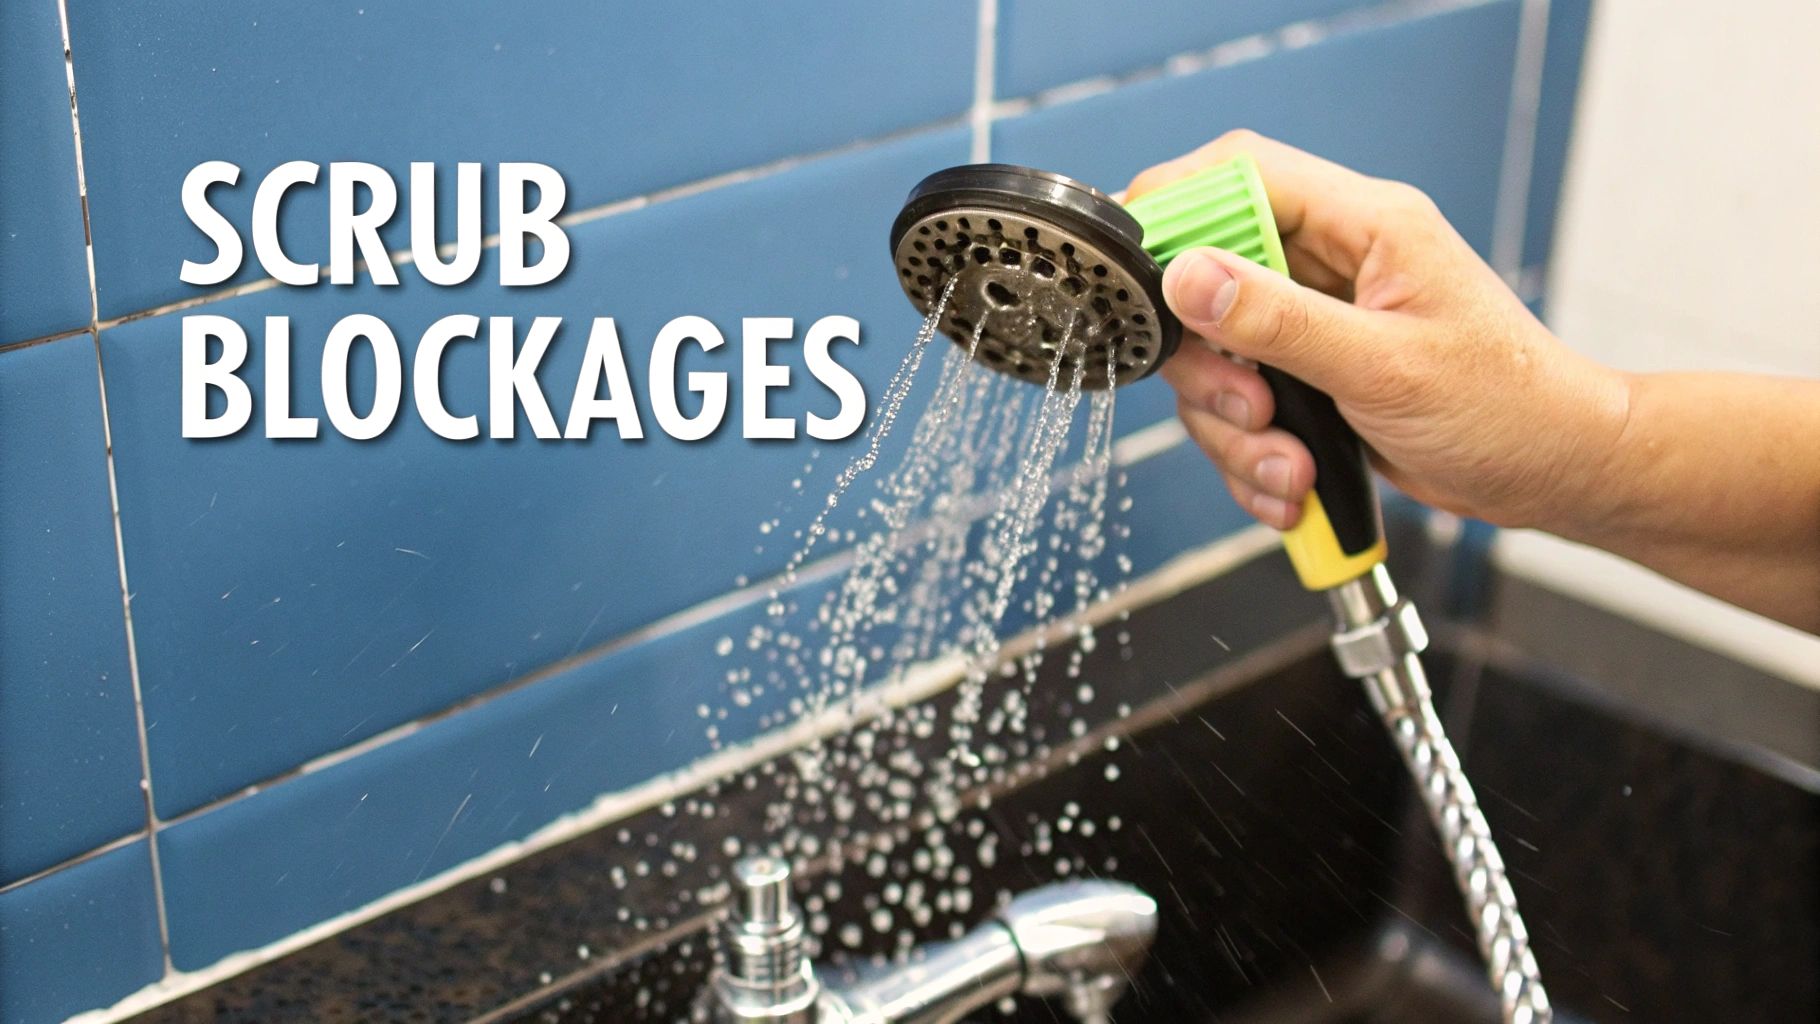
Here’s a little trick that makes a huge difference: before you let it soak, give the nozzles a quick pre-scrub with an old toothbrush. This helps loosen the gunk on the surface and lets the vinegar work its magic much faster.
You can see that you don’t need much to get the job done.
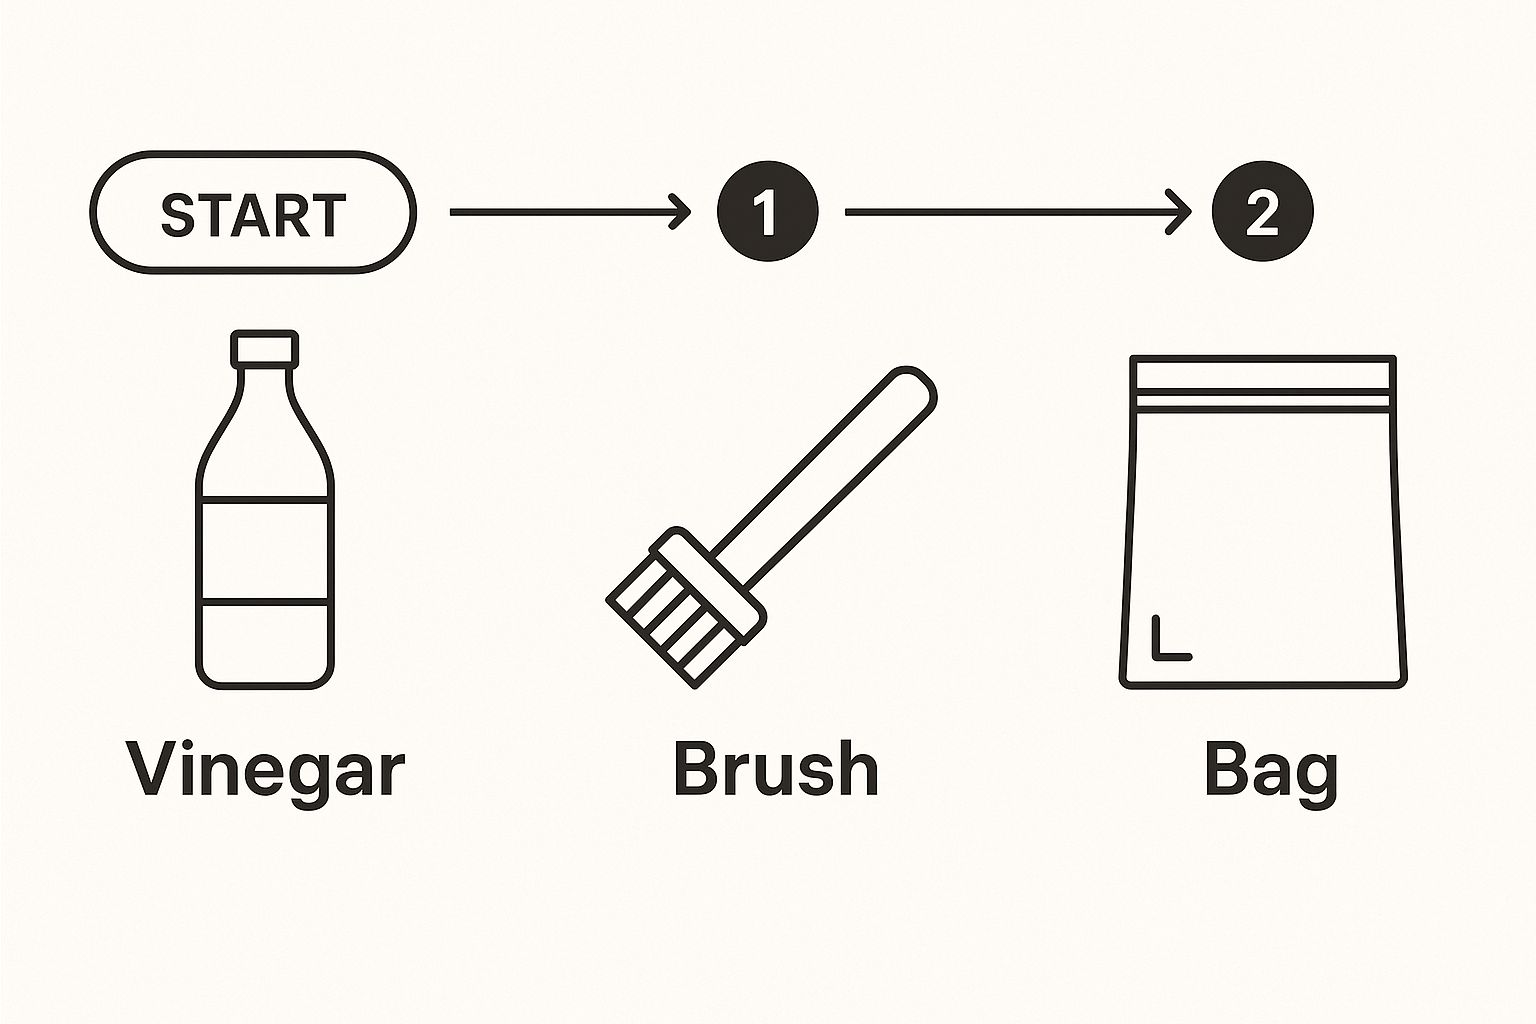
The main point is that you don’t need a special kit. These common items are all that’s needed to make your shower head perform like it’s brand new.
To get the best results without damaging your fixture, you can adjust the vinegar strength and soaking time. This guide breaks down what to use based on how much buildup you have.
Vinegar Solution Strength Guide
Recommended vinegar concentrations based on mineral buildup severity and shower head materials
| Buildup Level | Vinegar to Water Ratio | Soaking Time | Material Compatibility |
|---|---|---|---|
| Light | 1 Part Vinegar to 2 Parts Water | 1–2 hours | Safe for all standard finishes (Chrome, Stainless Steel, Plastic). |
| Moderate | 1 Part Vinegar to 1 Part Water | 3–4 hours | Generally safe. Test on a small, hidden area for brass, nickel, or other coated finishes. |
| Heavy | 100% Vinegar | 6–8 hours (or overnight) | Best for durable finishes like chrome and stainless steel. Use with caution on brass, nickel, or oil-rubbed bronze, as prolonged exposure to strong acid can affect these finishes. |
The key takeaway here is to start with a milder solution for a shorter time and see how it works, especially if you have a shower head with a delicate or specialty finish.
The Soak and Final Polish
Let the shower head soak for at least a few hours. For really stubborn blockages, leaving it overnight is your best bet. You’ll know the process is working when you see satisfying little bubbles fizzing around the nozzles. That’s the acetic acid in the vinegar dissolving the mineral deposits.
Once the time is up, carefully remove the bag and pour the solution down the drain. Now for the final flush—turn the shower on as hot as it will go for about a minute. This will powerfully blast out all the loosened scale and debris from inside the nozzles. For a sparkling finish, give the nozzles one last scrub with your toothbrush.
This same approach works wonders on other fixtures, too. If your sink is acting up, you might be interested in our guide on cleaning bathroom faucets for more helpful tips.
- For large, rainfall-style shower heads that are too big for a standard freezer bag, a small kitchen trash bag will work perfectly.
- If your shower head is at an awkward angle, it might be easier to just unscrew it from the arm and soak it completely in a bowl of the vinegar solution.
When Gentle Methods Meet Their Match
Sometimes, the tried-and-true vinegar soak just doesn’t cut it. If your shower head has been battling hard water for years, the mineral buildup can be so stubborn that gentle approaches barely make a difference. When you’re dealing with a fixture that seems beyond saving, it’s time to roll up your sleeves and try the more direct methods the pros use to bring a shower back to life.
Taking It Apart for a Serious Clean
The first move for a true deep clean is getting the shower head completely off the wall. This gives you unbeatable access to all the nooks and crannies where limescale loves to hide. Grab an adjustable wrench, but before you start, wrap a soft cloth or a couple of layers of painter’s tape around the fixture’s connecting nut. This simple trick is key to preventing ugly scratches on your beautiful finish.
Turn the nut counter-clockwise to loosen it from the shower arm. You don’t need brute force; a firm, steady pressure should do the job. Once it’s free, you’re ready to get to the real work.
Clearing Blockages From the Inside Out
With the shower head in hand, you can finally get to those hidden blockages. Peek inside the connector where it attached to the wall pipe; you’ll probably spot a small filter screen. This little part is often the main reason for weak water pressure. Gently pry it out with a small flathead screwdriver and give it a good scrub with an old toothbrush.
For the spray nozzles themselves, the toothpick technique is your secret weapon. It’s surprisingly simple but incredibly effective.
- Take a standard wooden toothpick and carefully push the tip into each individual spray hole.
- Give it a gentle wiggle to break apart and push out the mineral deposits clogging the jet.
- This is much safer than using a metal pin or needle, which can easily tear the soft rubber nozzles and cause permanent damage.
If you’ve scrubbed and poked but some scale just won’t budge, a commercial descaling product can be your last resort. These cleaners are formulated to dissolve mineral buildup that vinegar can’t touch. Just be sure to read the label and confirm the product is safe for your shower head’s finish, as some chemicals can be too harsh for certain materials.
Putting It Back Together for a Leak-Free Finish
Once every piece is sparkling clean, it’s time to put it all back together. But before you screw the head back on, there’s one critical step: wrap the threads of the shower arm with fresh plumber’s tape, also known as Teflon tape. This is non-negotiable for creating a watertight seal. Two or three wraps in a clockwise direction is all you need.
First, hand-tighten the shower head back onto the arm. Then, use your cloth-wrapped wrench to give it a final quarter-turn to make it snug. Be careful not to overtighten, which can crack the connector. A proper reassembly is the key to preventing drips and getting that powerful, even spray you’ve been missing.
This kind of stubborn buildup is a common problem in areas with hard water. If you’re seeing it on your shower head, it’s a safe bet it’s on your other fixtures too. Learn more in our article about removing calcium deposits from faucets.
Kitchen Cabinet Solutions That Outperform Store Products
Before you head to the store for a harsh chemical cleaner, take a look in your kitchen pantry. You likely already have everything you need for an effective clean, without the intense fumes or the high price tag. These natural solutions are a great choice for families with sensitivities or anyone who just prefers a greener approach to cleaning.
The Power of Pantry Staples
For grime that a simple soak can’t handle, a baking soda paste is your best friend. Just mix baking soda with a small amount of water until it creates a thick, spreadable consistency. Apply it right onto the shower head and use an old toothbrush to gently scrub away stubborn soap scum and surface deposits. Its mild abrasive quality works wonders without scratching most common finishes.
If you prefer a fresh scent, lemon juice is a fantastic alternative to vinegar for fighting mineral buildup. The citric acid is great at dissolving limescale. You can soak your shower head in straight lemon juice or even just rub a cut lemon directly on the fixture, letting it sit for an hour before rinsing it clean.
Matching the Method to Your Shower Head
Knowing how to clean a shower head effectively also means considering its material. While these natural methods are gentle, you’ll want to match them to your fixture’s finish to prevent any accidental damage.
- Baking Soda Paste: This is excellent for durable finishes like chrome and stainless steel. Just use very gentle pressure on oil-rubbed bronze or matte black fixtures to avoid dulling the surface.
- Lemon Juice/Vinegar: These acids are powerful. They’re ideal for plastic and chrome heads but should be diluted for brass, nickel, or gold-toned fixtures to prevent discoloration. It’s always a good idea to test on a small, inconspicuous spot first.
Proper maintenance with the right ingredients not only restores water pressure but also extends the life of your hardware, helping you sidestep the expense of a full replacement. Keeping your fixtures in top shape is always more cost-effective. If you’re ever curious about what a new installation might involve, you can check out our guide on faucet installation costs. Taking care of what you already have is the best investment.
Smart Habits That Keep Your Shower Head Perfect

Let’s be honest, the best way to fix a clogged shower head is to prevent it from clogging in the first place. While a deep clean works wonders, weaving a few simple habits into your regular routine can make those intensive cleanings a much rarer occasion. This approach keeps your water flowing perfectly and your fixture looking its best with very little effort.
Adopt a Two-Minute Weekly Wipe-Down
This is probably the easiest and most effective trick in the book. After the last shower of the week, just grab a soft microfiber cloth and give the spray nozzles a quick wipe. This simple action removes water droplets before they evaporate and leave behind those chalky mineral deposits that cause blockages.
- Make it routine: Tie this tiny chore to another weekly task, like cleaning your bathroom mirror, so it becomes second nature.
- Keep it gentle: You don’t need to scrub. A light wipe is enough to prevent buildup without risking damage to the nozzles.
- Do a final flush: Turn the water on for a couple of seconds to clear away any mineral particles you’ve just loosened.
Monthly Check-Ins and Early Warnings
Once a month, give your shower head a closer look while the water is running. Are all the streams shooting straight ahead? A single jet spraying off to the side is your earliest clue that a clog is starting to form. When you catch it this early, you can usually fix it with a quick scrub from an old toothbrush instead of needing a full deep-soaking treatment.
This quick check is also a great time to notice if your water pressure is getting weaker over time. If you’re seeing a consistent drop in performance, it might be time to look into our guide on how to increase shower water pressure.
The Long-Term Game Changers
For a solution that really lasts, you need to think beyond the fixture itself. Good bathroom ventilation plays a huge role. Running your exhaust fan for 15-20 minutes after every shower pulls moisture out of the air, which helps stop soap scum and mineral haze from forming on all your fixtures.
This focus on simple upkeep is actually a big driver in the shower head industry. People want fixtures that deliver great water quality without constant maintenance. As designs get more advanced, the need for effective, simple care grows with them. You can discover more about these market trends and see how cleanliness influences modern designs.
When Things Go Wrong: Real Solutions for Real Problems
So, you’ve followed all the steps. You soaked, you scrubbed, and you rinsed, but your shower head is still sputtering, or worse, the pressure seems even weaker than before. It’s a frustrating moment. Sometimes, the issue isn’t just surface-level limescale, but something a little more stubborn, like a fixture that’s fused to the shower arm or debris that’s been pushed deeper into the works.
When the usual cleaning methods don’t solve the problem, it’s time to play detective. Before you consider giving up and buying a new one, let’s look at a few common headaches that can pop up after a deep clean and what you can actually do about them.
Troubleshooting Quick Reference
Don’t throw in the towel just yet. Here’s a quick guide to diagnose and solve some of the most frequent post-cleaning problems I’ve run into. This chart breaks down the issue, its likely cause, and how you can fix it.
Common shower head problems after cleaning and their solutions
| Problem | Likely Cause | Solution | Prevention |
|---|---|---|---|
| Still Low Pressure | During cleaning, debris was flushed from the head into the small filter screen or the shower arm itself. | Unscrew the head again, check for a small internal filter screen and clean it, then flush the shower arm for 5 seconds before reattaching. | Always flush the pipe for a few seconds before you screw your freshly cleaned shower head back on. |
| Damaged Finish | The cleaning solution was too acidic or abrasive for your fixture’s material (e.g., full-strength vinegar on a brass or nickel finish). | Unfortunately, this damage is often permanent. For minor scuffs, a polish made for that specific metal might help. Always check with the manufacturer first. | Always test a new cleaner on a small, hidden spot. For delicate finishes, it’s best to dilute vinegar with water. |
| Head Won’t Budge | Mineral deposits have built up in the threads, effectively “welding” the fixture to the shower arm. | Apply a penetrating oil to the connection point, let it sit for a while, and then use a wrench wrapped in a cloth to get a better grip without scratching the finish. | When installing or reinstalling a shower head, apply a very thin layer of plumber’s grease to the threads. |
This table covers the most common snags, showing that prevention is often the best cure.
But what happens if you’ve wrestled with a stuck fixture to no avail, or if the cleaning process has revealed that the head is cracked or irreparably damaged? It might be time for a fresh start. While replacing a fixture can feel like a hassle, it’s also a great chance to upgrade your entire shower experience. And remember, there’s no shame in calling a professional plumber—it’s often the smartest move to avoid damaging your pipes.
If you’re ready for a change, Cranach is dedicated to providing a clean, healthy shower experience with fixtures designed for lasting performance and easy maintenance. Explore our collection at Cranachhome.com to find your perfect upgrade.