


Why Your Shower Head Is Secretly Sabotaging Your Morning
If you’ve noticed your morning shower has gone from a powerful blast to a frustrating trickle, it’s not just your imagination. This isn’t usually a sign of a major plumbing issue; it’s often your shower head crying out for a deep clean. Over time, especially in places with hard water, mineral deposits build up inside the tiny nozzles, choking off the water flow. This process is similar to how rust and scale removal is managed in much larger systems. The result is a weak, unsatisfying shower that makes getting clean feel like a chore.
The Hidden Costs of a Clogged Shower Head
Those white, crusty spots you see on the outside are just the tip of the iceberg. Inside, layers of calcium and magnesium are blocking the water jets. This forces you to run the shower longer just to get properly rinsed, which means your water heater is working overtime. It’s a quiet but steady drain on your utility bills. Some reports show a clogged shower head can slash water efficiency by as much as 40%. That extra strain doesn’t just waste energy; it can also shorten the life of your fixture and potentially lead to bigger plumbing problems. If your shower feels weaker than it used to, it’s a clear signal that it’s time for some simple maintenance.
More Than Just Minerals: A Health Concern
Those mineral deposits aren’t just an eyesore that blocks water; they create the perfect environment for bacteria to grow. The rough, porous surface of limescale gives germs a place to hide and multiply in the warm, damp conditions of your shower. It’s recommended to clean your shower head at least every 3 months to keep bacteria and fungi from setting up camp. Health experts even highlight that these mineral-rich nooks can harbor germs like E. coli and Staphylococcus aureus, which could affect your well-being. On top of that, showering with hard, mineral-filled water can leave your skin and hair feeling dry and lifeless. That’s why knowing how to clean a shower head is a simple but important part of maintaining a healthy home.
The Science Behind Vinegar’s Mineral-Fighting Superpowers
Have you ever wondered why that plain bottle of white vinegar from your pantry is such a champion against tough, crusty buildup? It’s not magic—it’s just a bit of kitchen chemistry. The secret ingredient is acetic acid, the very thing that gives vinegar its signature sour taste and impressive cleaning muscle. This acid is especially good at dissolving the mineral gunk that clogs up your shower head.
How Vinegar Breaks Down Limescale
If you have hard water, it’s loaded with dissolved minerals like calcium carbonate and magnesium. When the water from your shower evaporates, it leaves these minerals behind, creating that stubborn, chalky mess we call limescale. This is where vinegar shines. The acetic acid in vinegar has a low pH, which means it loves to react with alkaline stuff like limescale.
When you soak your shower head in vinegar, a chemical reaction starts. The acid breaks down the solid mineral crystals into calcium acetate, a substance that dissolves in water. Once it’s dissolved, you can simply rinse it away. It’s a natural process that often works better than store-bought cleaners that rely on aggressive chemicals.
A Safer, Smarter Choice
Using vinegar isn’t just effective; it’s also a much safer option for your home and your fixtures. Since it’s a food-grade product, you don’t have to worry about breathing in toxic fumes or leaving behind harsh chemical residues. Plus, its acidity is just right—strong enough to tackle mineral deposits but gentle enough not to harm most common finishes like chrome or stainless steel.
This is why so many people recommend white vinegar for breaking down calcium and lime buildup. In fact, you can discover more insights about its effectiveness on MollyMaid.com. This same idea works for other bathroom fixtures, too, which we cover in our guide on removing calcium deposits from faucets. By choosing vinegar, you’re picking a solution that’s powerful, incredibly cheap, and better for the environment.
Assembling Your Natural Cleaning Arsenal
Before you get to the satisfying part of watching that mineral buildup disappear, let’s pull together your supplies. The good news is you probably have everything you need lying around the house, which means this project is practically free. The undisputed star of this show is vinegar, but not just any kind will do.
To really tackle that stubborn limescale, you’ll need plain white distilled vinegar. Its typical 5% acidity is the perfect strength for dissolving minerals without being too harsh on your fixtures. Steer clear of fancy salad vinegars or dark varieties like balsamic, as they can leave behind stains.
Your Go-To Supply List
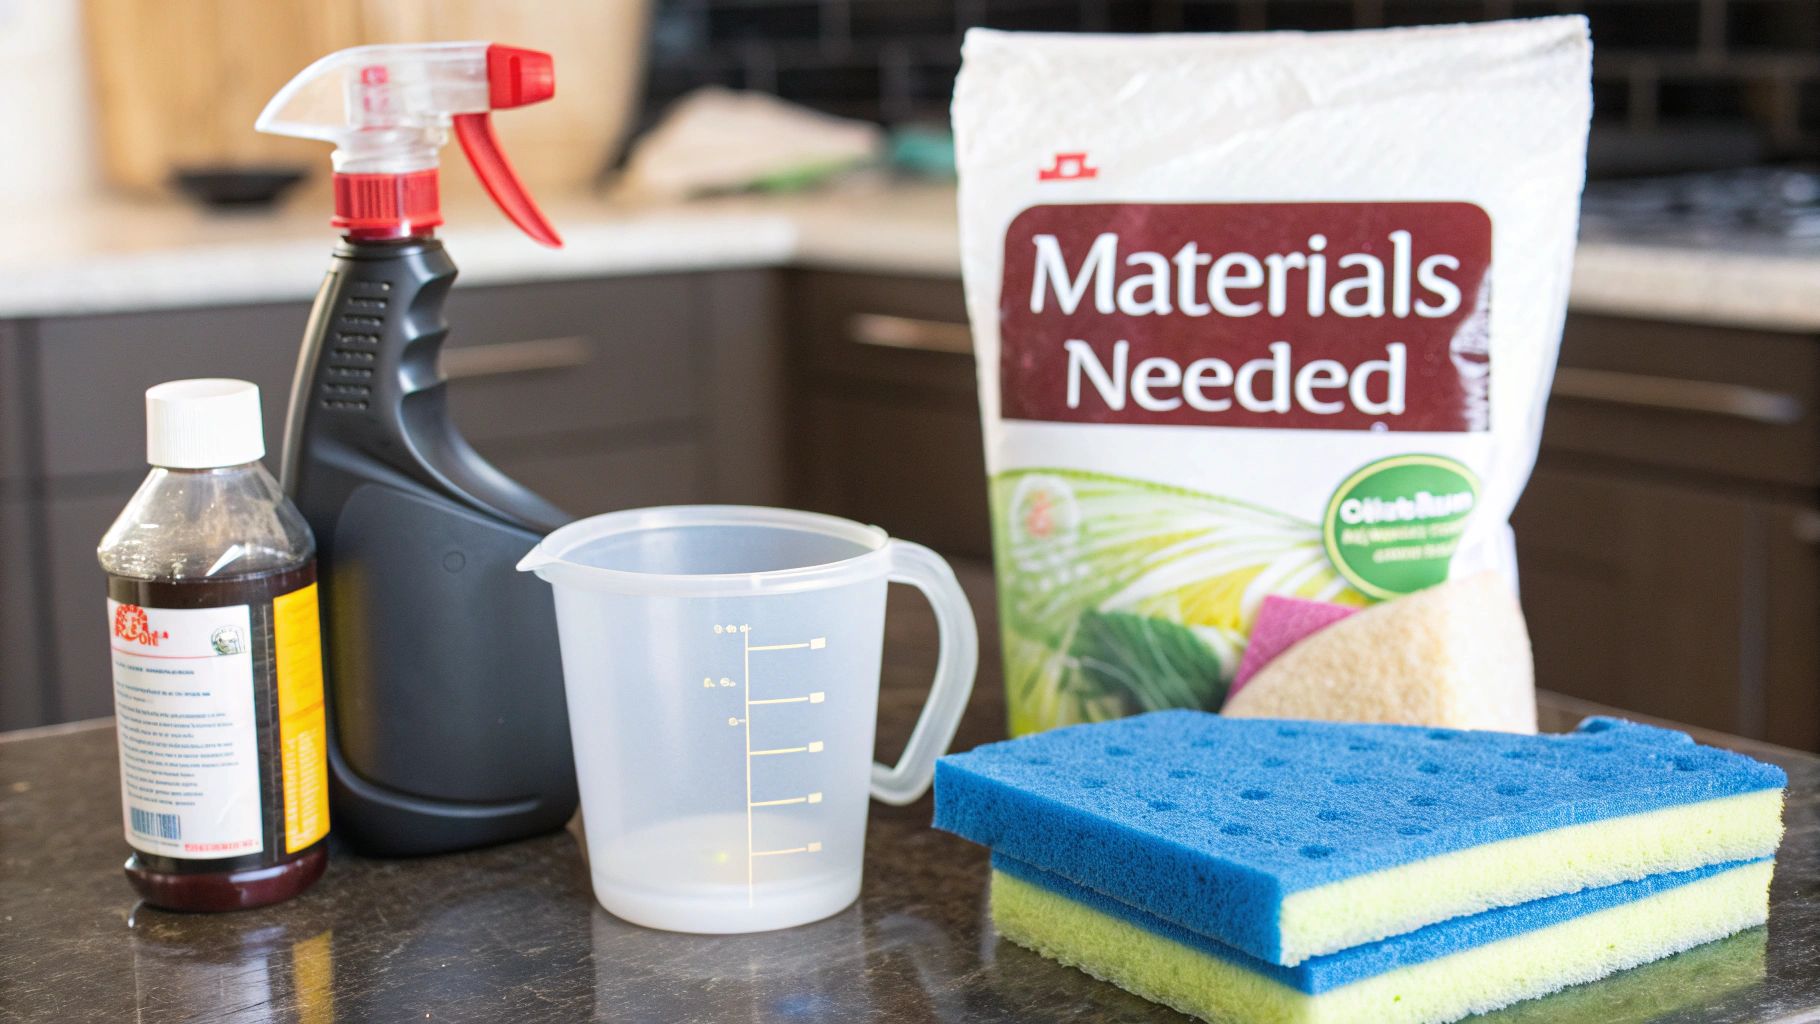
Before you begin, it helps to gather everything in one place. Here’s a quick rundown of what you’ll need versus what’s just nice to have on hand.
| Item | Essential/Optional | Purpose | Household Alternative |
|---|---|---|---|
| White Distilled Vinegar | Essential | The acidic solution that dissolves mineral deposits. | Lemon juice can work in a pinch, but it’s less effective. |
| Plastic Bag | Essential | Creates a “soaking bath” for the shower head. | A small bucket if you remove the shower head. |
| Rubber Band/Twist Tie | Essential | Secures the bag tightly to the shower arm. | String, a hair tie, or even a chip clip. |
| Old Toothbrush | Optional | Scrubs away any stubborn bits after the soak. | A small scrub brush or a rough sponge. |
| Soft Cloth | Optional | Polishes the fixture for a final, brilliant shine. | A paper towel or an old t-shirt. |
This table shows that the core of this project relies on just a few basic items. The optional tools are great for getting that extra bit of sparkle, but you can definitely get the job done without them.
Once you have these items ready, you’re all set to restore your shower’s flow. This simple approach is incredibly effective, and you can use the same technique for other fixtures. In fact, these principles are quite similar to those in our guide for cleaning bathroom faucets, making this a handy skill for keeping your entire bathroom in top shape.
Mastering the Bag Method That Actually Delivers Results
This is where the magic happens. The “bag method” is a fan favorite for a reason: it’s incredibly simple, gets the job done, and you don’t even have to unscrew your shower head. For most people wondering how to clean a shower head with vinegar, this is the go-to technique. The main idea is to completely submerge the shower head, making sure every single nozzle gets a good soak to dissolve all that gunk.
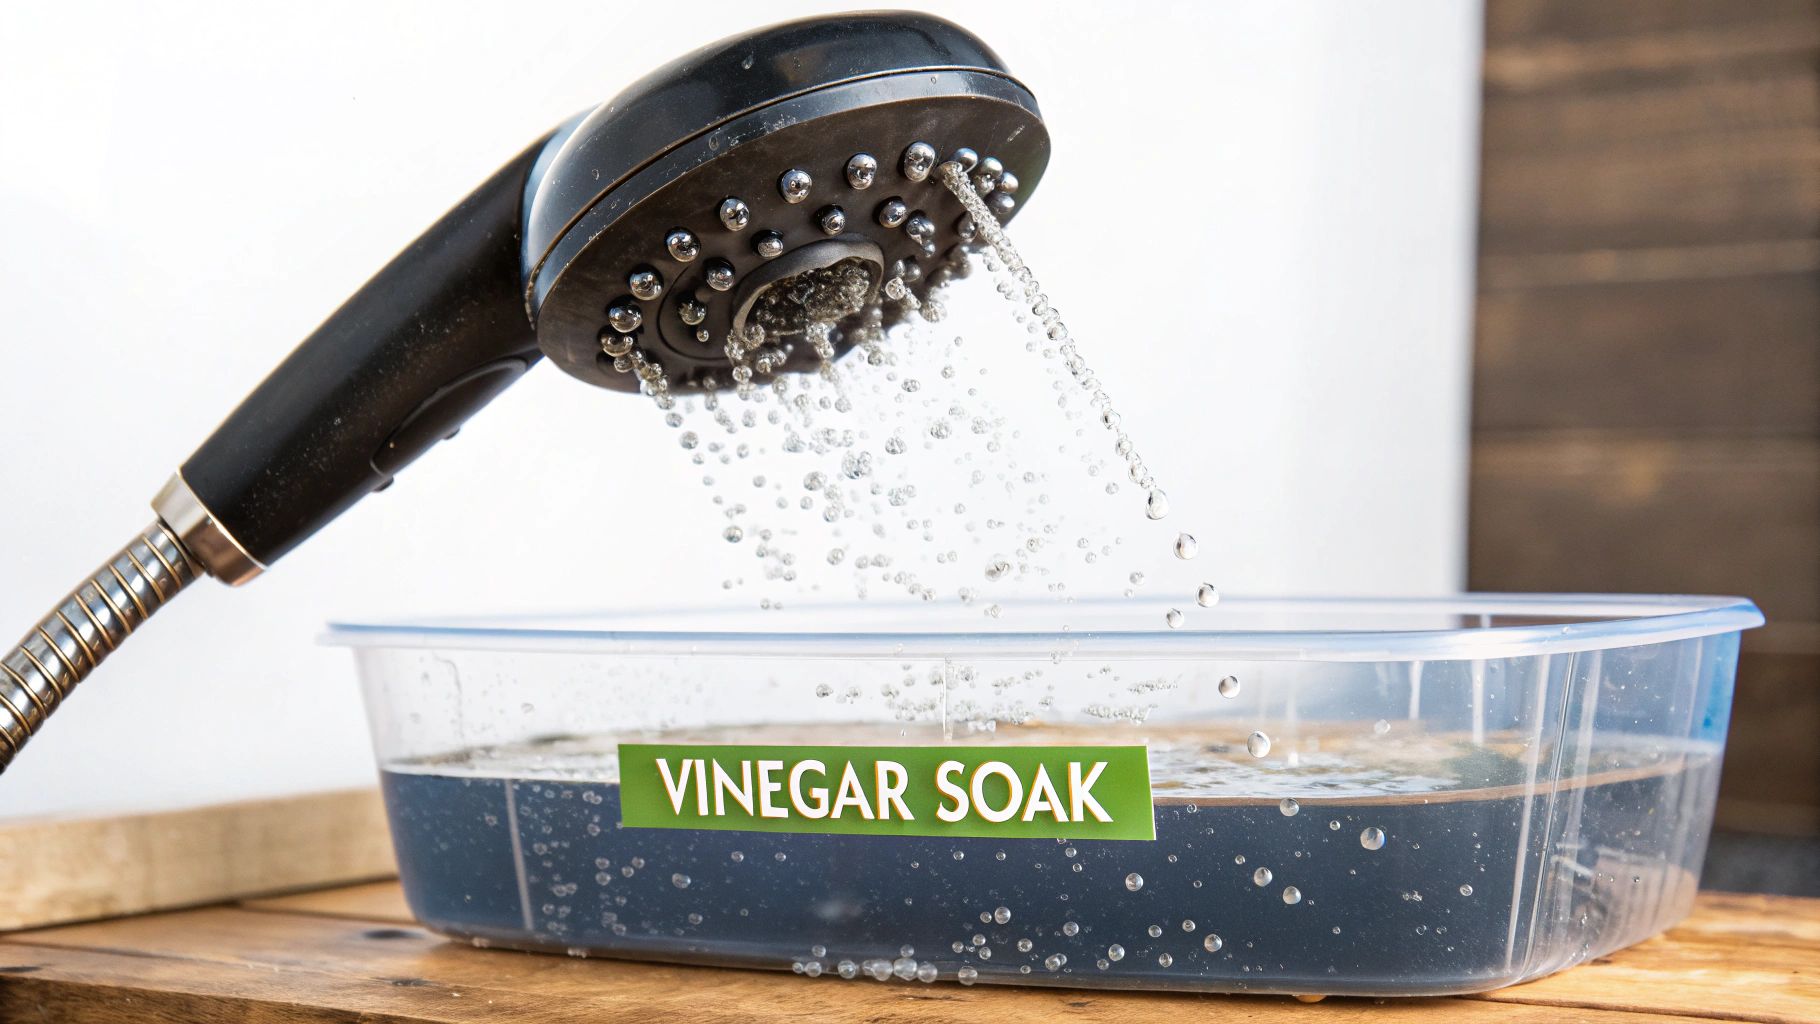
Setting Up Your Vinegar Soak
First, find a sturdy plastic bag. A freezer bag is perfect because it’s a bit thicker than a regular sandwich bag and can handle the weight of the vinegar. Make sure it’s big enough to easily slide over your shower head. Now, pour in enough white distilled vinegar to cover the head completely once the bag is in place. If you’re just dealing with a little bit of buildup, a 50/50 mix of vinegar and water is fine, but for serious limescale, go with 100% vinegar.
Gently guide the bag up and over the shower head, making sure all the spray jets are totally underwater. Use a rubber band, twist tie, or even a hair tie to secure the bag tightly around the shower arm. You want it snug so you don’t wake up to a vinegar puddle in your tub.
Here’s a quick look at how it should appear once you have it properly secured.
The most important part is making sure the fixture is completely dunked in the vinegar for the best results.
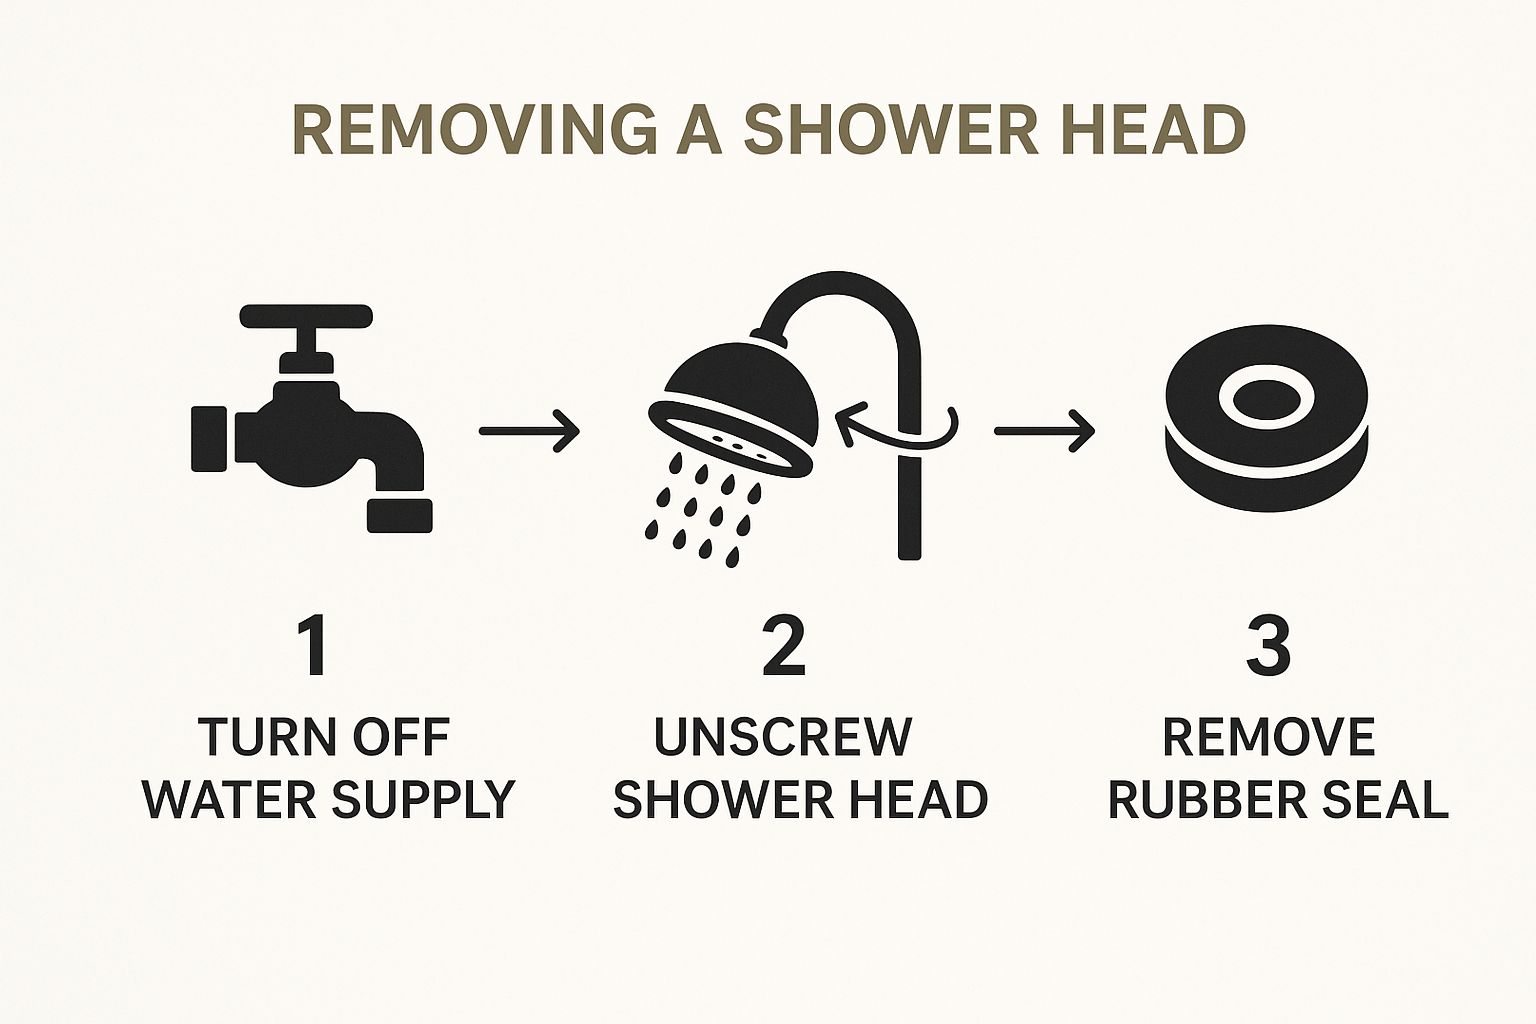
For Stubborn Cases: Deep Cleaning
If your shower head looks like it’s seen better decades or you just want a more thorough clean, taking it off for a deep soak is the next step. For those who are curious, this flow chart breaks down the basic removal process.
As the graphic shows, it’s usually just a matter of unscrewing the head from the shower arm. Once it’s off, you can drop it into a bowl of vinegar, which guarantees every nook and cranny gets an even soak. A clean shower head can drastically improve your water flow. If you’ve cleaned it and still feel like the pressure is weak, you might want to check out our guide on how to increase shower water pressure. It’s often the perfect follow-up to a good cleaning session.
Timing Your Treatment for Maximum Impact Without Damage
Figuring out the right soaking time when cleaning your shower head with vinegar is a bit of a balancing act. If you don’t leave it in long enough, that stubborn limescale will stick around. But soak it for too long, and you could end up damaging certain finishes. The most critical factor here is what your shower head is actually made of.
Most modern shower heads you’ll find are made from chrome-plated brass or stainless steel. The good news is these materials are pretty tough. For these common types, letting them soak anywhere from a few hours to overnight is perfectly fine. This gives the acetic acid in the vinegar plenty of time to break down even the most caked-on mineral deposits.
However, if your bathroom features a fixture with a more delicate or specialized finish, you’ll want to be more cautious.
Adjusting for Specialty Finishes
Some materials just need a gentler touch. Nailing this part of the how to clean shower head vinegar method is crucial to avoid accidentally ruining your fixture’s beautiful finish.
- Brass and Gold-Plated Fixtures: These finishes look luxurious, but they’re also softer and more reactive. A long vinegar bath can actually strip their protective lacquer or lead to discoloration. For these, you should limit the soak to no more than 30 minutes.
- Nickel and Coated Finishes (e.g., matte black, oil-rubbed bronze): These popular specialty finishes can also be sensitive to acid. The safest bet is to start with a short soak—just 30 minutes—and then check on its progress. You can always repeat the process if needed, but it’s much better than leaving it submerged for too long.
To help you get the timing just right, here’s a quick guide based on common shower head materials. Always double-check your fixture’s specifications if you can, but this table offers a solid starting point.
| Material Type | Optimal Soaking Time | Special Precautions | Damage Warning Signs |
|---|---|---|---|
| Stainless Steel | 4-8 hours (or overnight) | Highly durable; no major precautions needed with standard white vinegar. | Very rare, but check for any unusual dulling after prolonged soaking. |
| Chrome-Plated Brass | 4-8 hours (or overnight) | Ensure the chrome plating is not already peeling or chipped before soaking. | Flaking, peeling, or a hazy, cloudy appearance on the finish. |
| Solid Brass | 30 minutes max | Monitor closely; acid can strip protective lacquers. | Loss of shine, discoloration, or a pinkish tint appearing on the surface. |
| Nickel (Brushed/Polished) | 30 minutes max | Very sensitive to acid. Start with a shorter time and check frequently. | Hazy spots, darkening, or a “cloudy” film that doesn’t wipe away. |
| Gold-Plated | 30 minutes max | Extremely delicate. Avoid abrasive scrubbing after the soak. | Fading of the gold color, dullness, or visible stripping of the thin plate. |
| Coated (Matte, Bronze) | 30 minutes max | These are surface coatings that can be damaged. Test on a small area first. | Chipping, fading of the color (e.g., black turning grey), or a chalky look. |
This guide shows why a one-size-fits-all approach doesn’t work. A long soak is great for stainless steel but could be a disaster for a gold-plated fixture. Always prioritize the safety of your finish.
If you’re genuinely unsure what your shower head is made of, the safest path is to start with a short 30-minute soak. Once the time is up, you can pull it out and use an old toothbrush to gently scrub away any loosened mineral buildup. This gives you a chance to see how clean it is and inspect the finish for any issues before deciding if it needs another brief soak. This careful method ensures you get a sparkling clean shower head without any nasty surprises.
The Final Flush That Completes Your Transformation
After the vinegar has had time to work its magic and dissolve all that stubborn limescale, the next few moments are crucial for getting that “like-new” water pressure back. This isn’t just a simple rinse—it’s about flushing out every last bit of loosened gunk. Carefully take the bag off the shower head, pour the used vinegar down the drain, and let’s get to the final touches.
Rinsing and Scrubbing
Before you even think about turning on the water, grab an old toothbrush. Give the nozzles a good but gentle scrub. You might be surprised by how much extra buildup comes loose. I always focus on the little spray holes, since that’s where mineral deposits tend to put up a final fight. This quick scrub works wonders on any stubborn bits the vinegar couldn’t fully break down on its own.
Now, turn the shower on full blast, using the hottest water setting. Let it run for a couple of minutes. This powerful flow will clear out the nozzles, washing away any leftover vinegar and mineral bits. Trust me, you don’t want your first shower after cleaning to be a spray of old limescale! This hot water blast also helps get rid of any lingering vinegar smell. You can find more helpful details in our full guide on how to clean a shower head with vinegar.
The Polish and Final Test
With the inside sparkling, it’s time to make the outside match. Use a soft, dry cloth to wipe down the fixture. This gets rid of any water spots and brings back that original shine. It’s a small detail, but it makes a huge visual difference.
Finally, it’s time to test your work. Click through all the different spray settings on your shower head. The water should spray evenly and strongly from every single nozzle. If you notice a few jets are still misbehaving, you can use a toothpick or a small pin to gently poke them clear. Now, you can step back and admire your handiwork—a perfectly clean shower head ready to give you a powerful, refreshing shower.
Troubleshooting Challenges and Keeping Success Going
Even with the best instructions on how to clean a shower head with vinegar, sometimes things don’t go perfectly. You might soak the fixture only to find a few stubborn nozzles are still spraying water sideways. Don’t get discouraged; this usually just means you’re dealing with some particularly tough mineral buildup. A second, shorter soak for about an hour often gets the job done. If a few jets are still clogged after that, a little manual effort with a toothpick or a safety pin can clear them out.
When the Bag Method Isn’t Enough
What happens if your shower head has an unusual shape or the plastic bag trick just isn’t working? This is the perfect time to try a full disassembly. By unscrewing the shower head and submerging the whole thing in a bowl of vinegar, you get 100% coverage. This approach is especially useful for fixtures that haven’t been cleaned in years, as it lets the vinegar dissolve mineral deposits from every nook and cranny. Just be sure to set the rubber washer aside in a safe spot so it doesn’t get misplaced.
Once you have that perfect, powerful spray back, you’ll want to keep it that way. A little proactive care can go a long way in preventing future clogs and extending the time between deep cleans.
- Wipe Down Weekly: Get into the habit of quickly wiping the face of the shower head with a soft cloth after showering. This simple step removes water droplets before they have a chance to dry and leave mineral residue behind.
- Monthly Maintenance Soak: A quick 30-minute vinegar soak once a month is a fantastic way to stop major buildup before it starts. It’s much less work than dealing with a severely clogged fixture every six months.
Keeping your shower head clean isn’t just about good water pressure; it’s about starting your day with a better, healthier routine. At Cranach, we believe a great shower sets the tone for a great day. That’s why our fixtures are designed for easy maintenance, ensuring you always have a clean and healthy flow of water.