

Understanding Why Your Shower Head Needs Vinegar Treatment
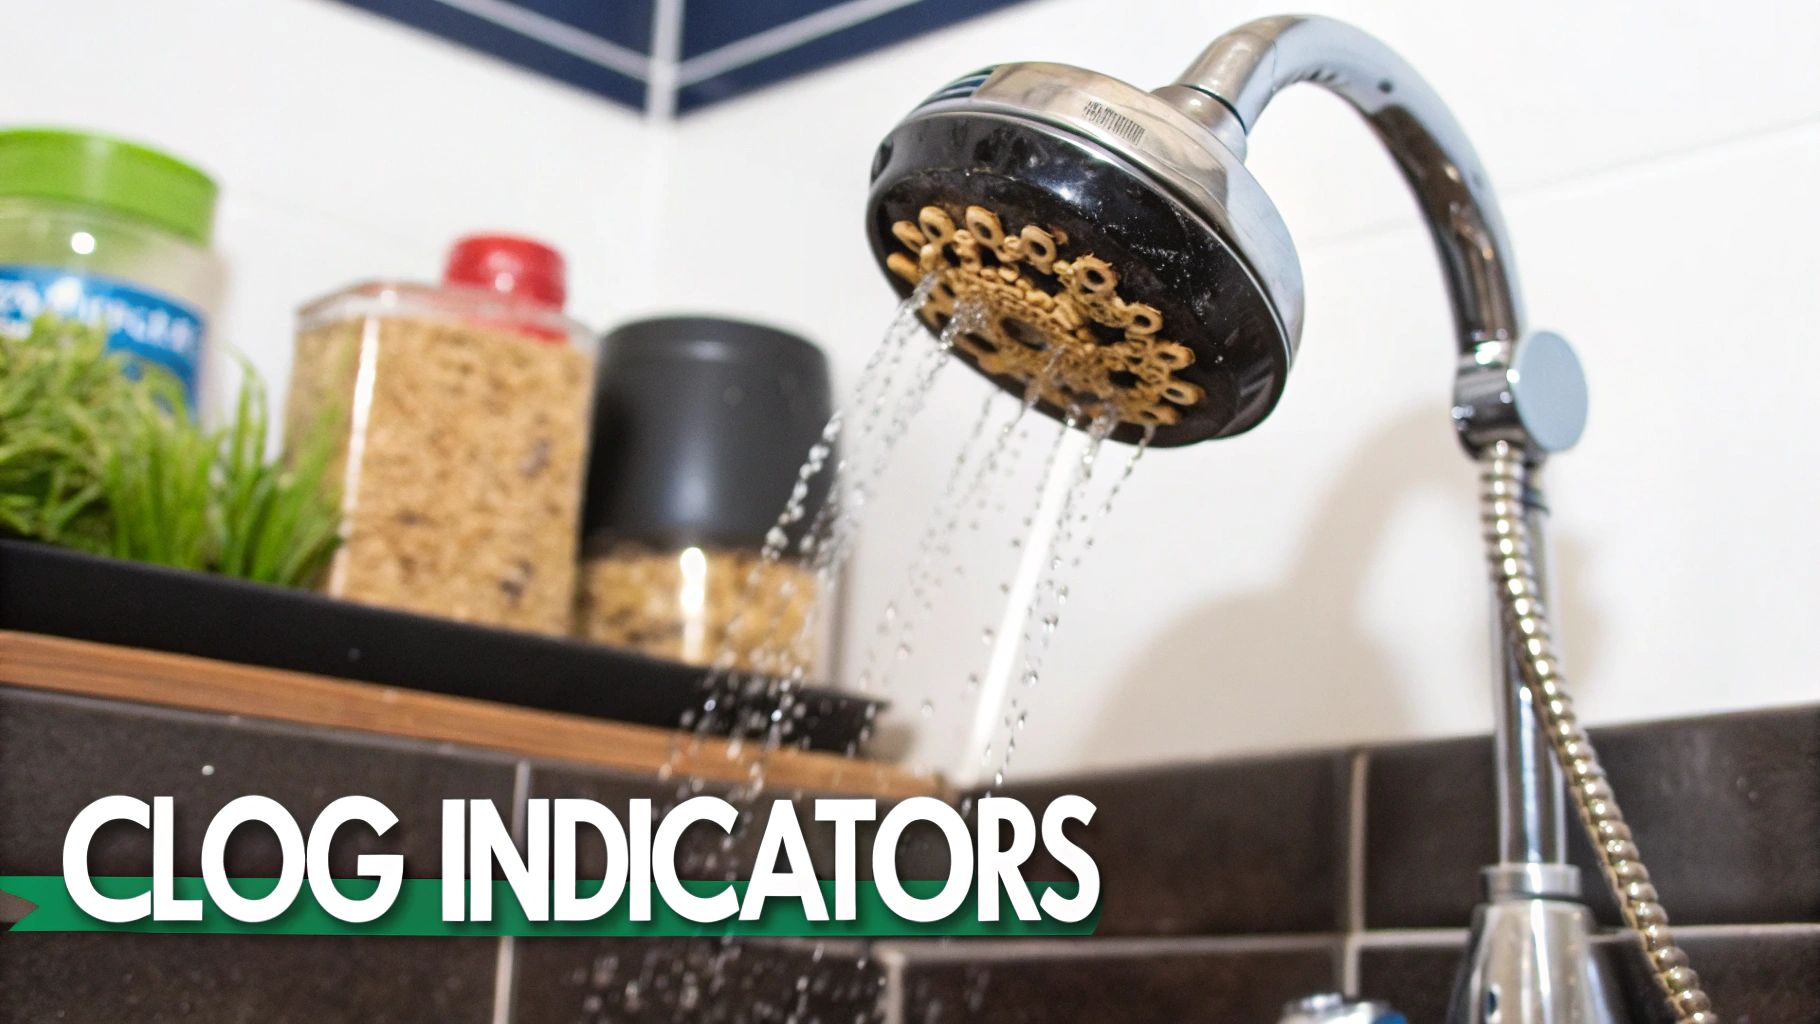
That disappointing trickle from your shower head isn’t just an annoyance; it’s a clear signal that there’s a mineral buildup happening inside its tiny nozzles. If you’ve noticed your once-powerful spray has turned into a sad dribble, or you’ve seen crusty white or greenish gunk forming on the surface, the culprit is almost certainly mineral deposits. This is a super common issue, since hard water affects nearly 85% of homes in the United States and is a major headache in many other countries, too. Hard water is packed with minerals like calcium and magnesium that just love to stick around.
The Science Behind the Clog
Every time you shower, water evaporates and leaves these minerals behind, creating a stubborn substance we all know as limescale. This buildup acts like a tiny dam, blocking the nozzles one by one and choking off the water flow. I’ve seen shower heads lose up to 50% or more of their efficiency this way, turning what should be a refreshing shower into a frustrating experience. Beyond just weak pressure, these deposits can also become a breeding ground for biofilm and bacteria, giving you another excellent reason to clean it regularly. If you want to dive deeper into this, our complete guide on how to clean a shower head has even more information.
Why Vinegar Is Your Secret Weapon
So, why is learning how to clean a shower head with vinegar the ultimate solution? It all comes down to some simple chemistry. The distilled white vinegar you have in your pantry is a mild acid, usually containing about 5% acetic acid. This acid is fantastic at dissolving alkaline mineral deposits like the calcium carbonate in limescale.
When you let your shower head soak in vinegar, the acetic acid gets to work, reacting with the buildup and breaking it down into simple, water-soluble salts that you can easily rinse away. It’s a powerful, non-toxic, and incredibly affordable way to restore your shower’s flow without reaching for harsh chemicals.
Assembling Your Vinegar Cleaning Toolkit
Before you can get your shower’s water pressure back to its glorious, full-strength self, you’ll need to gather a few simple supplies. While the process of how to clean a shower head with vinegar is straightforward, having the right items on hand makes it a quick and painless task. The good news is, you likely have everything you need already tucked away in your kitchen or utility closet.
Your Main Cleaning Agents
The hero of this cleaning story is distilled white vinegar. Its consistent 5% acidity is just right for breaking down the stubborn mineral deposits and limescale that clog your shower head nozzles. You might be tempted to use other vinegars like apple cider, but their acidity levels can be inconsistent, and their darker colors could potentially stain certain shower head finishes. For reliable and safe results, plain old white vinegar is the way to go.
To hold the vinegar, you’ll need a durable plastic bag. A gallon-sized zip-top bag is usually the perfect size for most standard shower heads. You’ll also need something to hold it in place, like a sturdy rubber band or a couple of zip ties.
Tools for the Finishing Touches
After the vinegar has worked its magic, you’ll need a couple of tools to finish the job. An old toothbrush or a small, soft-bristled brush is essential for scrubbing away any leftover gunk from the nozzles. You’ll also want a soft cloth, like a microfiber towel, to wipe everything down and give your shower head a nice, final polish.
To make gathering your supplies even easier, here’s a quick table listing everything you’ll need for the job.
Essential Supplies for Vinegar Shower Head Cleaning
A comprehensive list of materials needed for different shower head types and finishes
| Item | Purpose | Alternative Options |
|---|---|---|
| Distilled White Vinegar | Dissolves mineral buildup (limescale) from the nozzles and fixture. | Lemon juice (for very light buildup only). |
| Plastic Bag | Holds the vinegar, creating a soaking bath around the shower head. | A small bucket or bowl (if you can remove the shower head). |
| Rubber Band / Zip Tie | Secures the bag tightly to the shower arm to prevent leaks. | A thick hair tie, twine, or even a twist-tie in a pinch. |
| Old Toothbrush | Scrubs loosened mineral deposits and grime from the spray nozzles. | A small nylon brush, a toothpick, or a paperclip for stubborn spots. |
| Soft Cloth | Wipes down the fixture after cleaning and gives it a final polish. | An old cotton t-shirt or a microfiber towel. |
With these items ready, you have a complete, effective toolkit. This simple combination of household staples is all it takes to restore your shower head to its former glory without resorting to harsh chemicals.
Mastering the Plastic Bag Soaking Method

This next part is where the magic happens—the famous plastic bag soak. It’s a simple trick, but doing it right is the key to avoiding a puddle of vinegar on your shower floor. This method is so popular because the acidic nature of white vinegar is fantastic at breaking down those stubborn mineral deposits that clog your shower head.
Getting the Setup Just Right
The goal here is to give your shower head a secure, leak-proof vinegar bath. Fill a gallon-sized plastic bag with enough distilled white vinegar to completely cover the face of the shower head. You don’t need to fill the whole bag; just enough to submerge the nozzles, otherwise, it will spill when you try to attach it.
Here’s how I get a perfect, drip-free fit:
- Carefully bring the bag up and slide it over the shower head, making sure the nozzles are fully in the vinegar.
- Gather the top of the bag tightly around the shower arm.
- Use a sturdy rubber band or a zip tie to secure it. You want it snug enough to hold everything in place without dripping, but not so tight that you risk scratching the fixture’s finish.
This setup concentrates the vinegar right where you need it—on the clogged-up spray holes. Nailing this step is what makes how to clean a shower head with vinegar so effective. If you have other fixtures that need attention, like a grimy faucet, you can find similar advice in our guide to cleaning bathroom faucets.
The Waiting Game: Soaking Time and Troubleshooting
How long should you let it soak? That really depends on how bad the buildup is. For a routine clean or minor clog, a 30-minute soak will usually do the trick. If your water pressure has slowed to a trickle, you’ll want to give it a few hours. For the most caked-on, stubborn mineral deposits, you might even need to leave it overnight.
A word of caution: if you have a special finish like brass, black matte, or oil-rubbed bronze, be careful. Limit the soak time to just 30 minutes to prevent the vinegar from potentially damaging the surface. Once the time is up, it’s time to remove the bag and see the results.
Deep Cleaning Removable Shower Heads
Sometimes, the plastic bag trick just won’t cut it, especially when your shower head is so clogged that water is sputtering in every direction but down. When you’re facing a serious case of mineral buildup, it’s time to remove the shower head completely for a more intensive deep clean.
I know what you might be thinking—taking plumbing apart sounds intimidating. The key is to work slowly and protect your fixtures. To avoid scratching the finish, use a smooth-jawed wrench or simply wrap a soft cloth around the connecting nut before gripping it with pliers. Turn the nut counter-clockwise to loosen it. If it feels stuck, a bit of penetrating oil can work wonders. Just be patient and give it a moment to work its magic to avoid stripping the threads.
The Full Immersion Vinegar Bath
Once the shower head is off, you have a major advantage: you can get into every nook and cranny. Place the shower head in a bowl and submerge it completely in undiluted white vinegar. This full immersion ensures the vinegar reaches deep inside the fixture, dissolving the stubborn mineral deposits that hide in the internal channels. This is particularly effective for those fancy multi-function shower heads with complex spray patterns.
If you notice your other bathroom fixtures are suffering from the same scaly buildup, we have some specific advice on how to remove calcium deposits from faucets that can help restore their shine and flow.
How long you soak the shower head and the strength of your vinegar solution really matter. This infographic breaks down how different vinegar concentrations tackle mineral buildup over time.
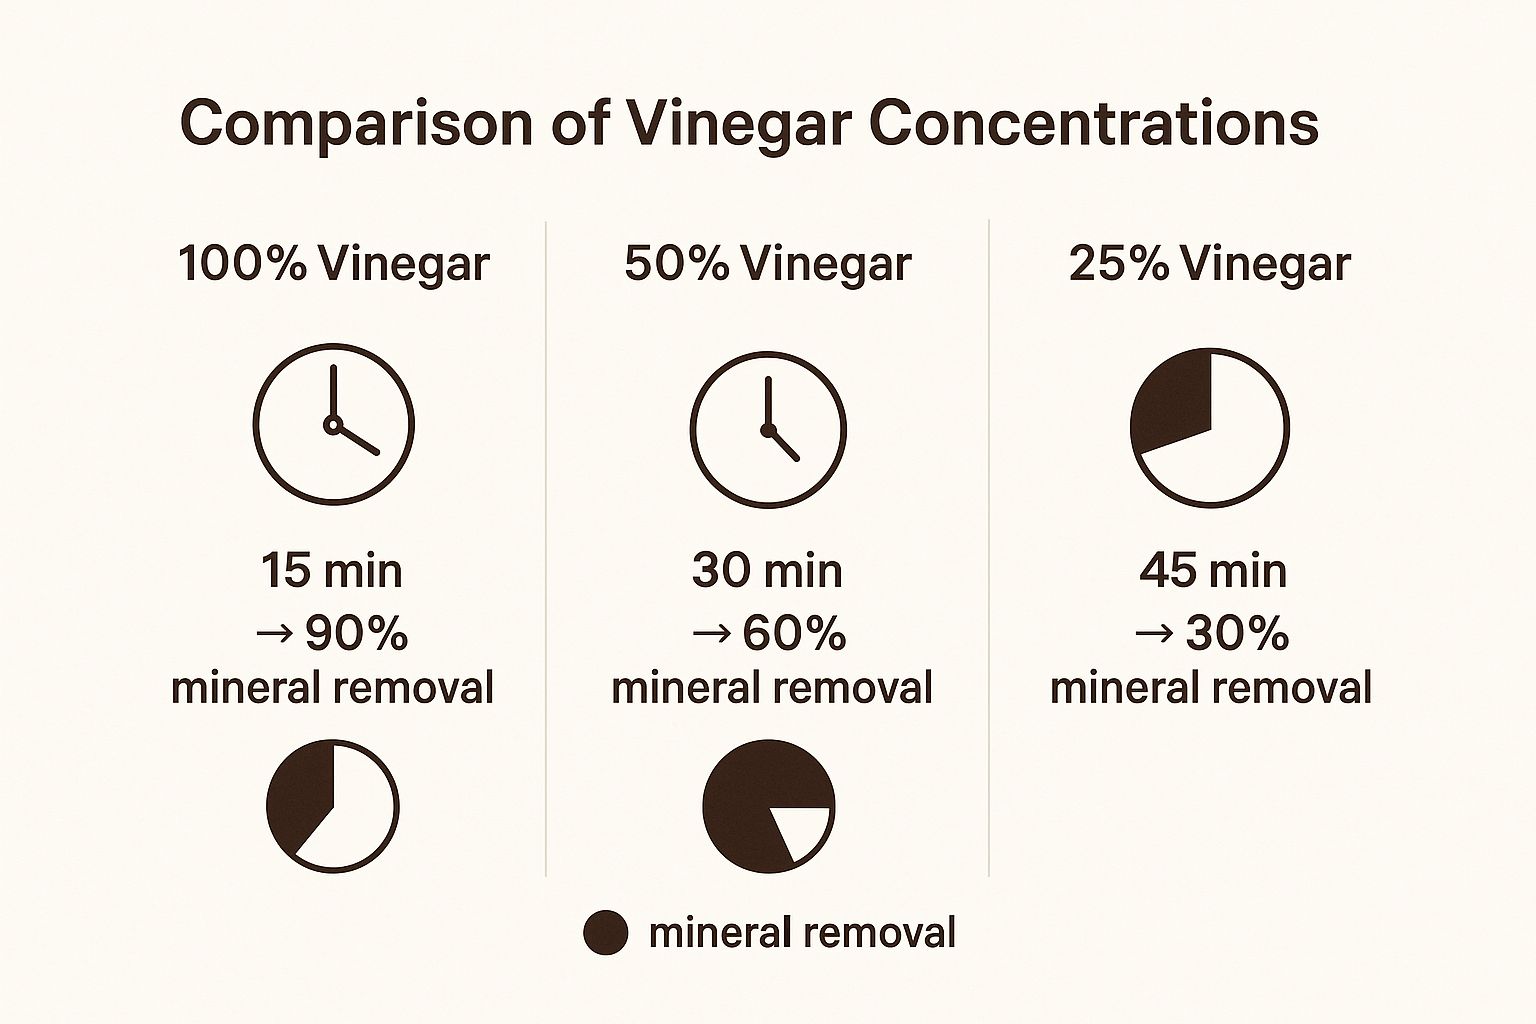
As the chart shows, using 100% pure vinegar can remove 90% of mineral buildup in just 15 minutes, making it the clear winner for tough jobs. While a diluted solution will eventually get the job done, it takes much longer and is less effective.
For a badly clogged, removable shower head, an undiluted vinegar soak is your best bet. Just keep an eye on the time, especially with delicate finishes like oil-rubbed bronze, brass, or matte black. For those, you’ll want to limit the soak to about 30 minutes to prevent any damage to the finish. For standard chrome or stainless steel, you can let it soak for a few hours or even overnight for extreme cases.
Adjusting Your Soaking Time
To get the best results without damaging your fixture, it helps to match the soaking time to the level of buildup and the type of finish. Here’s a quick guide to help you decide how long to leave your shower head in its vinegar bath.
| Buildup Level | Standard Finish (Chrome, Stainless Steel) | Delicate Finish (Brass, Oil-Rubbed Bronze, Matte Black) | Signs to Look For |
|---|---|---|---|
| Light | 30 minutes | 15-20 minutes | A few blocked nozzles, slightly uneven spray. |
| Moderate | 1-2 hours | 30 minutes (max) | Multiple blocked nozzles, weak water pressure. |
| Heavy | 2-4 hours (or overnight) | Not recommended for long soaks; use the 30-minute method and repeat if needed. | Water sprays sideways, very low pressure, visible crusty buildup. |
This table shows that while standard finishes can handle a long soak for heavy-duty cleaning, you need to be much more careful with delicate finishes. A shorter, more supervised soak is the safest approach for those materials.
After soaking, you’ll have a much easier time scrubbing away any remaining deposits. The vinegar does most of the heavy lifting, dissolving the minerals and making your shower head perform like new again.
The Final Flush and Restoration Process
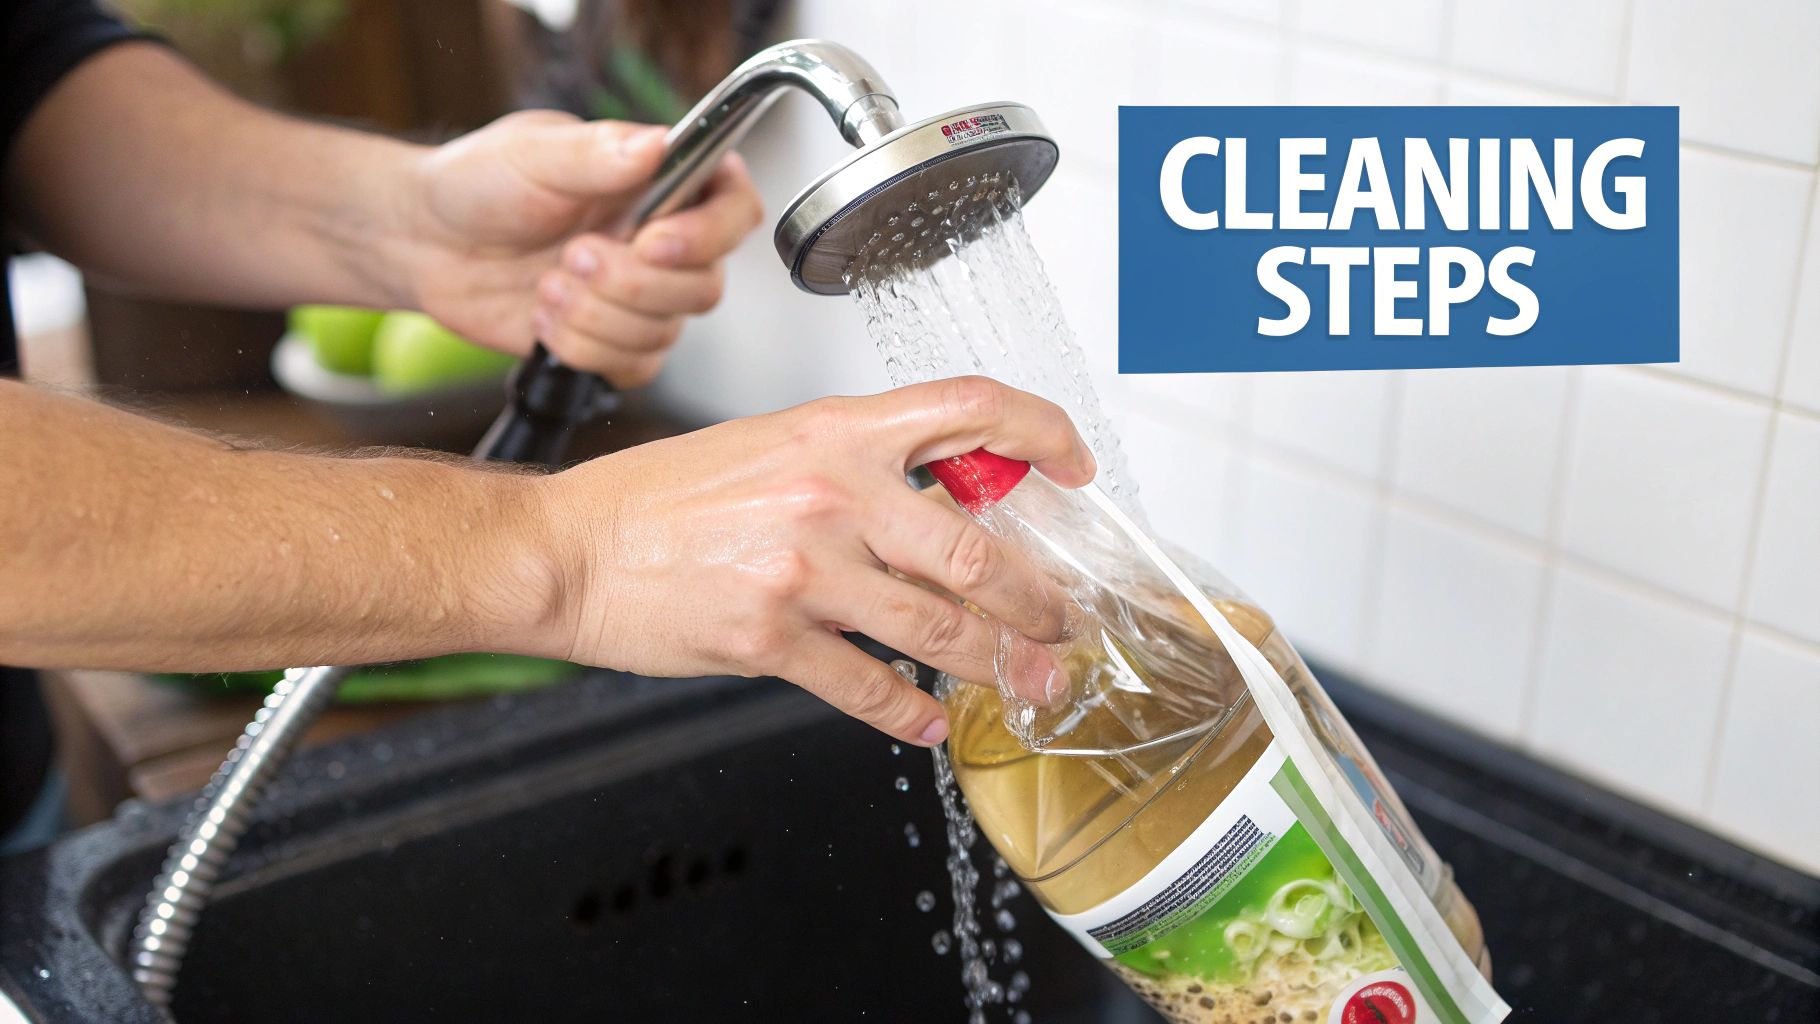
After your shower head has had a good, long soak in vinegar, it’s time for the final touches that will bring it back to life. This is the stage where the real magic happens, so don’t be tempted to stop early. Go ahead and carefully remove the plastic bag or lift the shower head out of the bowl, and pour the used vinegar down the drain. If you unscrewed the head completely, now’s the time to reattach it, but just be careful not to overtighten it.
With the head back in place, turn the shower to its hottest setting and let it run at full blast for a minute or two. This powerful flush is crucial for blasting out all the mineral gunk and scale that the vinegar worked so hard to loosen. You’ll probably notice an immediate difference as stray streams turn into a proper, even spray. If the flow still seems a bit weak, it might be worth checking out some other tips on how to increase shower water pressure from our comprehensive guide.
Scrubbing Away Stubborn Deposits
Now, grab an old toothbrush or a small nylon brush. It’s time to deal with any gunk that’s still hanging on. Gently scrub the face of the shower head, giving extra attention to the little nozzles. The vinegar bath should have softened these mineral deposits, making them much easier to flake away. For those especially stubborn bits wedged deep inside a nozzle, a simple toothpick can be your secret weapon.
- Work into the nozzles: Use the brush bristles to get inside each individual spray hole.
- Don’t force it: Scrub gently to avoid scratching the finish, especially on bronze or matte black fixtures.
- Wipe as you go: Use a soft cloth to wipe away the loosened debris while you scrub.
The Final Inspection and Polish
Once you’re happy with your scrubbing job, give the shower head one last blast of hot water to rinse everything clean. Take a dry, soft cloth and give the whole fixture a good polish. This not only makes it shine like new but also removes any lingering vinegar residue and prevents water spots.
The moment of truth is here: turn the shower on again. You should be rewarded with a strong, consistent spray pattern. This is the clear sign that your mission to clean the shower head with vinegar was a resounding success.
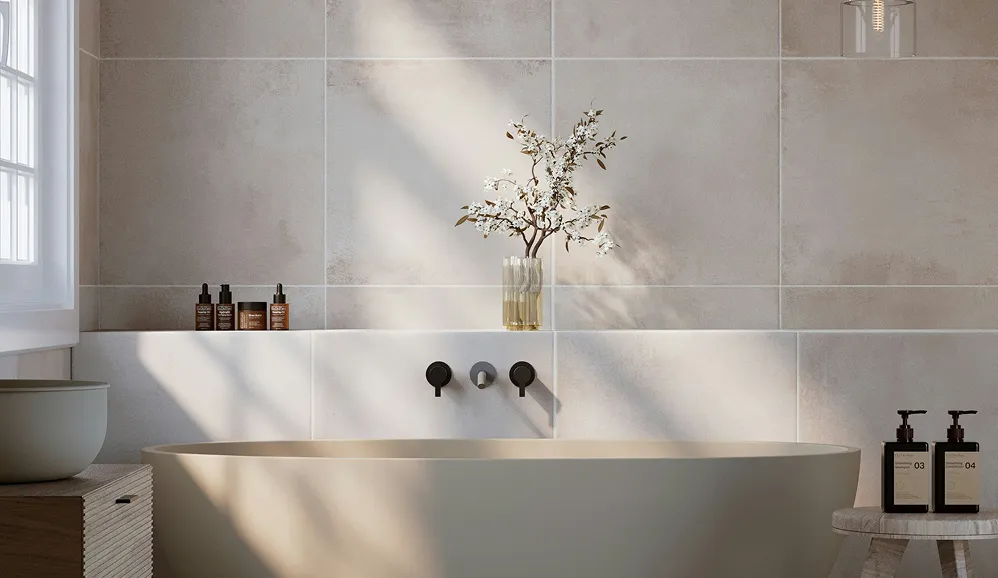
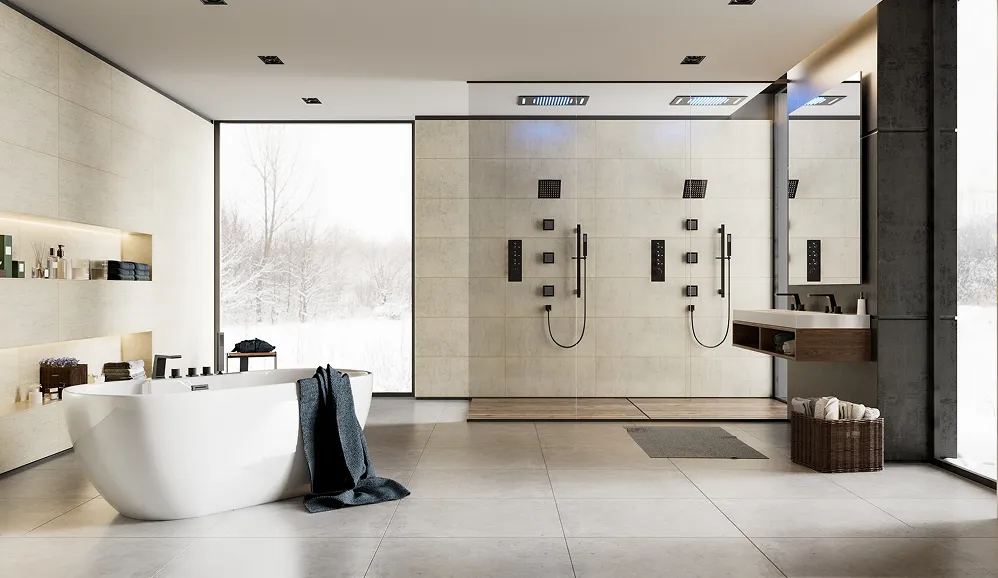
Protecting Special Finishes During Cleaning
Learning how to clean a shower head with vinegar is a fantastic cleaning hack, but it’s important to know that not all shower heads are the same. That gorgeous oil-rubbed bronze or matte black fixture you picked out needs a different touch than a standard chrome one. While vinegar is a champion at dissolving mineral buildup, its acidity can be too aggressive for certain delicate finishes if you let it soak for too long.
Know Your Fixture’s Limits
For the most common finishes like chrome and stainless steel, a longer vinegar bath—even a few hours—is usually perfectly safe and incredibly effective. But when you’re dealing with more sensitive surfaces, you have to change your game plan.
- Oil-Rubbed Bronze & Brass: These beautiful finishes often have a special protective lacquer. Vinegar can dull this coating or even strip it away completely. For these, stick to a strict 30 minutes maximum soaking time.
- Matte Black & Nickel: These popular modern finishes can also be prone to discoloration if they sit in acid for too long. A short, 30-minute soak is the safest bet here as well.
I once heard from a homeowner who was so excited about their new brass shower head that they left it to soak overnight. They woke up to find the finish had developed dull, permanent spots. It’s a heartbreaking and expensive mistake that a little bit of caution can easily prevent.
The Gentle Approach Is Always Best
It’s not just about how long you soak it; how you handle the fixture also makes a difference. Always reach for a soft toothbrush to do the scrubbing and a microfiber cloth for drying. This helps you avoid creating tiny micro-scratches that can ruin the surface over time.
If you’re ever unsure about what your shower head is made of or are worried about voiding its warranty, taking a moment to check the manufacturer’s care instructions is a smart move. For more specific advice on keeping your fixtures looking brand new, our guide on cleaning bathroom faucets offers some great tips. The goal, after all, is to get that water flowing freely again without sacrificing the beautiful finish you chose for your bathroom.
Maintaining Peak Performance Long-Term
So, your shower head is sparkling clean and spraying like the day you bought it. The next challenge is keeping it that way. Creating a simple maintenance routine is the secret to stopping those stubborn mineral deposits from staging a comeback. It’s all about being proactive, not waiting until the water starts sputtering again. How often you’ll need to do a full cleaning really comes down to the water quality in your area.
Create a Sustainable Cleaning Schedule
If you live in an area with very hard water, a quick 30-minute vinegar soak once a month is a fantastic habit to get into. For those of you with softer water, a deep clean every three or four months should be more than enough. You’ll know it’s time for another round when you see the spray pattern looking a bit wonky or a few nozzles seem to be clogged.
Just to give you an idea, water hardness varies a lot depending on where you live.
This map shows that if you’re in one of those red zones with high mineral content, you’ll be battling buildup more often than someone in a blue, soft-water area.
For a super-fast weekly touch-up, keep an old toothbrush in the shower and give the nozzles a gentle scrub. This takes less than a minute and does wonders to slow down limescale formation. Beyond cleaning, investing in high-quality bathroom fittings also makes a huge difference in long-term performance and durability, which can mean less cleaning for you. A well-made fixture often has features like rub-clean nozzles that make this weekly task even simpler.
By making these small habits part of your routine, you’ll keep your shower performing beautifully, making the full how to clean shower head with vinegar process a much rarer event. And if you’re thinking about an upgrade to fixtures designed for easy maintenance and lasting quality, check out the exceptional shower systems at Cranach.